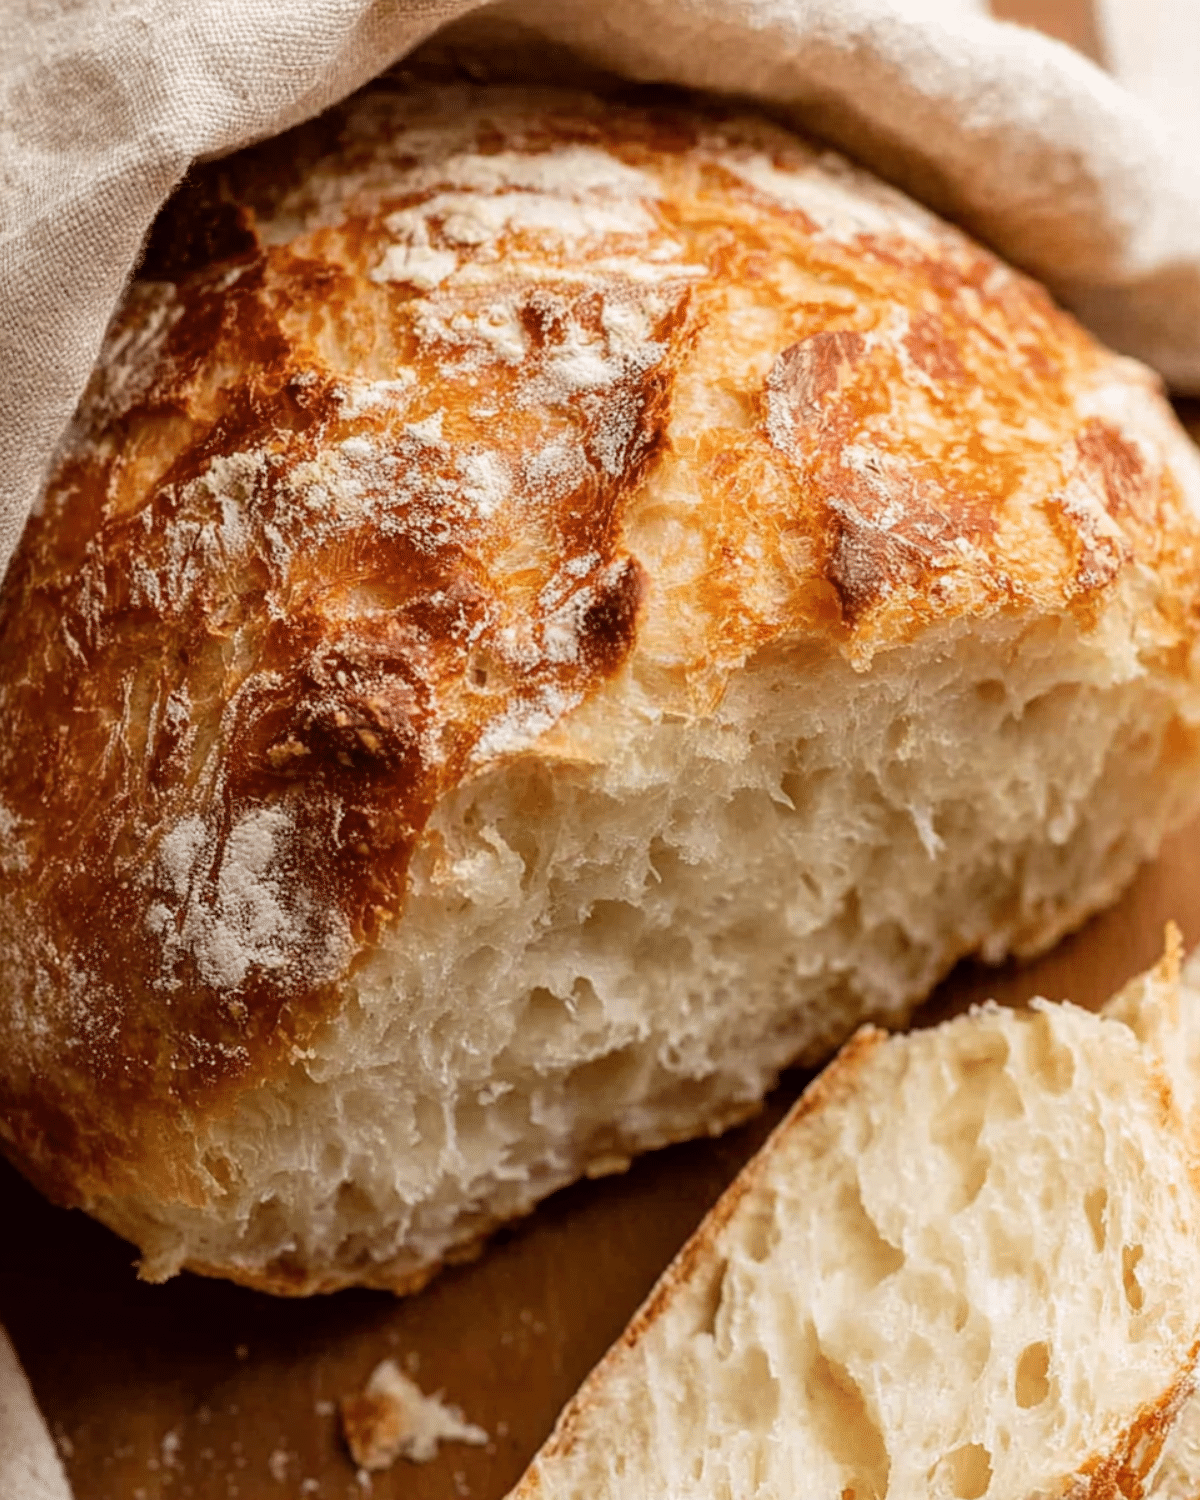
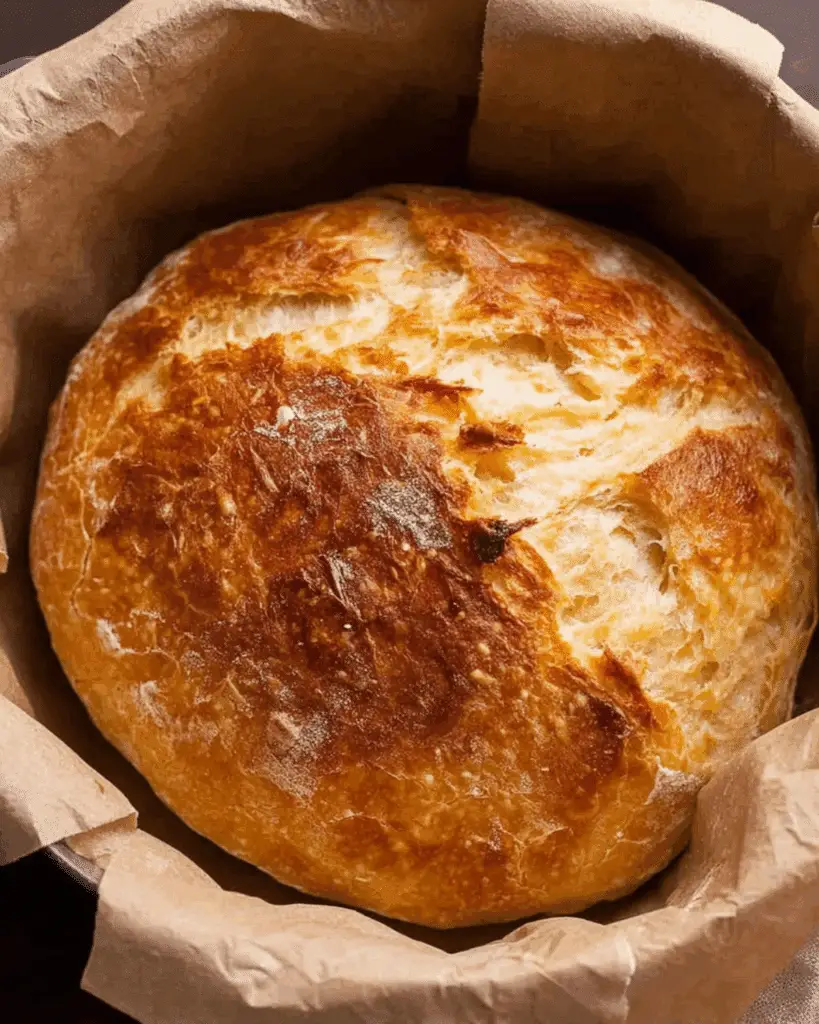
Making your own yeast bread at home may sound intimidating—but once you try this no-knead artisan loaf, there’s no turning back. In this guide, we’ll walk you through the simplest way to make delicious, crusty yeast bread using just four ingredients and minimal effort. Whether you’re a beginner or a seasoned home baker, you’ll learn how to master every step, fix common issues, and add flavor variations that elevate your bread game.
Looking for inspiration? Try this no-knead bread recipe that’s equally fuss-free and bursting with flavor.
JUMP TO
Table of Contents
Why This Yeast Bread Recipe is a Game Changer
What makes yeast bread different from quick bread
Yeast bread relies on live yeast to make the dough rise, resulting in a chewy, airy structure and complex flavor. Unlike quick breads, which use baking powder or soda and are ready in a flash, yeast bread takes more time—but the payoff is worth it. The rise time creates those signature holes and a crusty, golden shell.
No-knead method: perfect for beginners and pros alike
Traditional bread recipes involve kneading for 10 to 15 minutes to build gluten. But not this one. This no-knead yeast bread uses a wetter dough and longer resting time to achieve the same gluten development with none of the elbow grease. It’s ideal for those just starting out or anyone who wants fresh bread without the mess.
Benefits of baking your own crusty artisan loaf
Homemade yeast bread beats store-bought in every category—taste, texture, and freshness. Plus, it’s incredibly versatile. You can add herbs, cheeses, or even make it sweet. It freezes well, keeps fresh longer when made with bread flour, and costs just pennies per loaf.
Ingredients & Equipment for Perfect Yeast Bread
Simple pantry staples: flour, salt, water, yeast
The beauty of this recipe lies in its simplicity. All you need is:
| Ingredient | Amount |
|---|---|
| Bread or all-purpose flour | 3 cups (450g) |
| Instant or active dry yeast | 2 teaspoons |
| Kosher or cooking salt | 2 teaspoons |
| Warm water (not boiling) | 1 ½ cups (375ml) |
You likely have these on hand already, making it a perfect “anytime” recipe.
The role of instant yeast vs. active dry yeast
Instant yeast (also called rapid-rise) can be mixed directly with dry ingredients. Active dry yeast, on the other hand, needs to be dissolved in warm water first. Both work equally well, so use whatever you have—just follow the right method for activation.
Choosing between bread flour and all-purpose flour
Bread flour contains more protein, which translates to better gluten development. This results in a chewier crumb and larger air pockets. However, if all you have is all-purpose flour, don’t worry—it still produces a fantastic loaf. You may just get a slightly denser bite.
Check out this fluffy French bread recipe if you want another version using standard flour.
Equipment essentials: do you really need a Dutch oven?
A Dutch oven is recommended for this recipe because it mimics the steamy environment of a bakery oven, helping the bread rise and crisp beautifully. But if you don’t have one, you can still bake great bread using a baking tray and a pan of hot water to generate steam.
Don’t miss our tips for easy rustic bread that doesn’t require fancy tools.
Step-by-Step Guide to Making Yeast Bread
Mixing the dough – wet, sticky, and no kneading needed
In a large bowl, combine flour, salt, and yeast. Pour in warm water and stir using a spoon handle until the mixture forms a wet, shaggy dough. It should be sticky and soft—not something you can knead. That’s exactly what you want.
If it’s too dry, add a bit more water. If it’s runny, dust in some flour. Aim for a consistency that jiggles like jelly.
The rising process – room temp vs. fridge proofing
Cover the bowl with cling wrap or a plate and leave it in a warm spot for 2 hours. The dough should double in size and develop a bubbly, wobbly texture.
Want more flavor? Pop it in the fridge after the rise for 8 to 24 hours. Cold fermentation slows the process, letting the enzymes break down starch into sugars—resulting in a richer, deeper taste.
Discover great ideas like Amish white bread that also use overnight proofing for better flavor.
Shaping your bread for the oven
Once risen, dust a surface with flour and gently scrape out the dough. Don’t knead it—just fold the edges inward using a dough scraper to form a round shape. Flip the dough seam-side down onto parchment paper. This rustic approach enhances the crust texture.
Baking time and temperature tips for a golden crust
Preheat your oven (and Dutch oven if using) to 450°F. Transfer the dough into the hot pot using the parchment paper. Bake covered for 30 minutes, then uncover and bake 12 more to crisp the crust.
Let the loaf rest for at least 10 minutes before slicing. This ensures the center finishes cooking and won’t feel doughy.
Looking for more ideas? Try our no-knead bread that’s quick and just as delicious.
Troubleshooting Common Bread Baking Issues
Dough not rising? Here’s what to do
If your dough isn’t rising after the first hour, don’t panic. First, check your yeast’s expiration date. Old or improperly stored yeast may no longer be active. Also, assess the environment—yeast thrives between 75°F and 85°F. If your kitchen is cooler, place the bowl in a slightly warmed oven (turned off) or near a sunny window.
Another tip: Warm water matters. If it’s too hot, it could kill the yeast. If it’s too cold, the rise will be slow. Aim for water that feels warm to the touch—not scalding.
Too wet or too dry? Fixing the consistency
This dough should be sticky and loose. If your mixture resembles batter, add a bit of flour. If it’s stiff and dry, sprinkle in warm water gradually while mixing. Humidity and flour brands can affect absorption, so always adjust as needed.
A rough, slack dough is perfect—it ensures big holes and a fluffy crumb after baking.
How to avoid dense, heavy loaves
Dense bread often comes from insufficient rise time or overly cold dough. Make sure your dough doubles in size and feels light and bubbly. Refrigerated dough should rest for 45–60 minutes at room temp before baking. Also, avoid using too much flour during shaping. Extra flour makes the dough dry, limiting oven spring and air pocket formation.
Yeast Bread Variations & Serving Ideas
Add-ins to try: cheese, herbs, garlic
Want to upgrade your bread? Try mixing in shredded cheddar, minced garlic, or rosemary before the first rise. For a bolder flavor, press ingredients into the dough after shaping. Parmesan and black pepper, sun-dried tomatoes, or chopped olives are also excellent choices.
Savory variations pair beautifully with soups or charcuterie boards.
Don’t miss our cheesy chicken casserole—a perfect match for garlic-infused yeast bread.
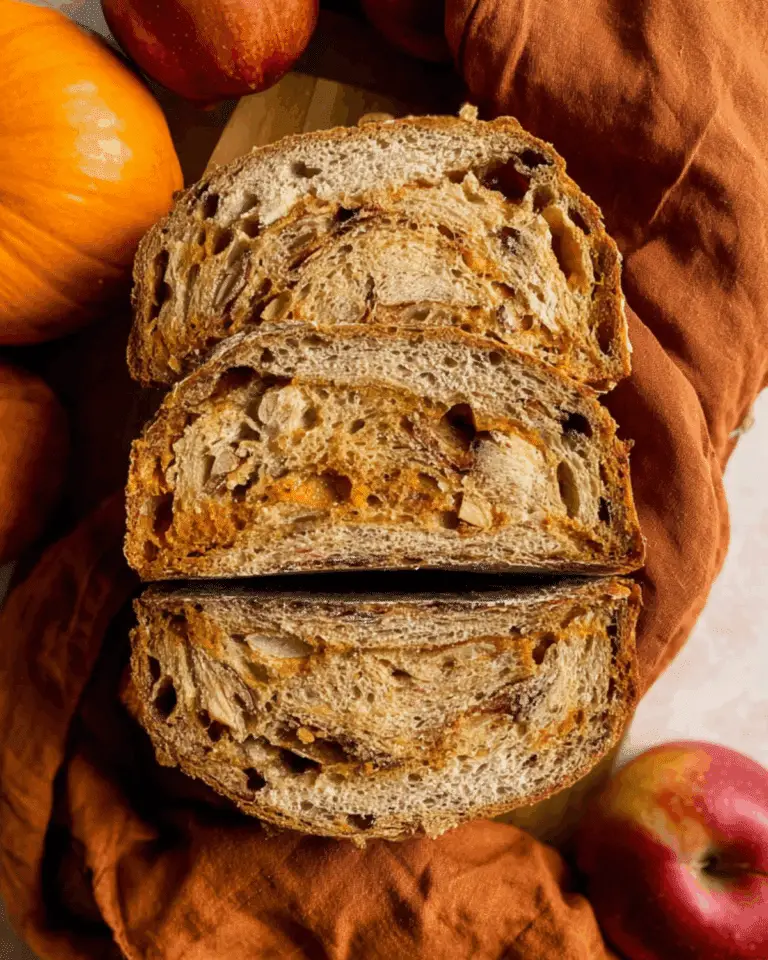
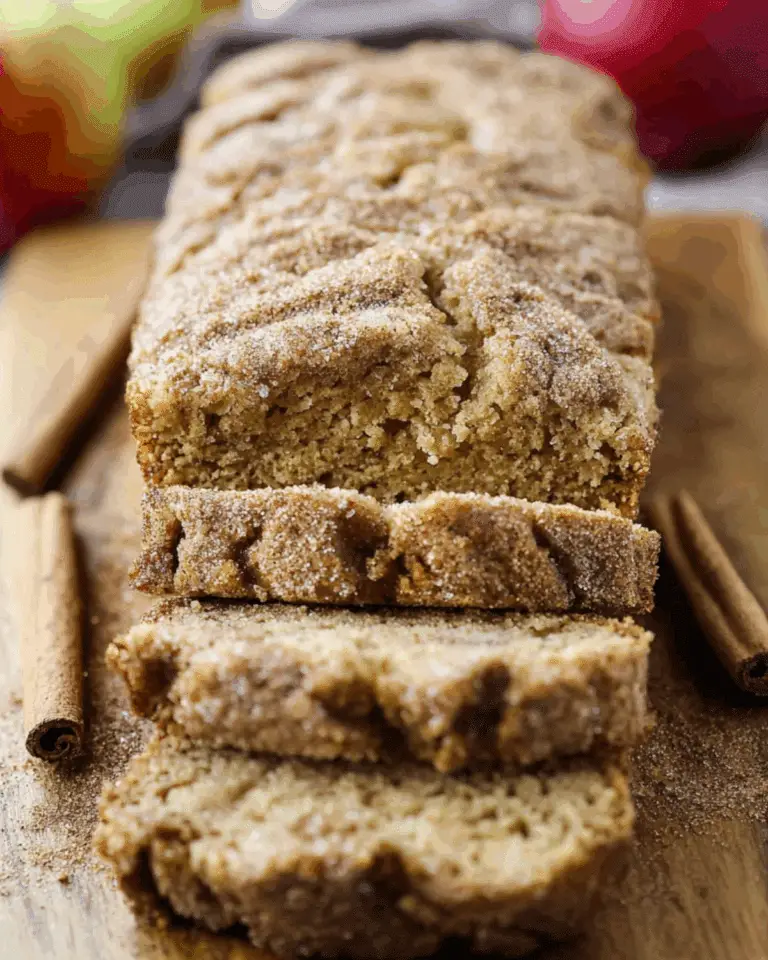
How to make a sweeter version for breakfast
Swap out savory for sweet by adding cinnamon, brown sugar, or dried fruit like cranberries or raisins. A touch of honey in the dough adds softness and sweetness. Serve with cream cheese or turn it into French toast for a weekend brunch treat.
For extra texture, sprinkle oats or chopped nuts on top just before baking.
Looking for something sweet? Try blueberry peach cheesecake paired with a soft, slightly sweet yeast bread.
Serving suggestions: soups, sandwiches, toast
This bread is incredibly versatile:
- Soups & stews: Use thick slices to mop up brothy dishes.
- Sandwiches: Its chewy bite holds up well to juicy fillings.
- Toast: A perfect base for butter, jam, or smashed avocado.
You can also turn leftovers into garlic bread, bruschetta, or croutons.
Discover great ideas like our garlic butter chicken skillet that’s made even better with homemade bread.
Storage, Freezing & Make-Ahead Tips
How to store your loaf for max freshness
Once cooled, store your bread in a bread bag or wrapped in a clean kitchen towel inside a paper bag. Avoid the fridge—it dries out bread faster. At room temperature, it’ll stay fresh for up to 2 days. After that, toast it to refresh the texture.
For extended freshness, slice the loaf and freeze individual pieces.
Freezing dough vs. baked bread
Both dough and baked bread can be frozen. To freeze dough, let it complete the first rise, shape it, then freeze on parchment paper. Once solid, transfer to a freezer bag. When ready to bake, thaw overnight in the fridge, then rest at room temp for an hour.
Baked bread should be cooled, sliced, and sealed in a zip-top bag. It keeps for 2–3 months in the freezer.
Check out no-bake banana split cake as a freezer-friendly dessert to pair with a fresh bread course.
Why overnight proofing enhances flavor
Time is flavor when it comes to bread. Slowing the fermentation process by refrigerating the dough allows natural enzymes to develop sugars, giving your bread a deep, complex flavor. It also improves texture and makes the crust crisper.
For best results, make the dough at night and bake fresh in the morning. It’s the easiest way to wake up to bakery-quality bread.
Frequently Asked Questions About Yeast Bread
Can I use whole wheat flour in this recipe?
Yes, but with some adjustments. Whole wheat flour absorbs more water, so start with ¼ cup less flour and add more only if the dough is too wet. Keep in mind it may result in a denser loaf. For a lighter texture, consider mixing half whole wheat and half bread flour.
Do I need a Dutch oven to get a crispy crust?
Not at all. While a Dutch oven creates ideal steam for crusty bread, you can replicate the effect. Simply place a pan of hot water on a lower oven rack while baking the loaf on a tray. The steam helps develop that golden, crackly crust even without specialty cookware.
What’s the difference between dry and instant yeast?
Instant yeast can be mixed directly into dry ingredients, while active dry yeast needs to be dissolved in warm water first. Both work in this recipe; just follow the correct prep method. If your active dry yeast doesn’t foam, it may be expired.
How long can I keep the dough before baking?
You can refrigerate the dough for up to 3 days after the first rise. This cold fermentation actually improves the flavor and structure. When you’re ready to bake, let it come to room temperature for 45–60 minutes before putting it in the oven.
Why didn’t my bread rise properly?
A few factors could be at play: expired yeast, cold ambient temperature, or incorrect water temperature. Always store yeast in a cool, dry place, and use water that feels warm—not hot. If your kitchen is cool, place the dough in a slightly warm oven or near a heat source.
Final Thoughts on Making Yeast Bread at Home
Baking yeast bread doesn’t have to be intimidating. With this no-knead, four-ingredient method, you can create a rustic, golden loaf that rivals artisan bakery bread—without kneading, special mixers, or complicated steps. It’s budget-friendly, highly customizable, and ideal for both beginners and seasoned bakers.
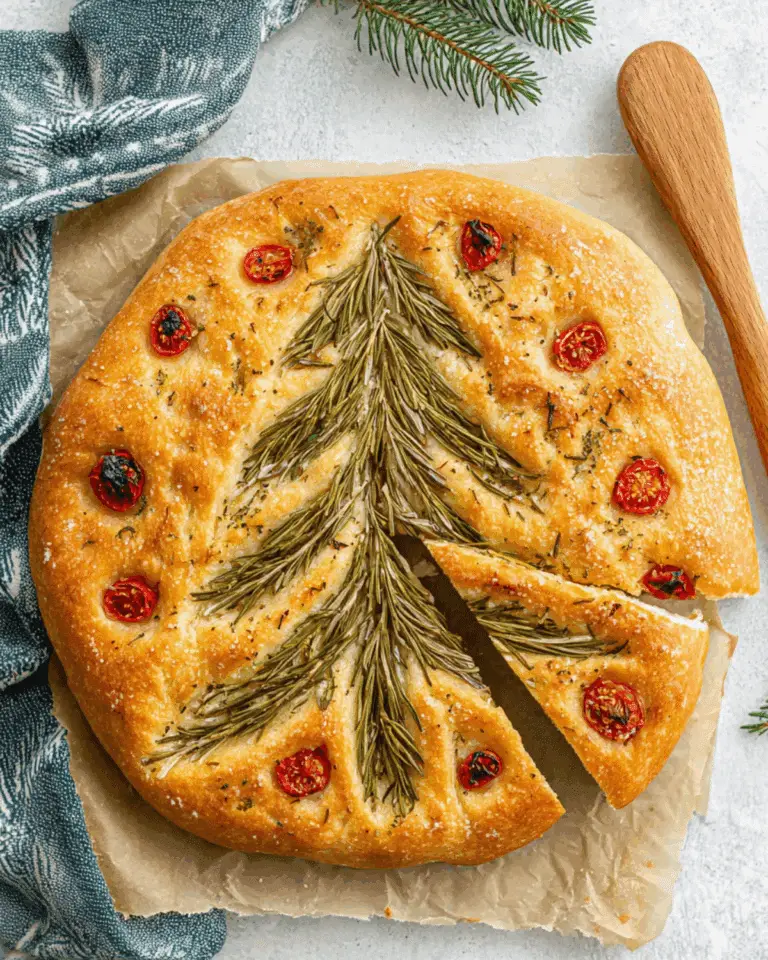
Discover great ideas like our focaccia bread recipe if you’re ready to try another irresistible bread recipe!
PrintYeast Bread
This easy yeast bread recipe creates a rustic artisan-style loaf using just four basic ingredients. No kneading, no mixer—just crusty, chewy homemade bread in under 2 hours.
- Prep Time: 3 minutes active, 2 hours rise
- Cook Time: 42 minutes
- Total Time: 2 hours 45 minutes
- Yield: 10–12 slices
- Category: Bread
- Method: Baking
- Cuisine: Artisan
- Diet: Vegetarian
Ingredients
- 3 cups (450g) bread or all-purpose flour
- 2 tsp instant or active dry yeast
- 2 tsp kosher or cooking salt (not table salt)
- 1 1/2 cups (375ml) very warm tap water (not boiling)
- 1 1/2 tbsp flour for dusting
Instructions
- In a large bowl, mix flour, yeast, and salt.
- Add warm water and stir until a wet, sticky dough forms.
- Cover with cling wrap and let rise in a warm place for 2 hours until doubled in volume.
- (Optional) Refrigerate dough for 8–24 hours to enhance flavor.
- Dust a work surface with flour and scrape out the dough.
- Use a scraper to fold sides inward to form a round shape.
- Flip dough seam-side down onto parchment paper and reshape if needed.
- Preheat oven to 450°F with Dutch oven inside for 30 minutes.
- Place dough into hot pot using parchment paper and cover with lid.
- Bake for 30 minutes covered, then 12 minutes uncovered.
- Remove and cool on a rack for 10 minutes before slicing.
Notes
- If using active dry yeast, dissolve in water first before mixing with flour and salt.
- Dough should be sticky and loose; adjust with flour or water as needed.
- For crisp crust without Dutch oven, use a pan of boiling water in the oven.
- Dough can be refrigerated for up to 3 days after rising.
- Use bread flour for fluffier, chewier texture with large holes.
Nutrition
- Serving Size: 1 slice
- Calories: 155
- Sugar: 1g
- Sodium: 469mg
- Fat: 1g
- Saturated Fat: 1g
- Unsaturated Fat: 0g
- Trans Fat: 0g
- Carbohydrates: 32g
- Fiber: 2g
- Protein: 5g
- Cholesterol: 0mg