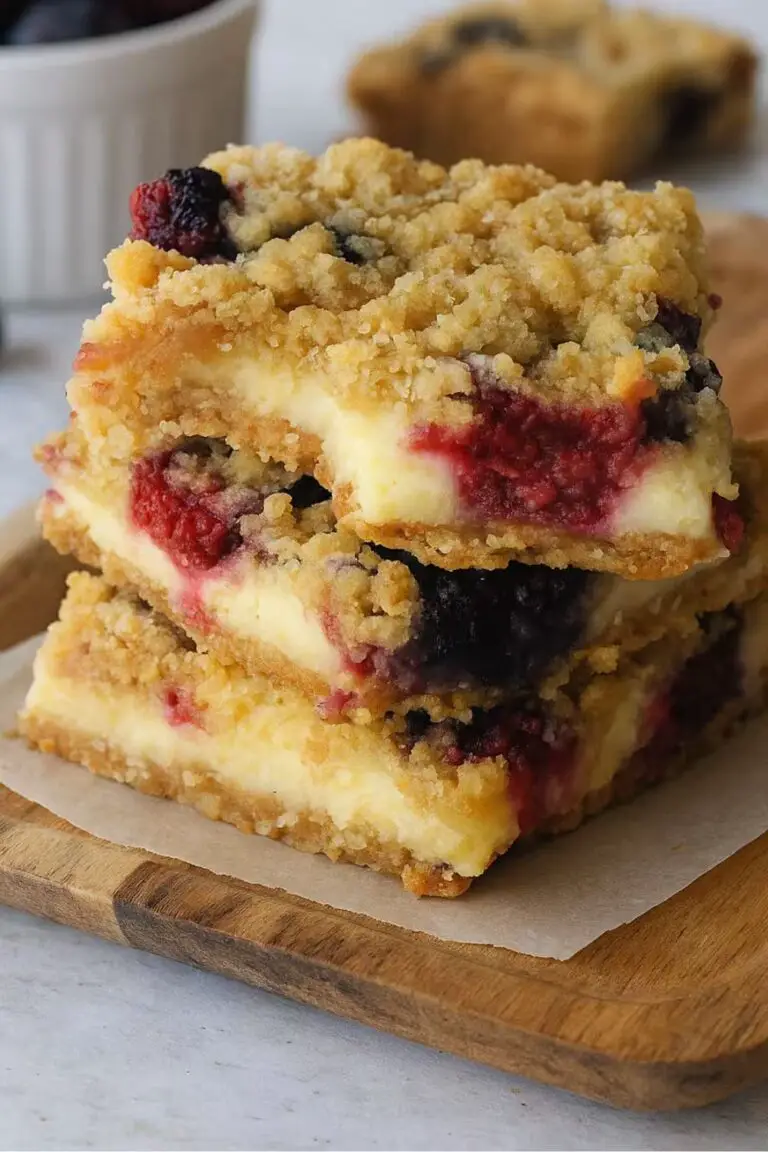

Red White & Blue Cheesecake Bars are a rich, creamy, and visually stunning dessert that perfectly captures the spirit of patriotic celebrations. With a buttery graham cracker crust, a smooth and velvety cheesecake filling, and vibrant red and blue swirls, these bars are the ultimate treat for Fourth of July parties, Memorial Day gatherings, and summer BBQs. Not only do Red White & Blue Cheesecake Bars look impressive, but they also deliver a perfect balance of sweetness, tanginess, and texture in every bite.
What truly sets Red White & Blue Cheesecake Bars apart is their ability to combine elegance with simplicity. While traditional cheesecakes can feel intimidating, these bars simplify the process without sacrificing flavor. In addition, they are easy to slice, serve, and transport, making them ideal for both casual and formal occasions.
JUMP TO
Table of Contents
Why Red White & Blue Cheesecake Bars Are the Ultimate Patriotic Dessert
A Stunning Swirled Design That Stands Out
Red White & Blue Cheesecake Bars are known for their eye-catching marbled effect. The vibrant red and blue swirls create a unique pattern in every slice, ensuring no two bars look exactly alike.
Moreover, this colorful presentation makes them the perfect centerpiece for a dessert table. Whether displayed on a platter or served individually, they instantly enhance the festive atmosphere.
Rich, Creamy, and Perfectly Balanced Flavor
The cheesecake layer is smooth, creamy, and slightly tangy, which perfectly balances the sweetness of the dessert. Meanwhile, the graham cracker crust adds a buttery crunch that complements the soft filling.
As a result, every bite delivers a satisfying combination of textures and flavors that feels indulgent without being overwhelming.
Easy to Prepare and Serve
Unlike traditional cheesecake, which often requires a water bath and careful baking, Red White & Blue Cheesecake Bars are much simpler to make. They are baked in a single pan and cut into squares, making them easy to portion and serve.
Additionally, their compact size makes them ideal for parties, potlucks, and picnics.
Perfect Make-Ahead Dessert for Busy Hosts
Another reason these bars are so popular is their make-ahead convenience. Because they need time to chill, you can prepare them the day before your event.
This not only saves time but also allows the flavors to develop fully, resulting in an even better-tasting dessert.
Ingredients for Red White & Blue Cheesecake Bars
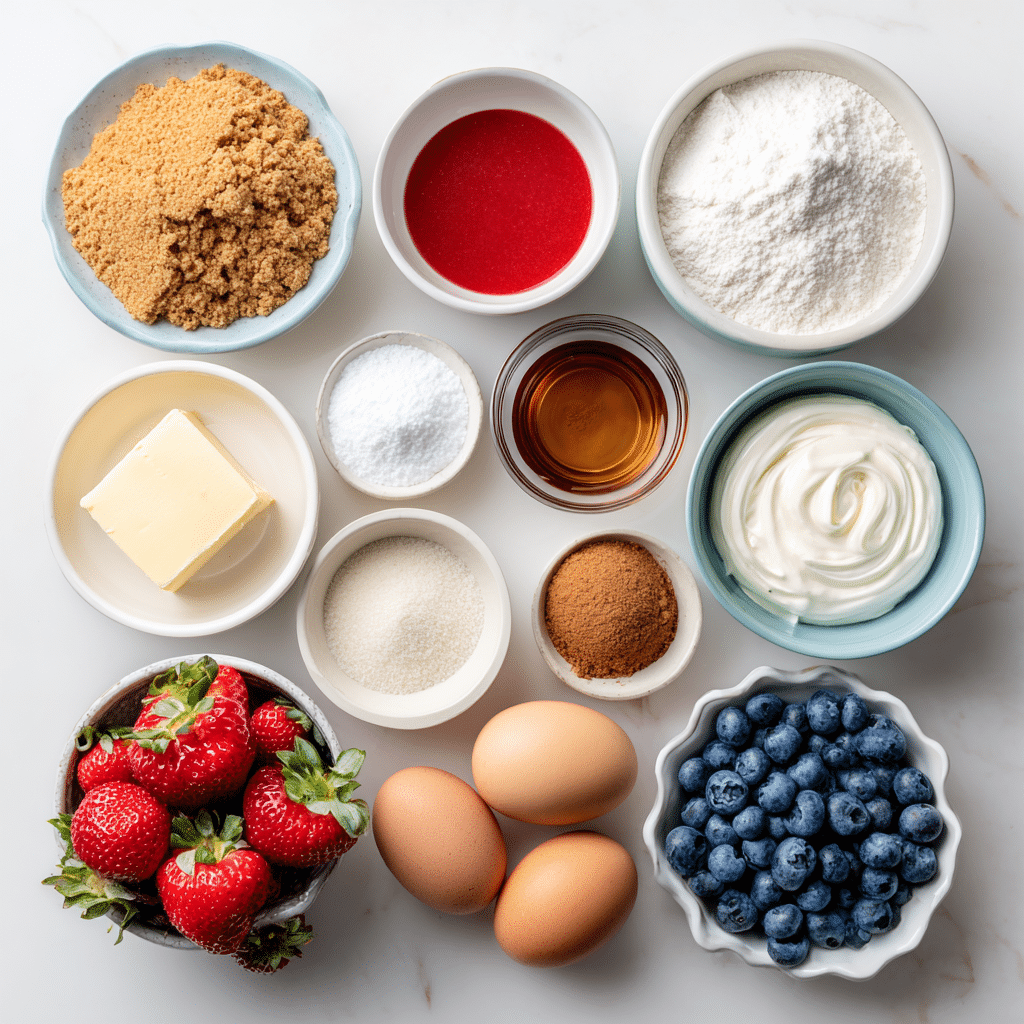
Crust Ingredients
These ingredients create a firm and flavorful base.
- 1 1/2 cups graham cracker crumbs
- 1/3 cup unsalted butter, melted
- 1/4 cup granulated sugar
Cheesecake Filling
These form the creamy and rich center.
- 16 oz cream cheese, softened
- 3/4 cup granulated sugar
- 2 large eggs
- 1 teaspoon vanilla extract
- 1/2 cup sour cream
Color Swirls
These add the patriotic look.
- Red food coloring or strawberry puree
- Blue food coloring or blueberry puree
Optional Toppings and Garnishes
Enhance both flavor and presentation.
- Fresh strawberries
- Blueberries
- Whipped cream
- Powdered sugar
- White chocolate drizzle
Step-by-Step Guide to Making Red White & Blue Cheesecake Bars
Step 1: Prepare the Crust
In a medium bowl, combine graham cracker crumbs, melted butter, and sugar. Mix until the texture resembles wet sand. Press the mixture firmly into the bottom of a lined baking pan.
Step 2: Bake the Crust
Bake the crust at 350°F (175°C) for 8–10 minutes. Remove from the oven and allow it to cool slightly before adding the filling.
Step 3: Make the Cheesecake Filling
In a large mixing bowl, beat the cream cheese until smooth and creamy. Add the sugar and mix until fully incorporated. Then add the eggs one at a time, followed by vanilla extract and sour cream. Mix until the batter is smooth and lump-free.
Step 4: Divide and Color the Batter
Take a small portion of the batter and divide it into two separate bowls. Add red coloring or strawberry puree to one bowl and blue coloring or blueberry puree to the other.
Step 5: Assemble the Cheesecake Bars
Pour the plain cheesecake batter over the prepared crust and spread it evenly. Then drop spoonfuls of the red and blue batter across the surface.
Step 6: Create the Swirled Effect
Using a knife or toothpick, gently swirl the colored batter into the plain batter. Be careful not to overmix, as you want to maintain distinct swirls.
Step 7: Bake the Cheesecake Bars
Bake at 325°F (160°C) for 30–35 minutes, or until the edges are set and the center is slightly jiggly.
Step 8: Cool and Chill
Allow the bars to cool at room temperature, then refrigerate for at least 4–5 hours or overnight. This step is essential for achieving the perfect texture.
Step 9: Slice and Serve
Once chilled, cut the cheesecake into squares using a sharp knife. Clean the knife between cuts for neat slices.
Creative Variations of Red White & Blue Cheesecake Bars
Berry Cheesecake Bars
Use fresh strawberry and blueberry purees instead of food coloring for a natural flavor.
Chocolate Cheesecake Bars
Add melted chocolate to part of the batter for a richer variation.
Lemon Cheesecake Bars
Incorporate lemon zest and juice for a bright and tangy twist.
No-Bake Cheesecake Bars
Use a no-bake cheesecake filling for a quicker version.
Gluten-Free Cheesecake Bars
Use gluten-free graham crackers for the crust.
Mini Cheesecake Bites
Make smaller portions using a muffin tin for bite-sized treats.
Expert Tips for Perfect Cheesecake Bars
Use Room Temperature Ingredients
Softened cream cheese and room temperature eggs blend more easily, resulting in a smooth filling.
Avoid Overmixing the Batter
Overmixing can incorporate too much air, which may cause cracks during baking.
Swirl Gently for Best Results
Light swirling creates a beautiful marbled effect without blending the colors too much.
Chill Thoroughly Before Serving
Proper chilling ensures the bars set completely and are easy to slice.
Use a Sharp Knife for Clean Cuts
Wipe the knife between cuts to maintain clean edges.
Common Mistakes to Avoid
Using Cold Cream Cheese
Cold cream cheese can lead to lumps in the batter.
Overbaking the Cheesecake
Overbaking can result in a dry and dense texture.
Skipping Chill Time
Without proper chilling, the bars will not hold their shape.
Over-Swirling the Batter
Too much swirling can blend the colors and reduce the visual appeal.
Frequently Asked Questions About Red White & Blue Cheesecake Bars
Can I make Red White & Blue Cheesecake Bars ahead of time?
Yes, they can be made a day in advance and stored in the refrigerator.
How long do they last?
They stay fresh for up to 5 days when refrigerated.
Can I freeze cheesecake bars?
Yes, they can be frozen for up to 2 months.
Can I use natural coloring?
Yes, fruit purees are a great alternative to food coloring.
Conclusion
Red White & Blue Cheesecake Bars are the perfect blend of creamy texture, rich flavor, and festive presentation. Their buttery crust, smooth cheesecake filling, and vibrant swirls make them a standout dessert for any summer celebration. Because they are easy to prepare and serve, they are ideal for both small gatherings and large events.
PrintRed White & Blue Cheesecake Bars for Easy Dessert

Red White & Blue Cheesecake Bars are creamy, rich dessert bars with a buttery graham cracker crust and vibrant patriotic swirls, perfect for summer celebrations.
- Prep Time: 35 minutes
- Cook Time: 35 minutes
- Total Time: 5 hours
- Yield: 12–16 bars
Ingredients
- 1 1/2 cups graham cracker crumbs
- 1/3 cup unsalted butter, melted
- 1/4 cup granulated sugar
- 16 oz cream cheese, softened
- 3/4 cup granulated sugar
- 2 large eggs
- 1 teaspoon vanilla extract
- 1/2 cup sour cream
- Red food coloring or strawberry puree
- Blue food coloring or blueberry puree
- Fresh strawberries (optional)
- Blueberries (optional)
Instructions
- Mix graham cracker crumbs, butter, and sugar and press into pan.
- Bake crust at 350°F for 8–10 minutes.
- Beat cream cheese until smooth.
- Add sugar, eggs, vanilla, and sour cream and mix until creamy.
- Divide batter and color portions red and blue.
- Pour plain batter over crust.
- Add colored batter and swirl gently.
- Bake at 325°F for 30–35 minutes.
- Cool and refrigerate for at least 4–5 hours.
- Slice into bars and serve chilled.
Notes
- Use room temperature ingredients.
- Do not overmix batter.
- Swirl gently for best design.
- Chill before slicing.
- Store in refrigerator up to 5 days.
- Freeze up to 2 months.
- Use fruit puree for natural coloring.
- Avoid overbaking.
- Use sharp knife for clean cuts.
- Serve chilled.
Nutrition
- Serving Size: 1 bar
- Calories: 350 kcal
- Sugar: 27 g
- Sodium: 250 mg
- Fat: 23 g
- Saturated Fat: 14 g
- Unsaturated Fat: 8 g
- Trans Fat: 0 g
- Carbohydrates: 33 g
- Fiber: 1 g
- Protein: 5 g
- Cholesterol: 85 mg