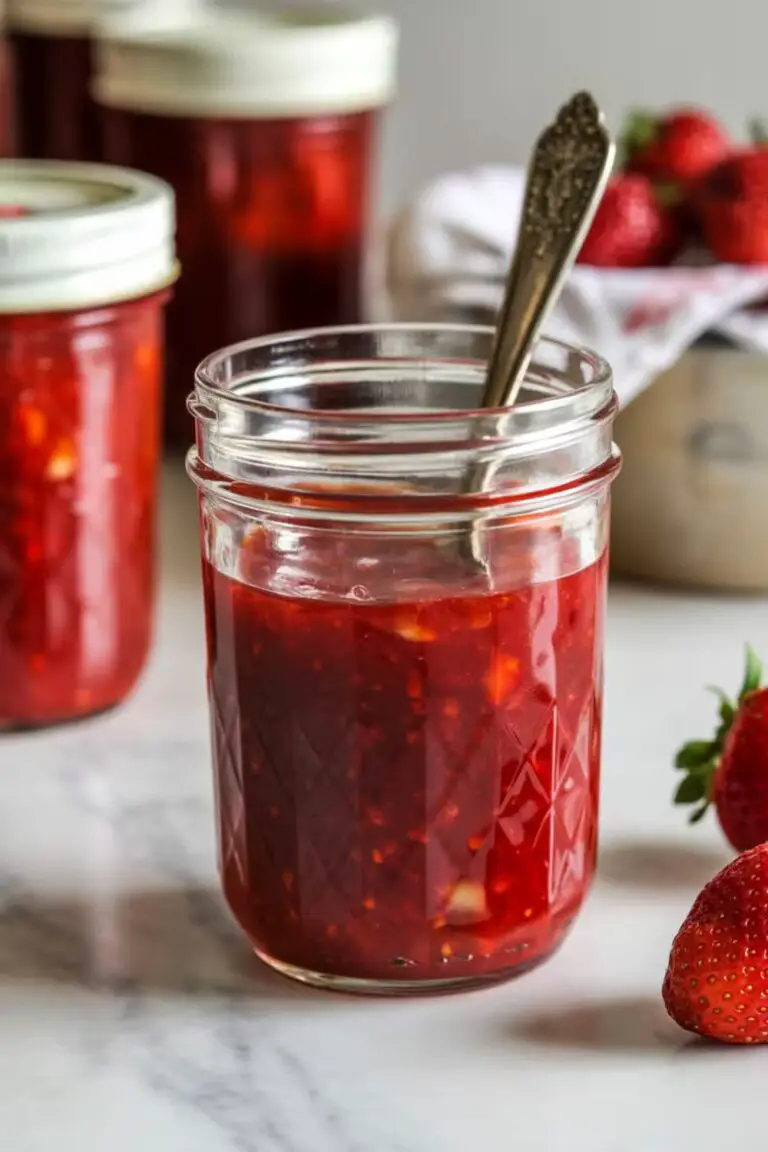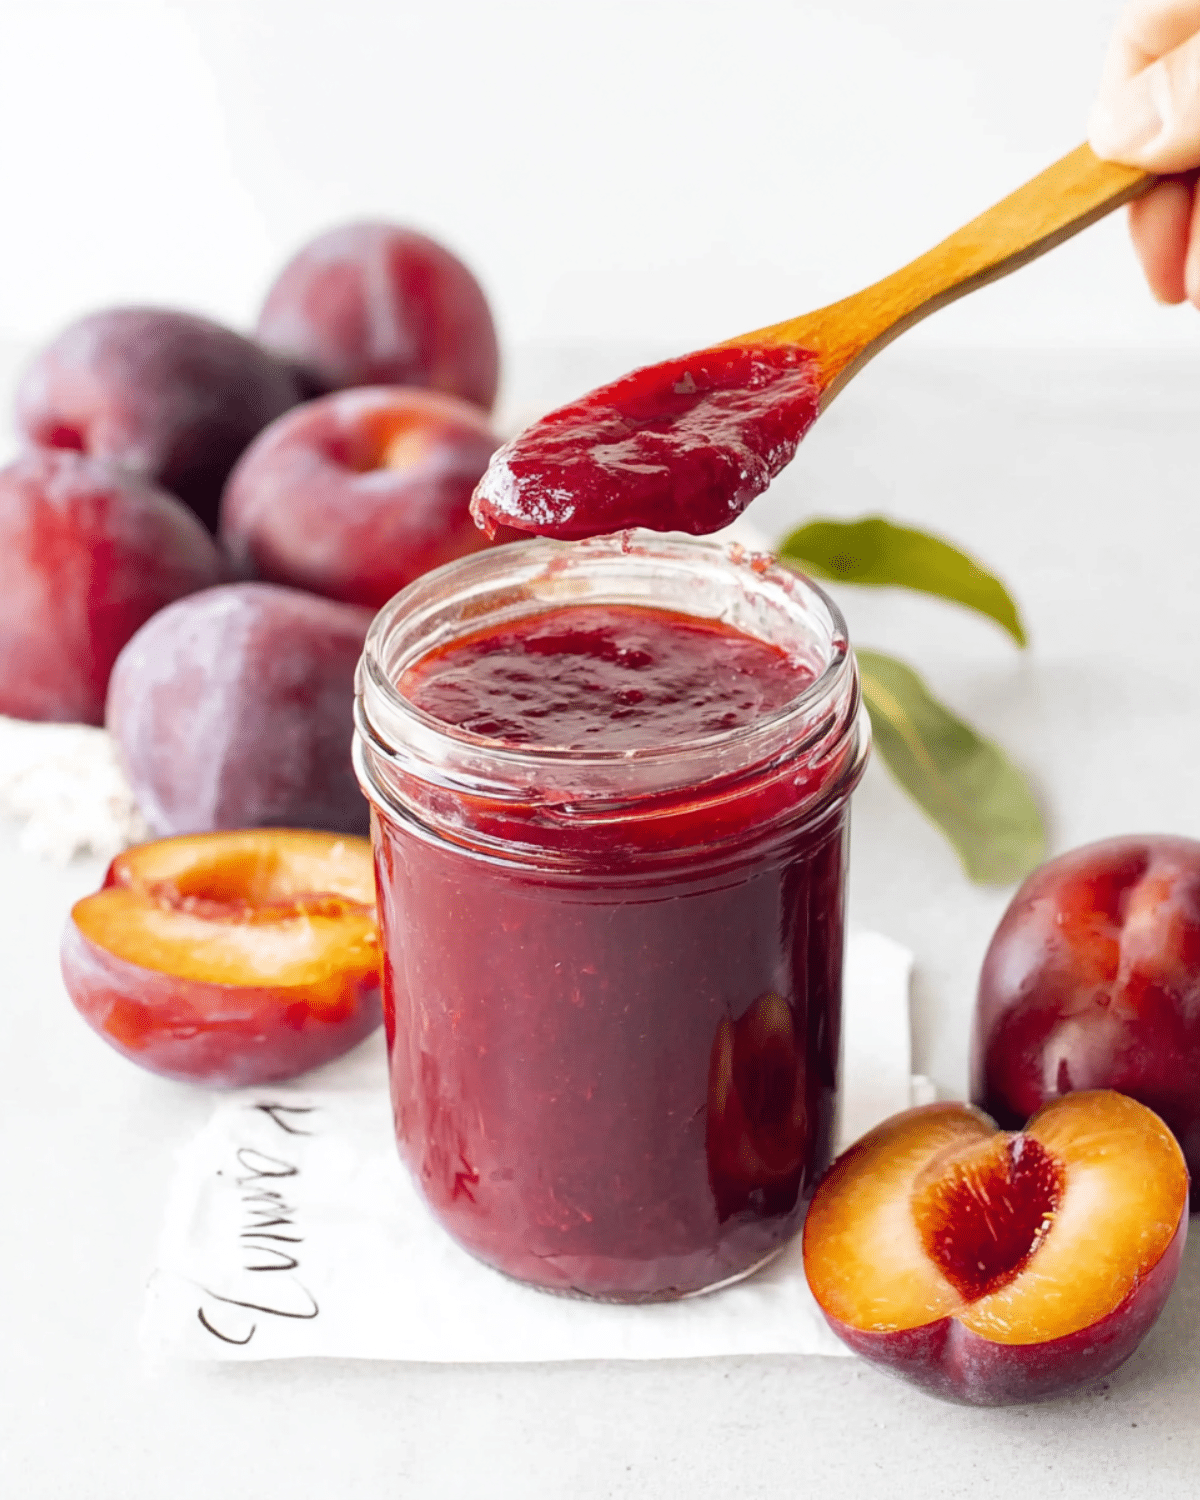
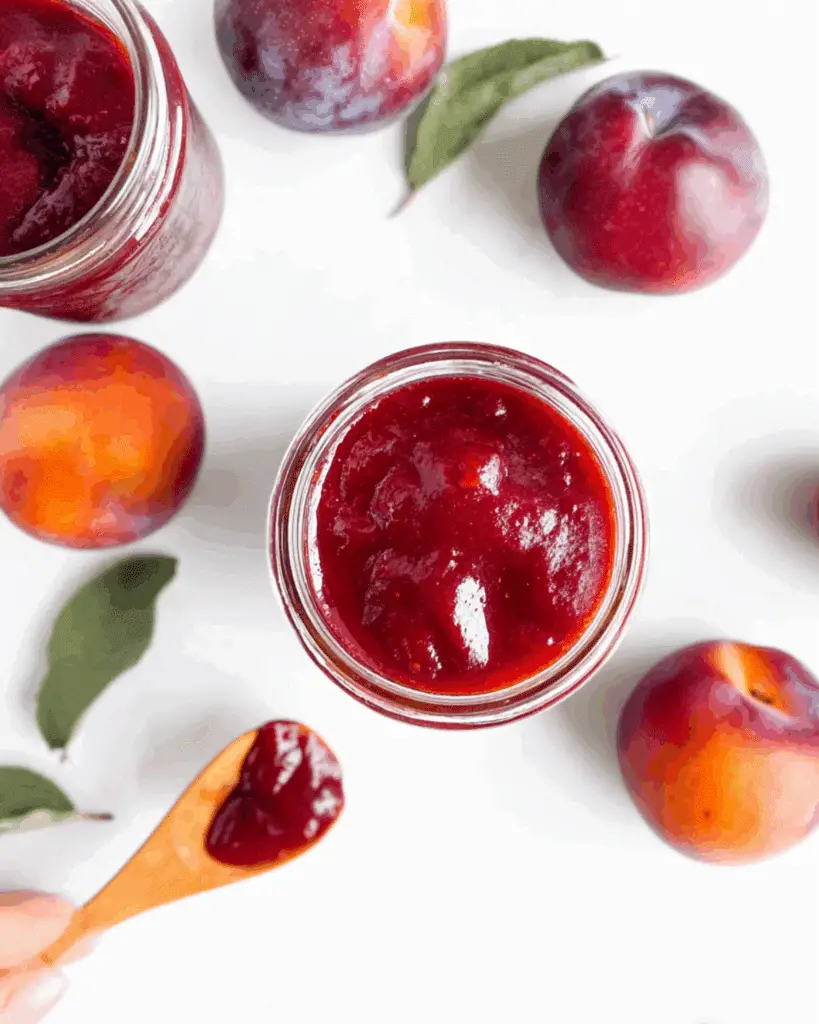
Craving a simple way to preserve the taste of summer? This easy plum jam recipe lets you turn ripe, juicy plums into a luscious spread without any added pectin. Whether you’re a beginner or a seasoned home cook, you’ll love how quick and fuss-free this method is. With just a few basic ingredients and some patience, you’ll create a naturally thickened jam that’s perfect for toast, pastries, and even savory dishes.
Looking for inspiration? Try our Homemade Pumpkin Jam.
Let’s dive into why homemade plum jam without pectin is worth every spoonful.
JUMP TO
Table of Contents
Why Make Homemade Plum Jam Without Pectin?
Healthier Option with Natural Ingredients
Most store-bought jams contain added preservatives, artificial pectin, and excess sugar. But when you make your own plum jam, you’re in complete control. You can choose organic plums, reduce the sugar content, or even swap white sugar for coconut sugar or honey if preferred. Plums are naturally rich in pectin, so there’s no need to add commercial thickeners. This makes your jam not only healthier but also cleaner and more flavorful.
Cost-Effective and Customizable
If you’ve ever balked at the price of artisanal fruit spreads, making jam at home will feel like a game-changer. Seasonal plums are often available in bulk at a discount, especially during summer harvest. With just plums, sugar, lemon juice, and a dash of patience, you’ll have several jars of jam for a fraction of store prices. Plus, you can tailor the flavor—want it tarter, sweeter, or spiced with cinnamon or vanilla? Go for it.
Don’t miss our budget-friendly blueberry chia jam recipe for a healthy, no-sugar-added spread.
Ideal for Beginners and Small Batches
This no-pectin plum jam is perfect for anyone trying home canning for the first time. There’s no special equipment needed beyond a pot and a spoon, and the small-batch format means less pressure and more fun. You don’t even need canning jars unless you want to store the jam long-term—just keep a batch in the fridge and enjoy it within weeks.
Check out our beginner’s jam guide to get started on the right foot.
Ingredients and Tools You’ll Need
Fresh Plums and Natural Sweeteners
For this recipe, you’ll need:
| Ingredient | Quantity |
|---|---|
| Ripe plums (halved and pitted) | 4 cups |
| Granulated sugar | 1 cup |
| Lemon juice (freshly squeezed) | 2 tbsp |
| Water | ¼ cup (optional, for texture) |
Plums provide their own natural pectin, so no store-bought pectin is needed. If you prefer less sweetness, reduce the sugar or replace it with maple syrup or coconut sugar.
Essential Equipment for Jam Making
- A heavy-bottomed pot (non-reactive like stainless steel or enameled)
- Wooden spoon or heatproof spatula
- Potato masher (for breaking down fruit)
- Clean glass jars with lids
- Funnel and ladle (optional but helpful)
Substitutions and Optional Add-ins
Want to jazz up your jam? Try these variations:
- Add ½ tsp of cinnamon for warmth
- Stir in vanilla extract at the end
- Replace half the plums with peaches or nectarines
- Use honey for a floral twist
Discover great ideas like our apricot jam without pectin for a stone fruit alternative.
How to Make Easy Plum Jam Step-by-Step
Prepping and Pitting the Plums
Wash the plums thoroughly, then cut them in half and remove the pits. No need to peel them—the skin breaks down during cooking and helps with thickening. If your plums are extra juicy, drain off some liquid to avoid overly thin jam.
Cooking the Jam Without Pectin
In your pot, combine the plums, sugar, and lemon juice. Stir to coat evenly. Place over medium-high heat and bring to a boil, then reduce to a simmer. Stir often to prevent sticking. As the fruit softens, mash it gently with a potato masher. Continue simmering for 35–45 minutes or until the mixture thickens.
Use the cold plate test: place a small spoonful on a cold plate and run your finger through it—if it wrinkles slightly and doesn’t run, it’s ready.
Tips to Know When Your Jam is Ready
- Stir continuously once the jam thickens to avoid burning
- Test often for your preferred consistency
- Don’t rush the simmering process—it helps build depth of flavor
- Skim off any foam that rises during boiling for a cleaner finish
Learn more about avoiding jam-making mistakes to make your process smoother.
Storage Tips and Shelf Life
Proper Canning and Sealing Techniques
If you plan to store your plum jam long-term, canning is key. Sterilize your jars by boiling them in water for 10 minutes or running them through the dishwasher’s sanitize cycle. Once the jam is hot and ready, pour it into jars using a funnel, leaving ¼-inch headspace. Wipe the rims clean, seal with lids, and process in a boiling water bath for 10 minutes. This creates a vacuum seal that keeps your jam safe for months.
Make sure your jars “pop” as they cool—this sound confirms the seal is tight. If any don’t seal, refrigerate and eat them first.
Check out our simple canning safety checklist for peace of mind.
Fridge vs. Freezer Storage
No time to can? No problem. This easy plum jam stores beautifully in the fridge or freezer too. In the fridge, it’ll stay fresh for 2 to 3 weeks. In the freezer, tightly sealed jars or containers will keep for up to 6 months. Just leave a bit of space at the top of your jars to allow for expansion.
Tip: Use smaller jars for freezing so you can thaw only what you need.
How Long Will Homemade Jam Last?
Here’s a quick guide to storage time:
| Storage Method | Shelf Life |
|---|---|
| Refrigerator | 2 to 3 weeks |
| Freezer | Up to 6 months |
| Properly canned jar | 6 to 12 months |
Always label your jars with the date and ingredients used. If your jam develops mold, an off smell, or bubbles, discard it immediately.
Serving Ideas for Homemade Plum Jam
Breakfast and Brunch Pairings
Start your day with a burst of fruity goodness. Plum jam shines on toast, English muffins, and warm croissants. Swirl it into oatmeal or spoon it over yogurt for a tangy-sweet kick. Add it to pancakes or waffles instead of syrup for a fruity surprise.
Looking for inspiration? Try this coconut flour pancake recipe with plum jam on top.
Using Plum Jam in Savory Dishes
This jam isn’t just for sweet dishes. Spread it on a grilled cheese for a gourmet twist or brush it onto pork chops before roasting. You can even mix it with balsamic vinegar for a rich glaze or combine it with mustard as a sauce for meatballs.
It also pairs beautifully with cheese boards—try it with brie, blue cheese, or goat cheese for a decadent appetizer.
DIY Gift Ideas with Jam Jars
Homemade jam makes for thoughtful, affordable gifts. Add a ribbon, handwritten label, and maybe a mini spoon to each jar for a rustic, charming presentation. They’re perfect for holidays, birthdays, housewarmings, or as party favors.
Discover great ideas like these homemade edible gifts to make any occasion special.
Frequently Asked Questions (FAQ)
What is the difference between jelly and jam?
Jam is made with whole or mashed fruit, giving it a thicker texture with pieces of fruit. Jelly uses fruit juice, making it smoother and more clear. Plum jam keeps the rich pulp of the fruit, making it heartier and more flavorful.
Can I use frozen plums instead of fresh ones?
Absolutely. Just thaw the plums completely and drain excess liquid before cooking. Frozen plums may take a bit longer to break down but the flavor remains the same. It’s a great option when plums are out of season.
Why didn’t my jam set properly?
There are a few reasons. If your plums were too ripe, they may have lower natural pectin. If the mixture didn’t simmer long enough, it might still be too runny. Let it cool—it may thicken as it sits. If not, reboil with a splash of lemon juice and cook until thicker.
Do I need to sterilize jars before canning?
Yes—always sterilize your jars to prevent contamination and ensure shelf-stable storage. Even if you’re not using a water bath, starting with clean, sanitized jars helps preserve the freshness and quality of your jam.
Final Thoughts on This Easy Plum Jam Recipe
Making your own easy plum jam without pectin is one of the simplest—and most rewarding—ways to capture the flavors of the season. With minimal ingredients and no need for complicated tools, this recipe is perfect for beginners and seasoned preservers alike. Whether you spread it on toast, pair it with cheese, or give it as a homemade gift, one thing’s certain: you’ll never go back to store-bought jam again.
Don’t miss our complete guide to preserving fruits at home for more ways to stock your pantry with natural goodness.
PrintEasy Plum Jam

This easy plum jam recipe is a no-pectin, beginner-friendly spread made with just 4 ingredients and ready in about an hour. Naturally thickened and bursting with fruity flavor, it’s perfect for toast, desserts, cheese boards, or DIY gifts.
- Prep Time: 15 minutes
- Cook Time: 45 minutes
- Total Time: 1 hour
- Yield: 2 to 3 small jars
- Category: Preserves
- Method: Stovetop
- Cuisine: American
- Diet: Vegan
Ingredients
- 4 cups ripe plums, halved and pitted
- 1 cup granulated sugar
- 2 tablespoons fresh lemon juice
- 1/4 cup water (optional, for texture)
Instructions
- Wash, halve, and pit the plums. No need to peel.
- Combine plums, sugar, and lemon juice in a heavy-bottomed pot.
- Place over medium-high heat and bring to a boil.
- Reduce heat and simmer, stirring frequently.
- As plums soften, mash with a potato masher.
- Continue simmering for 35–45 minutes, stirring often.
- Use the cold plate test to check consistency.
- Skim foam if needed and remove from heat once thickened.
- Pour into sterilized jars, seal, and store accordingly.
Notes
- No commercial pectin is required as plums are naturally high in pectin.
- Can substitute sugar with coconut sugar or maple syrup.
- Add vanilla or cinnamon for flavor variations.
- Use frozen plums if fresh are unavailable—just thaw and drain first.
Nutrition
- Serving Size: 1 tablespoon
- Calories: 35
- Sugar: 8g
- Sodium: 0mg
- Fat: 0g
- Saturated Fat: 0g
- Unsaturated Fat: 0g
- Trans Fat: 0g
- Carbohydrates: 9g
- Fiber: 0.5g
- Protein: 0g
- Cholesterol: 0mg