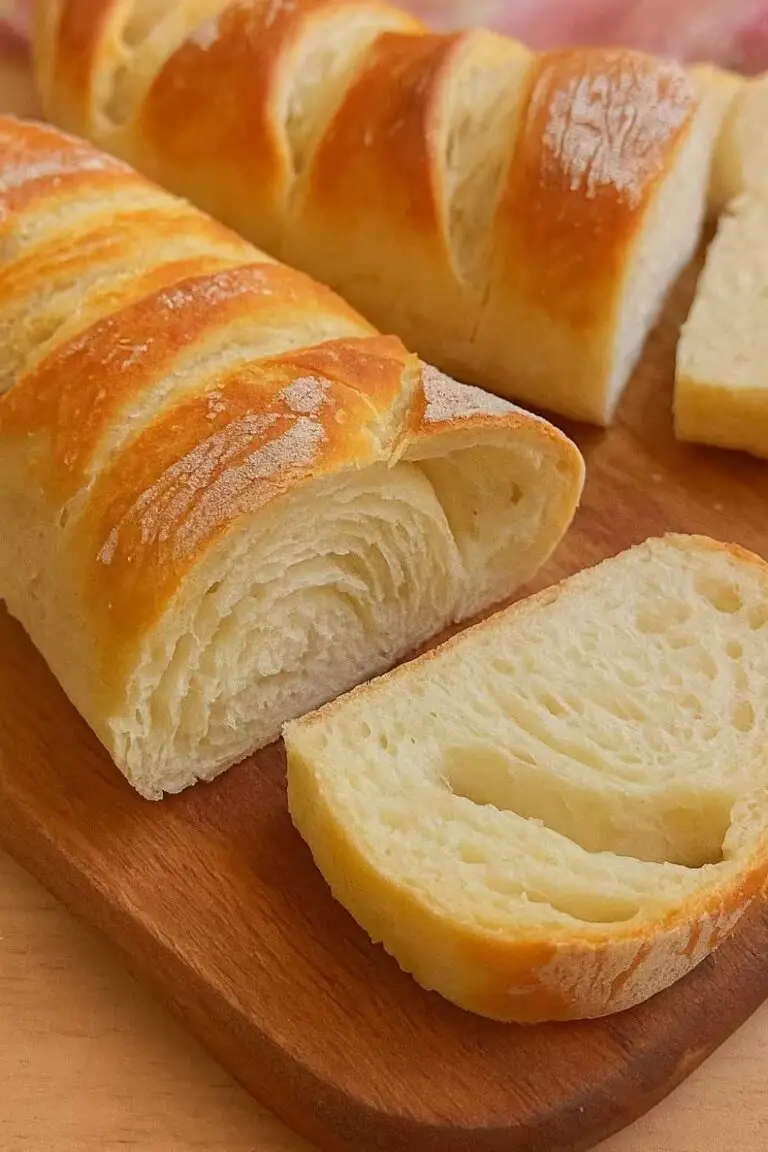
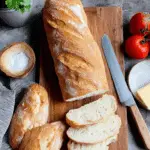
Few things beat the taste and smell of homemade crusty Italian bread. With its golden crackling crust and pillowy-soft interior, this classic loaf transforms any meal into a comfort-food experience. Whether you’re serving pasta, soup, or a charcuterie board, fresh Italian bread adds warmth and flavor to your table.
Making it from scratch isn’t as complicated as it sounds. In fact, this version comes together with simple ingredients, minimal proofing, and no fancy equipment needed. In this guide, we’ll walk you through everything—from dough prep to baking secrets, plus clever serving ideas.
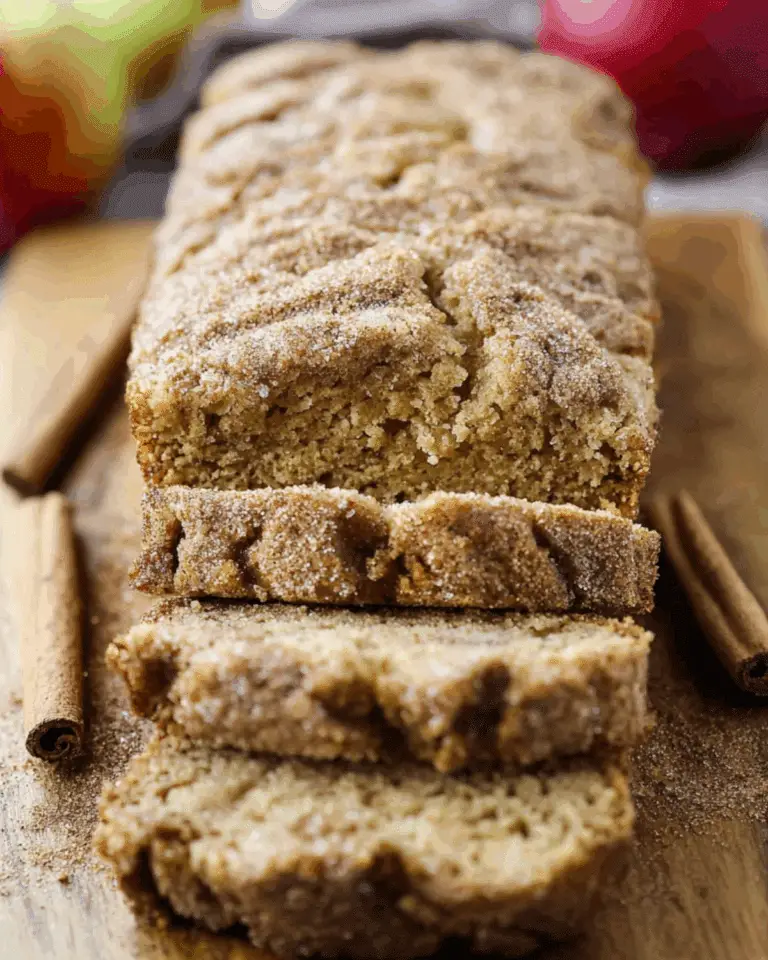
Don’t miss our fluffy French bread recipe for another easy homemade loaf.
JUMP TO
Table of Contents
What makes crusty Italian bread so good
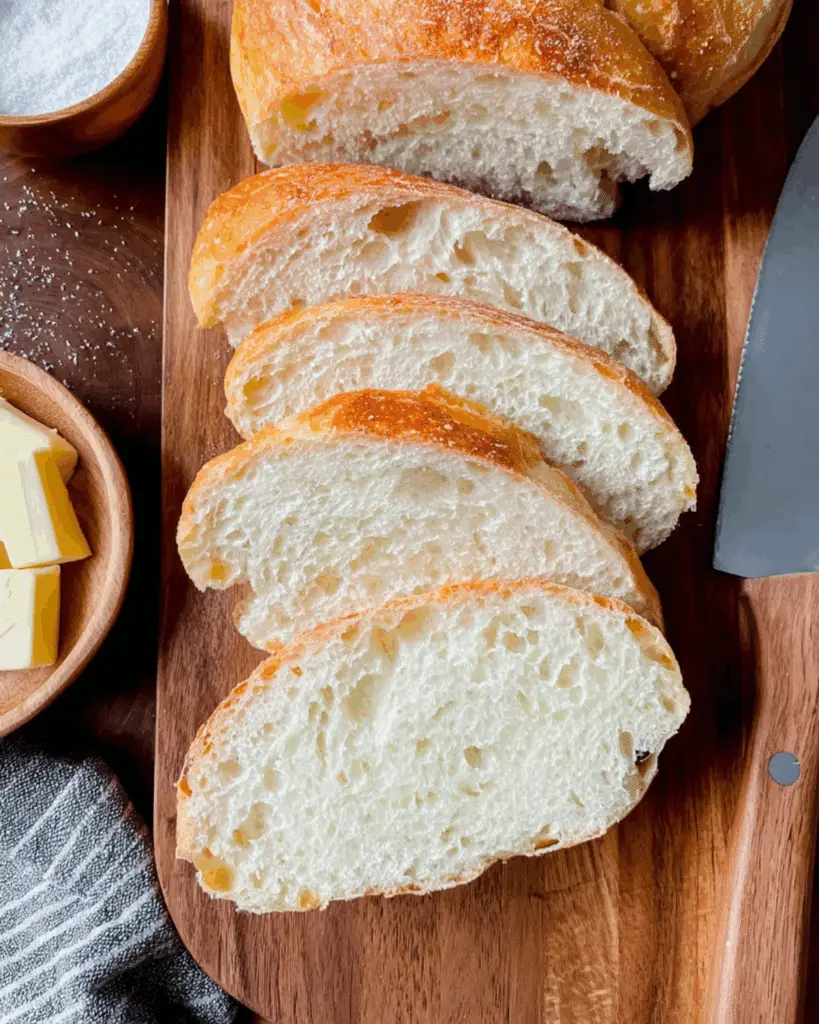
Crispy outside, soft inside
The magic of crusty Italian bread lies in the contrast: a thin, crackly crust encasing a soft, airy middle. This texture comes from high-heat baking, steam in the oven, and just the right egg wash finish. When done right, the result is a golden, chewy masterpiece you can tear into warm.
Bread with tradition
This bread style traces back to rustic Italian kitchens, where bread wasn’t just food—it was the heart of every meal. Italians used it for soaking up sauces, cradling antipasto, or simply enjoying it warm with butter or olive oil. It’s rustic, practical, and meant to be shared.
Easy enough for home bakers
You don’t need a wood-fired oven or a bakery setup to make this loaf. The recipe uses basic pantry staples like bread flour, yeast, and sugar. With only an hour of proofing and less than 30 minutes in the oven, it’s a fast-track bread you’ll want to make again and again.
Key ingredients for Italian bread
Flour is everything
The base of this bread is high-protein bread flour, which gives the loaf its chewy structure. All-purpose flour can work, but bread flour makes a noticeable difference in texture and rise. You’ll need around 650 grams (5 1/4 cups), though you may use a little less depending on humidity and kneading.
The yeast-sugar combo
To activate your yeast, mix 1 tablespoon of active dry yeast with warm water (110°F) and a tablespoon of sugar. Sugar helps the yeast “wake up” and begin fermenting, which is key to fluffy dough. Let it sit for 5–10 minutes until foamy.
Salt and fat
Salt controls the rise and enhances flavor, while a tablespoon of softened butter adds richness. You’ll whisk the butter into the foamed yeast before combining it with flour.
Egg wash for the crust
For that golden, bakery-style finish, use an egg white mixed with a tablespoon of cold water. Brushing this on during the final minutes of baking gives the loaf a crisp, glossy surface.
Olive oil for moisture
Lightly oiling your bowl and baking sheet with extra virgin olive oil helps prevent sticking and adds a hint of depth to the flavor.
Making the dough step-by-step
1. Bloom your yeast
Warm 1 ¾ cups of water to about 110°F. Stir in 1 tablespoon each of yeast and sugar. Let it sit until frothy—this confirms your yeast is alive and ready.
2. Mix flour and salt
In a large bowl, whisk about 4 cups of bread flour with 2 teaspoons of salt. You’ll add the rest of the flour gradually during kneading.
3. Combine wet and dry
Whisk your softened butter into the bloomed yeast mixture. Pour it into the flour and mix with a spatula until a rough dough forms.
4. Knead and rest
Transfer the dough to a floured surface and knead for 5–7 minutes until smooth and elastic. It should be soft and slightly tacky but not sticky. Place in an oiled bowl, cover, and let it proof for 30–40 minutes.
Looking for inspiration? Try our no-knead bread if you’re new to baking. Or discover great ideas like this amish white bread for a sweeter version.
How to bake crusty Italian bread
Shaping the loaves
Once your dough has doubled in size, punch it down and divide it into two equal portions. Roll each piece into a rough rectangle and then tightly roll into a log, pinching the seams to seal. Tuck in the ends for a neat finish.
Proof again briefly
Place the loaves seam-side down on a greased baking sheet. Cover with a kitchen towel and let them rest for another 20 minutes while your oven preheats to 425°F. This second rise gives the bread its final puff.
Score before baking
Right before baking, use a sharp knife or bread lame to make 3–4 diagonal slashes across the tops. This lets the steam escape and creates a rustic, artisan look.
Bake in two stages
Bake for 20 minutes, then remove and brush with the egg white wash. Return to the oven and bake for another 5–7 minutes. This two-step method ensures a crackling crust without overbaking the interior.
Tips for perfect results
Don’t skip the rest
Once baked, resist the urge to cut into your bread right away. Let it rest at least 20 minutes. This allows moisture to redistribute, keeping the inside soft and fluffy without becoming gummy.
Steam is your friend
To enhance the crust, place a small tray of hot water on the oven floor while baking. The steam helps create a blistered, bakery-style crust.
Store it right
Wrap cooled loaves in foil and store at room temperature for 2–3 days. You can also freeze whole or sliced loaves. To reheat, place in a 350°F oven for 5–7 minutes—crusty and fresh like day one.
Looking for inspiration? Try our easiest rustic bread or bread bowl recipe next for more hearty homemade baking ideas.
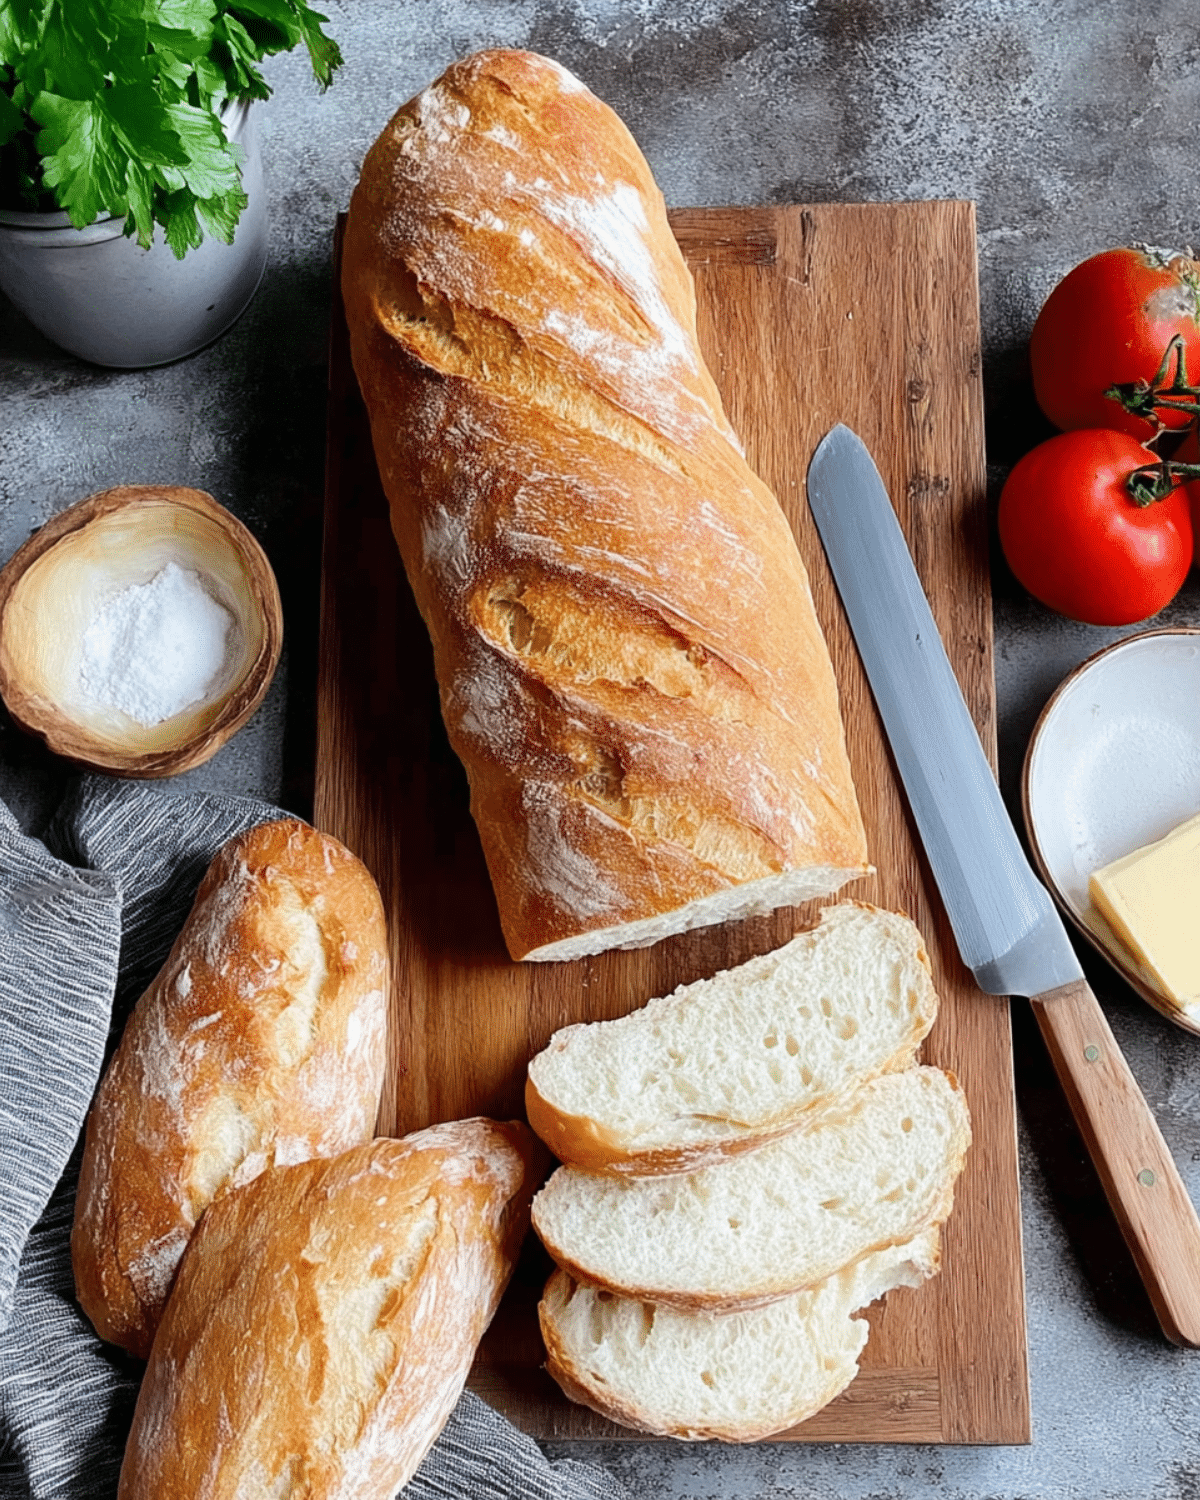
Serving ideas
Crusty Italian bread is delicious on its own, but it truly shines when paired well:
| Serving Style | Pair With |
|---|---|
| Sliced & Buttered | Pasta dishes, soups, stews |
| Grilled or Toasted | Bruschetta, garlic butter, tapenade |
| Cubed | Croutons for salads or soups |
| Dipped | Olive oil with herbs, balsamic glaze |
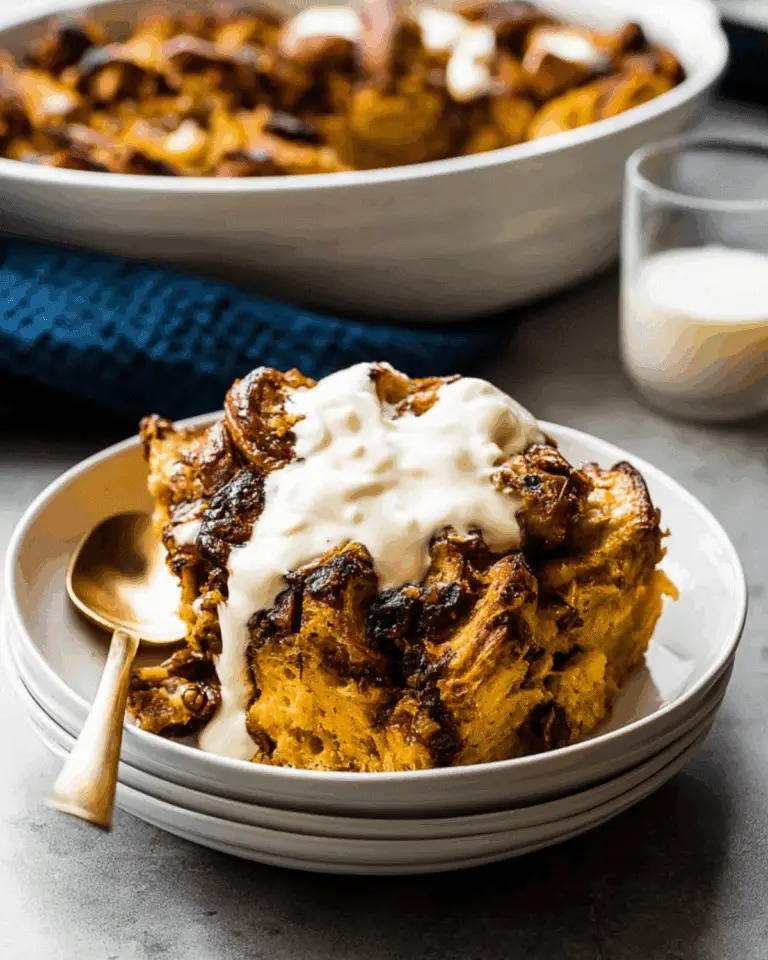
| Repurposed | Bread pudding or French toast |
Don’t miss our cheesy chicken enchilada casserole—a rich, comforting dish that pairs perfectly with this crusty loaf.
FAQs about Italian bread
What’s the difference between Italian and French bread?
Italian bread is often softer inside with a golden crust, while French bread (like baguettes) has a harder shell and chewier bite. Italian loaves also tend to use more fat, like olive oil or butter.
Why isn’t my crust crispy?
Not enough oven heat or skipping the egg wash can cause a soft crust. Also, cutting into the bread too early traps steam, making it soggy.
Can I use instant yeast?
Yes, you can. Substitute one-to-one, but skip the blooming step. Add it directly to your dry ingredients.
How can I make this gluten-free?
You’ll need a high-quality gluten-free bread flour blend and a binder like xanthan gum. Results may vary, so it may take testing.
Final thoughts
Crusty Italian bread is one of those recipes that feels timeless, yet incredibly rewarding to master at home. With simple ingredients and a few expert techniques, you can bake a loaf that rivals any bakery. Soft on the inside, golden on the outside—it’s comfort food at its finest.
Want more bread ideas? Discover great options like our blueberry butter spread that pairs beautifully with warm slices.
PrintCrusty Italian Bread
A classic crusty Italian bread recipe that delivers a crispy golden crust and a soft, airy interior. Perfect with pasta, soups, or as a base for bruschetta, this easy homemade loaf is ready in under two hours and makes two long loaves.
- Prep Time: 20 minutes
- Cook Time: 30 minutes
- Total Time: 1 hour 50 minutes
- Yield: 2 loaves
- Category: Bread
- Method: Baking
- Cuisine: Italian
- Diet: Vegetarian
Ingredients
- 650 grams (5 1/4 cups) bread flour
- 1 3/4 cups warm water (100–110°F)
- 1 tablespoon granulated sugar
- 1 tablespoon active dry yeast
- 1 tablespoon softened butter
- 2 teaspoons salt
- 1 egg white
- 1 tablespoon cold water
- 1 tablespoon extra virgin olive oil
Instructions
- In a bowl, whisk sugar and yeast into warm water. Let sit 5–10 minutes until foamy.
- In a large bowl, whisk 4 cups of bread flour with salt.
- Whisk softened butter into the foamy yeast. Add to the flour mixture.
- Mix until a soft dough forms. Transfer to floured surface.
- Knead for 5–7 minutes until dough is soft, tacky but not sticky.
- Form dough into a ball, place in an oiled bowl, flip to coat. Cover and proof for 30–40 minutes.
- Punch down and divide dough in half. Roll each into a rectangle, then roll into logs. Pinch seams and tuck ends.
- Place loaves seam-side down on greased baking sheet. Cover and rest 20 minutes. Preheat oven to 425°F.
- Score tops with 3–4 diagonal slashes. Bake for 20 minutes.
- Remove, brush tops with whisked egg white and water. Return to oven for 5–7 more minutes.
- Cool for at least 20 minutes before slicing.
Notes
- Use bread flour for the best texture and rise.
- Let the dough rest properly for optimal flavor and texture.
- Steam in the oven helps create a better crust.
- Resting the baked loaves ensures a soft, even interior.
- Store wrapped in foil at room temperature for up to 3 days or freeze.
Nutrition
- Serving Size: 1 slice
- Calories: 160
- Sugar: 1g
- Sodium: 230mg
- Fat: 2g
- Saturated Fat: 0.5g
- Unsaturated Fat: 1.2g
- Trans Fat: 0g
- Carbohydrates: 30g
- Fiber: 1g
- Protein: 4g
- Cholesterol: 0mg