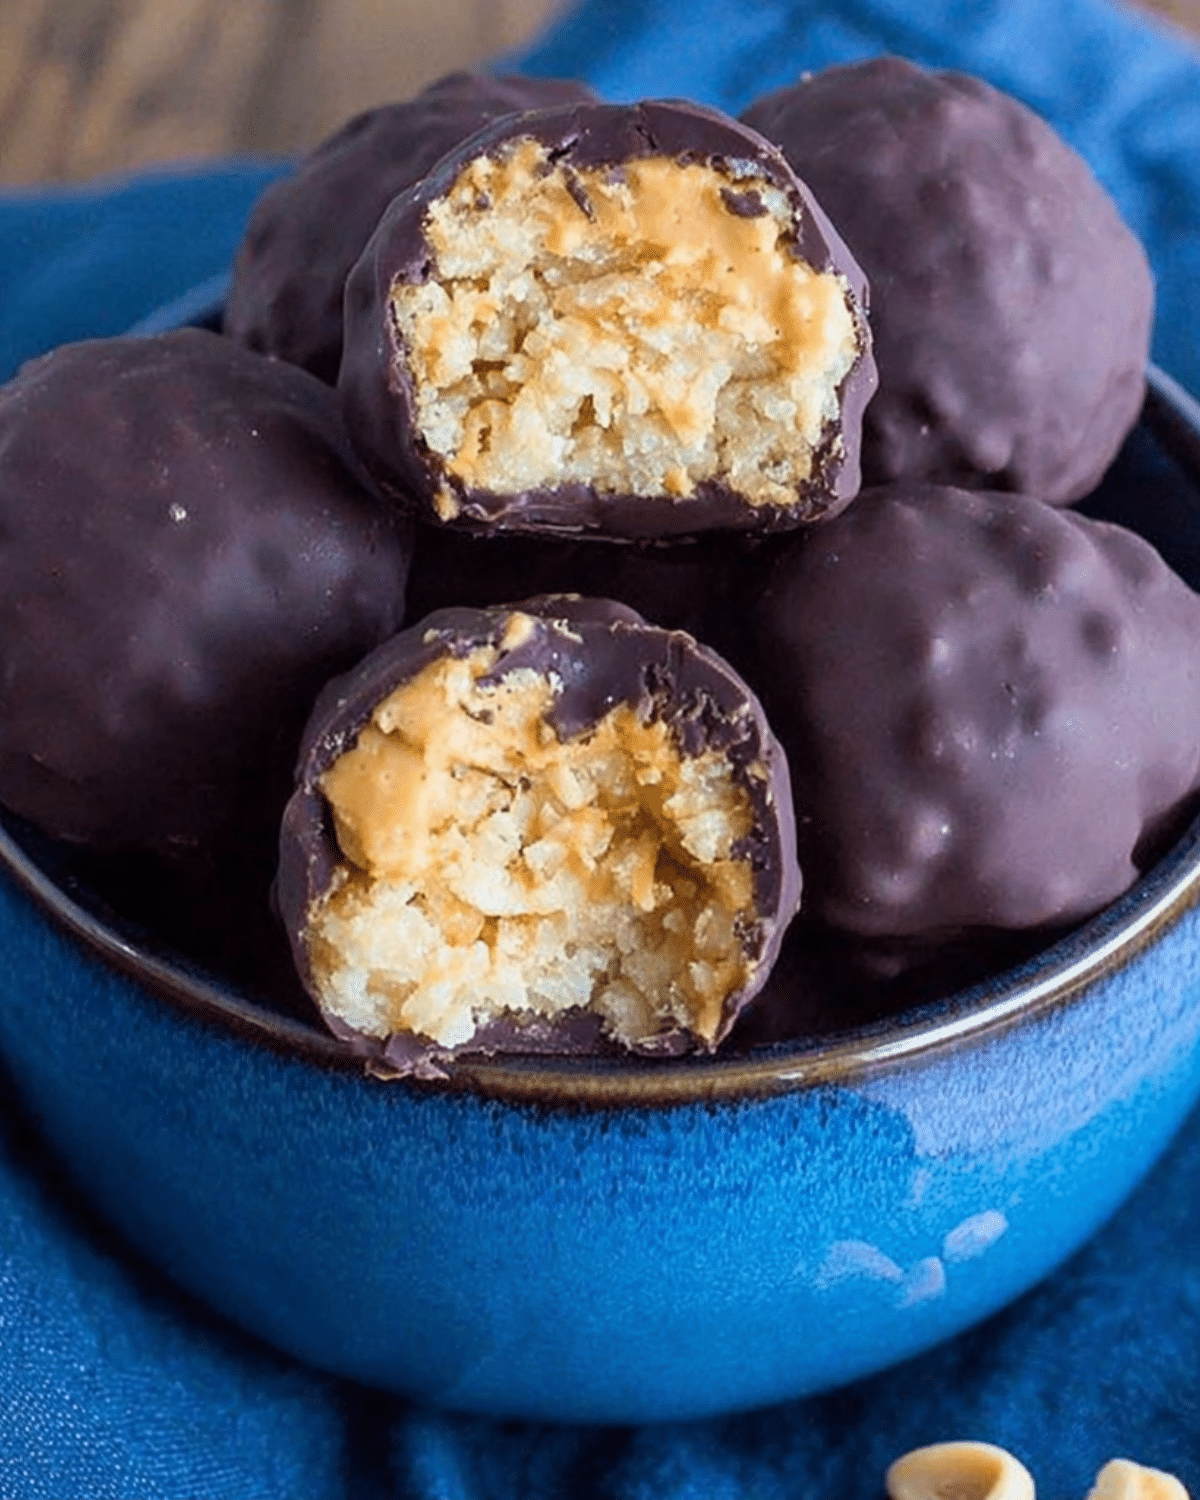
Few desserts blend nostalgia and irresistible flavor quite like Rice Krispies Peanut Butter Balls. This no-bake classic combines the creamy richness of peanut butter, the satisfying crunch of Rice Krispies cereal, and the smooth decadence of chocolate. Whether you’re prepping treats for the holidays or simply craving a sweet bite after school, these bite-sized delights deliver the perfect mix of texture and taste. In this guide, we’ll walk through everything—from ingredients to storage tips—so you can make flawless peanut butter balls every time. For more easy homemade candy ideas, explore our No-Bake Dessert Recipes for instant inspiration.
JUMP TO
Table of Contents
The Story Behind Rice Krispies Peanut Butter Balls
This recipe isn’t just about mixing cereal and chocolate; it’s about tradition, family, and timeless flavor. These treats have been a staple at Christmas gatherings, bake sales, and school parties for decades. Combining peanut butter’s salty-sweet charm with the crisp texture of Rice Krispies makes every bite unforgettable.
From Buckeyes to Rice Krispies Magic
The original version of this recipe traces its roots to Ohio’s famous Buckeyes—chocolate-dipped peanut butter candies shaped like the state tree nut. Adding Rice Krispies takes that familiar favorite and gives it a delightful twist of crunch. It’s an easy evolution that makes this dessert more fun and satisfying.
A Family Tradition that Never Fades
Ask anyone who grew up in the Midwest, and they’ll tell you: peanut butter balls are more than candy; they’re a memory. Every generation seems to have their own variation, but adding Rice Krispies has become one of the most loved updates. It’s the kind of recipe that kids can help make and adults can’t stop eating.
Why You’ll Love This Recipe
Before you dive into melting chocolate or mixing ingredients, here’s why this recipe stands out:
| Reason | What It Adds |
|---|---|
| No baking required | Perfect for beginners or kids in the kitchen |
| Texture heaven | Crispy, creamy, and chocolatey in every bite |
| Make-ahead friendly | Keeps beautifully in the fridge or freezer |
| Versatile | Works for holidays, parties, or a quick snack |
| Crowd-pleaser | Loved by both chocolate fans and peanut butter lovers |
If you’re a fan of classic comfort desserts, you might also like our Peanut Butter Oatmeal Bars, which offer similar rich flavors with an even chewier texture.
Ingredients You’ll Need for Rice Krispies Peanut Butter Balls
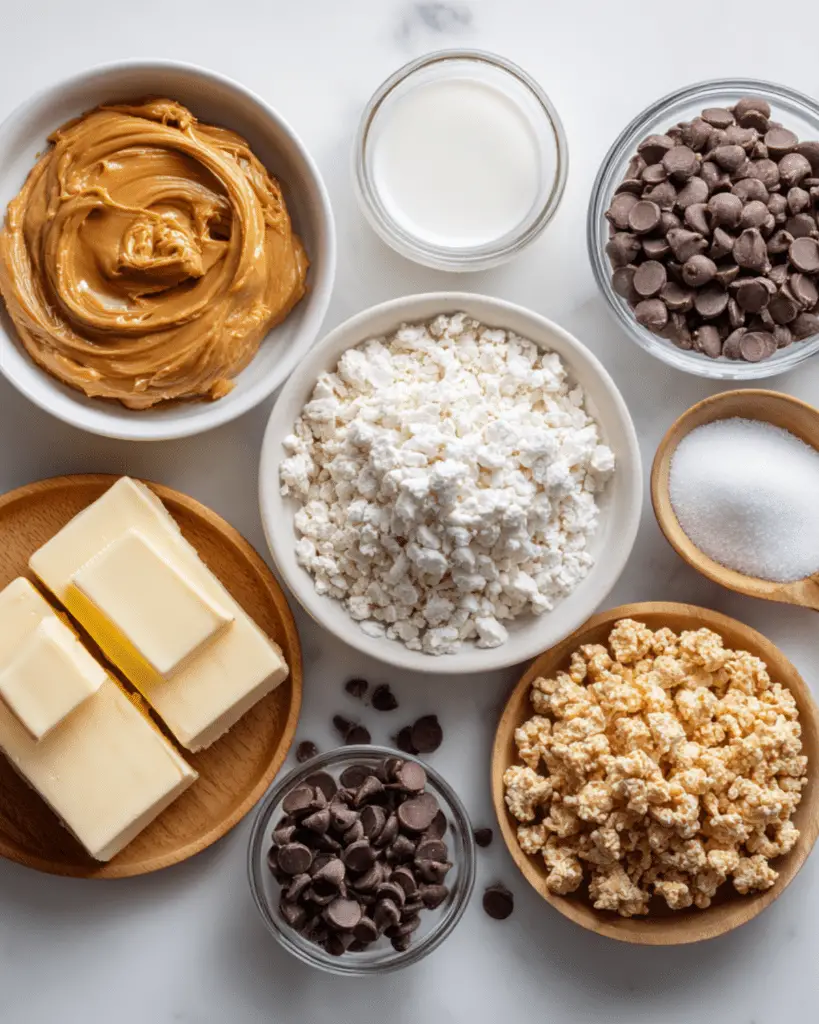
Making these chocolate-covered peanut butter balls only requires a handful of simple ingredients—most of which you probably already have in your kitchen.
Essential Ingredients
- Peanut Butter: Creamy or crunchy both work. Choose your favorite texture.
- Butter: Softened, not melted, to blend smoothly with the peanut butter.
- Powdered Sugar: Adds sweetness and structure to the filling.
- Rice Krispies Cereal: Slightly crushed for that perfect crunch.
- Semi-Sweet Chocolate Chips: Melted for the glossy coating.
- Vegetable Shortening: Helps achieve smooth, professional-looking chocolate.
Optional Add-Ins
- Crushed pretzels or graham crackers for extra crunch.
- Sea salt flakes sprinkled on top for a gourmet finish.
- White chocolate drizzle for a festive look.
For professional melting and coating techniques, refer to the Food Network’s guide to melting chocolate safely, which ensures a smooth texture every time.
Pro Tips Before You Start
Before rolling your first ball, keep these quick tips in mind to guarantee success:
- Chill the mixture: It’s easier to shape firm dough.
- Crush the cereal lightly: Don’t turn it into dust—keep small crunchy bits.
- Use parchment paper: Prevents sticking during shaping and dipping.
- Don’t skip chilling after dipping: Ensures that glossy, snappy chocolate finish.
If you’re exploring other candy-making shortcuts, check out our Quick Dessert Hacks for creative ideas that save time without sacrificing flavor.
How to Make Rice Krispies Peanut Butter Balls Step by Step
Ready to get started? Making Rice Krispies Peanut Butter Balls is easier than you might think. It’s a no-bake recipe that comes together in just a few simple steps. Follow these detailed instructions to achieve the perfect texture and taste every time.
Step 1: Prepare Your Workspace
Before you begin, line a cookie sheet with parchment paper or wax paper. This prevents sticking and helps the chocolate coating set evenly later. If you’re planning to make multiple batches, clear space in your fridge or freezer so you can chill the peanut butter balls between steps.
For more setup tips for no-bake recipes, see our Beginner’s Kitchen Setup Guide.
Step 2: Combine Peanut Butter Mixture
In a large mixing bowl, cream together 1 cup of peanut butter, ¼ cup softened butter, and 1 cup powdered sugar. Mix until smooth and creamy — you can use a stand mixer or a sturdy wooden spoon.
Then, fold in 2 cups of slightly crushed Rice Krispies cereal. This gives your peanut butter mixture the signature crunch that makes these treats so irresistible.
Pro Tip: Don’t overmix. You want the Rice Krispies to hold their crispness.
Step 3: Form the Balls and Chill
Use your hands or a small cookie scoop to roll the mixture into bite-sized balls (about 1 inch in diameter). Place them evenly on the prepared sheet. Once shaped, refrigerate for at least 30 minutes to firm them up.
Chilling helps the chocolate adhere better during the dipping step and prevents crumbling.
You can also find other chilled dessert ideas like No-Bake Cheesecake Cups if you love cool, quick treats.
How to Melt Chocolate for Peanut Butter Balls
Melting chocolate can make or break your dessert’s presentation. Here’s how to do it the right way.
Microwave Method (Quick & Easy)
- Add 2 cups of semi-sweet chocolate chips and 2 tablespoons of vegetable shortening to a microwave-safe bowl.
- Heat for 1 minute, then stir.
- Continue heating in 20–30 second intervals, stirring each time, until fully melted and smooth.
- Avoid overheating — chocolate burns easily!
Double Boiler Method (Professional Finish)
If you want a more controlled melt, use a double boiler:
- Fill a pot halfway with water and bring it to a simmer.
- Place a heat-safe bowl on top, making sure it doesn’t touch the water.
- Add your chocolate and shortening to the bowl and stir until smooth.
For more advanced melting tips, the King Arthur Baking guide to tempering chocolate is a fantastic resource for achieving that shiny, snappy finish.
Step 4: Dip and Set
Remove your chilled peanut butter balls from the refrigerator. Using a fork or skewer, dip each one into the melted chocolate, allowing excess to drip off.
Place the coated balls back on the parchment-lined sheet and let them set until firm. You can refrigerate them again for 20–30 minutes to speed up the process.
For a festive look, drizzle melted white chocolate over the top or sprinkle with crushed peanuts.
How to Store Rice Krispies Peanut Butter Balls
These treats are wonderfully make-ahead friendly, and storing them properly keeps them fresh and delicious.
Short-Term Storage
Keep them in an airtight container in the refrigerator for up to 1 week. Stack the layers with parchment paper in between to prevent sticking.
Freezer Storage
Want to prep ahead for holidays? Place the balls in an airtight freezer-safe container, and they’ll stay fresh for up to 6 weeks. Thaw them in the fridge for a few hours before serving.
You can find more long-term dessert storage tricks in our Freezer-Friendly Dessert Collection.
Creative Serving Ideas for Rice Krispies Peanut Butter Balls
The beauty of Rice Krispies Peanut Butter Balls lies in their versatility. They’re simple enough for everyday snacking but fancy enough for parties, holidays, or edible gifts. Here are a few ways to elevate their presentation.
1. Holiday Treat Trays
Arrange your peanut butter balls on a festive platter with chocolate bark, fudge squares, and sugar cookies. The variety of colors and textures will look stunning on any dessert table.
2. Gift Boxes and Party Favors
Place them in mini cupcake liners inside a holiday tin or box. Add a printed label with the recipe name—these make the perfect homemade gifts for teachers, neighbors, or friends.
3. Dessert Bar Addition
Set them out with other bite-sized sweets like truffles, chocolate pretzels, or peanut butter cups. They’re easy to grab, don’t crumble, and stay neat for hours.
4. Frozen Summer Snack
These balls are incredible straight from the freezer—cool, firm, and deliciously chewy. Perfect for hot afternoons or quick after-school treats.
Frequently Asked Questions
Can I use natural peanut butter instead of regular?
Yes, but natural peanut butter can make the mixture a bit softer. You may need to add extra powdered sugar for structure. Stir your peanut butter thoroughly before measuring to prevent oily separation.
Why are my peanut butter balls falling apart?
If your dough is too dry, add a tablespoon of peanut butter at a time until it holds together. Conversely, if it’s too sticky, sprinkle in more powdered sugar or cereal.
Do I need to use shortening in the chocolate coating?
Shortening helps thin the chocolate and gives it a shiny finish. However, you can substitute it with a teaspoon of coconut oil if you prefer a cleaner ingredient.
How long do Rice Krispies Peanut Butter Balls last?
Stored in the fridge, they’ll stay fresh for up to a week. In the freezer, they can last 4–6 weeks without losing flavor or texture.
Can I make these peanut butter balls vegan or gluten-free?
Absolutely. Choose a vegan butter alternative and gluten-free crispy rice cereal. Make sure your chocolate chips are dairy-free, too.
For additional dietary-friendly dessert ideas, visit our Healthy Dessert Alternatives page for low-sugar and plant-based options.
Conclusion: Simple, Crunchy, and Irresistible
There’s something magical about Rice Krispies Peanut Butter Balls—they’re sweet, crunchy, and nostalgic all at once. This no-bake recipe takes minimal effort but delivers maximum flavor, making it ideal for beginners and experienced bakers alike.
Whether you’re making a quick batch for family movie night or preparing holiday gifts, these treats are guaranteed to be a hit. Keep them chilled, serve them with a smile, and enjoy every peanut-buttery, chocolate-coated bite.
For more quick dessert recipes like this, check out our Easy Chocolate Recipes Collection.
PrintRice Krispies Peanut Butter Balls

Rice Krispies Peanut Butter Balls are a no-bake dessert that combines creamy peanut butter, crunchy Rice Krispies cereal, and rich melted chocolate. Perfect for holidays, parties, or everyday snacking, these bite-sized treats are quick, easy, and irresistibly delicious.
- Prep Time: 20 minutes
- Cook Time: 0 minutes (no-bake)
- Total Time: 50 minutes (including chilling)
- Yield: Approximately 24 balls
- Category: Dessert
- Method: No-Bake
- Cuisine: American
- Diet: Vegetarian
Ingredients
- 1 cup creamy or crunchy peanut butter
- 1/4 cup butter, softened
- 1 cup powdered sugar
- 2 cups Rice Krispies cereal, slightly crushed
- 2 cups semi-sweet chocolate chips
- 2 tablespoons vegetable shortening
Instructions
- Line a cookie sheet with parchment paper or wax paper.
- In a large bowl, cream together the peanut butter, butter, and powdered sugar until smooth.
- Stir in the slightly crushed Rice Krispies cereal until evenly combined.
- Shape the mixture into 1-inch balls and place them on the prepared cookie sheet.
- Refrigerate for at least 30 minutes to firm up.
- In a microwave-safe bowl, melt the chocolate chips and shortening for 1 minute; stir, then continue heating in 20–30 second intervals until smooth.
- Dip each chilled peanut butter ball into the melted chocolate, letting the excess drip off.
- Place coated balls back on the sheet and refrigerate until firm.
- Store in an airtight container in the refrigerator for up to one week or freeze for longer storage.
Notes
- Use creamy or crunchy peanut butter based on your texture preference.
- Do not overmix; keep some cereal pieces intact for crunch.
- Shortening helps the chocolate coat smoothly, but coconut oil can be used instead.
- Chill the mixture before shaping to make it easier to handle.
- Store in airtight containers with parchment paper between layers.
Nutrition
- Serving Size: 1 ball
- Calories: 124
- Sugar: 9 g
- Sodium: 53 mg
- Fat: 8 g
- Saturated Fat: 4 g
- Unsaturated Fat: 4 g
- Trans Fat: 0 g
- Carbohydrates: 12 g
- Fiber: 1 g
- Protein: 2 g
- Cholesterol: 4 mg