Pumpkin scones are the ultimate cozy bite of autumn, combining the earthy richness of pumpkin puree with warm spices like cinnamon and pumpkin pie spice. Whether you’re curled up with a book or hosting a fall brunch, these soft, flaky scones topped with a sweet glaze deliver bakery-level indulgence without stepping out your door. In this guide, you’ll learn everything from the best ingredients to must-know baking techniques, flavor variations, and storage hacks—so every batch comes out golden, tender, and irresistibly good.
Looking for more fall baking inspiration? Check out our pumpkin bread with cinnamon sugar topping and discover other warm, spiced treats you’ll love.
JUMP TO
Table of Contents
Why Pumpkin Scones Are a Must-Bake for Fall
The cozy flavor profile of pumpkin and spice
What makes pumpkin scones so seasonally perfect? It’s the combination of earthy pumpkin and aromatic spices like cinnamon, nutmeg, and pumpkin pie spice. This flavor duo is basically the scent of fall in a pastry. These scones have just enough sweetness to pair with your morning coffee while delivering that soft, crumbly texture everyone loves.
Ideal occasions for serving pumpkin scones
Pumpkin scones fit beautifully into all sorts of fall moments—be it a Thanksgiving breakfast spread, weekend brunch, or as a quick mid-afternoon pick-me-up. You can even serve them alongside a warm drink like our pumpkin spice coffee cake for the ultimate fall dessert platter.
Homemade vs. coffee shop scones – what’s better?
Let’s be real: store-bought or coffee shop scones often miss the mark. They can be dry, overly sweet, or just lack the warmth of homemade spice. When you bake them yourself, you control the sweetness, texture, and spice balance. Plus, nothing beats the smell of freshly baked scones in your kitchen. If you’re into healthy seasonal bakes, don’t miss our no-added-sugar pumpkin banana bread.
Essential Ingredients for the Perfect Pumpkin Scone
Picking the right pumpkin: puree vs. pie filling
This one’s important: always go with 100% canned pumpkin puree—not pumpkin pie filling. The latter contains added sugar and spices that can throw off your recipe’s balance. Pure pumpkin lets you build flavor the right way and ensures the texture of your dough is just right.
Importance of cold butter and heavy cream
Cold butter is non-negotiable for flaky layers. Cut it into small cubes and chill or freeze it before mixing. When the butter melts in the oven, it creates those tender pockets that make scones truly great. Heavy cream adds richness and softness—don’t sub it out unless you’re going dairy-free with purpose. For a lighter version, you might enjoy our healthy pumpkin oatmeal breakfast cake.
Must-have spices for warmth and aroma
You can’t bake a proper pumpkin scone without good spice. Go for a blend of ground cinnamon, pumpkin pie spice, and optionally a dash of nutmeg or cloves. These aromatics give the scones their signature fall feel and amplify the natural flavor of the pumpkin.
Step-by-Step Guide: How to Make Pumpkin Scones from Scratch
Prepping the dough the right way
Start by cutting cold, unsalted butter into small cubes and freeze them while prepping the dry ingredients. In a large bowl, whisk together flour, granulated sugar, baking powder, pumpkin pie spice, ground cinnamon, salt, and baking soda. Separately, mix pumpkin purée, heavy cream, light brown sugar, egg, and vanilla extract until smooth. Add the frozen butter to the flour and cut it in using a pastry cutter or your fingers until you have coarse, pea-sized crumbs.
Then, fold the wet pumpkin mixture into the dry just until combined—don’t overmix or you’ll lose that tender, flaky texture.
Cutting and shaping for bakery-style scones
Once combined, turn the dough out onto a well-floured surface. Pat it gently into an 8-inch square or round. For classic triangular scones, slice into quarters, then halve each quarter diagonally to make 8 pieces. This shape ensures even baking and golden edges.
Transfer the scones to a parchment-lined baking sheet and freeze for 20–30 minutes before baking. This step is crucial—cold dough yields puffier, flakier scones.
Baking tips for golden tops and tender middles
Preheat your oven to 400°F. Before they go in, brush the tops lightly with heavy cream for a beautiful golden finish. Bake for 20 minutes if you prefer a softer scone or 25 minutes for a crispier edge and more developed color. You’ll know they’re done when the tops are lightly browned and the edges look crisp.
Don’t miss our crustless pumpkin pie recipe if you’re looking for a crust-free, fall-themed dessert that pairs well with these scones.
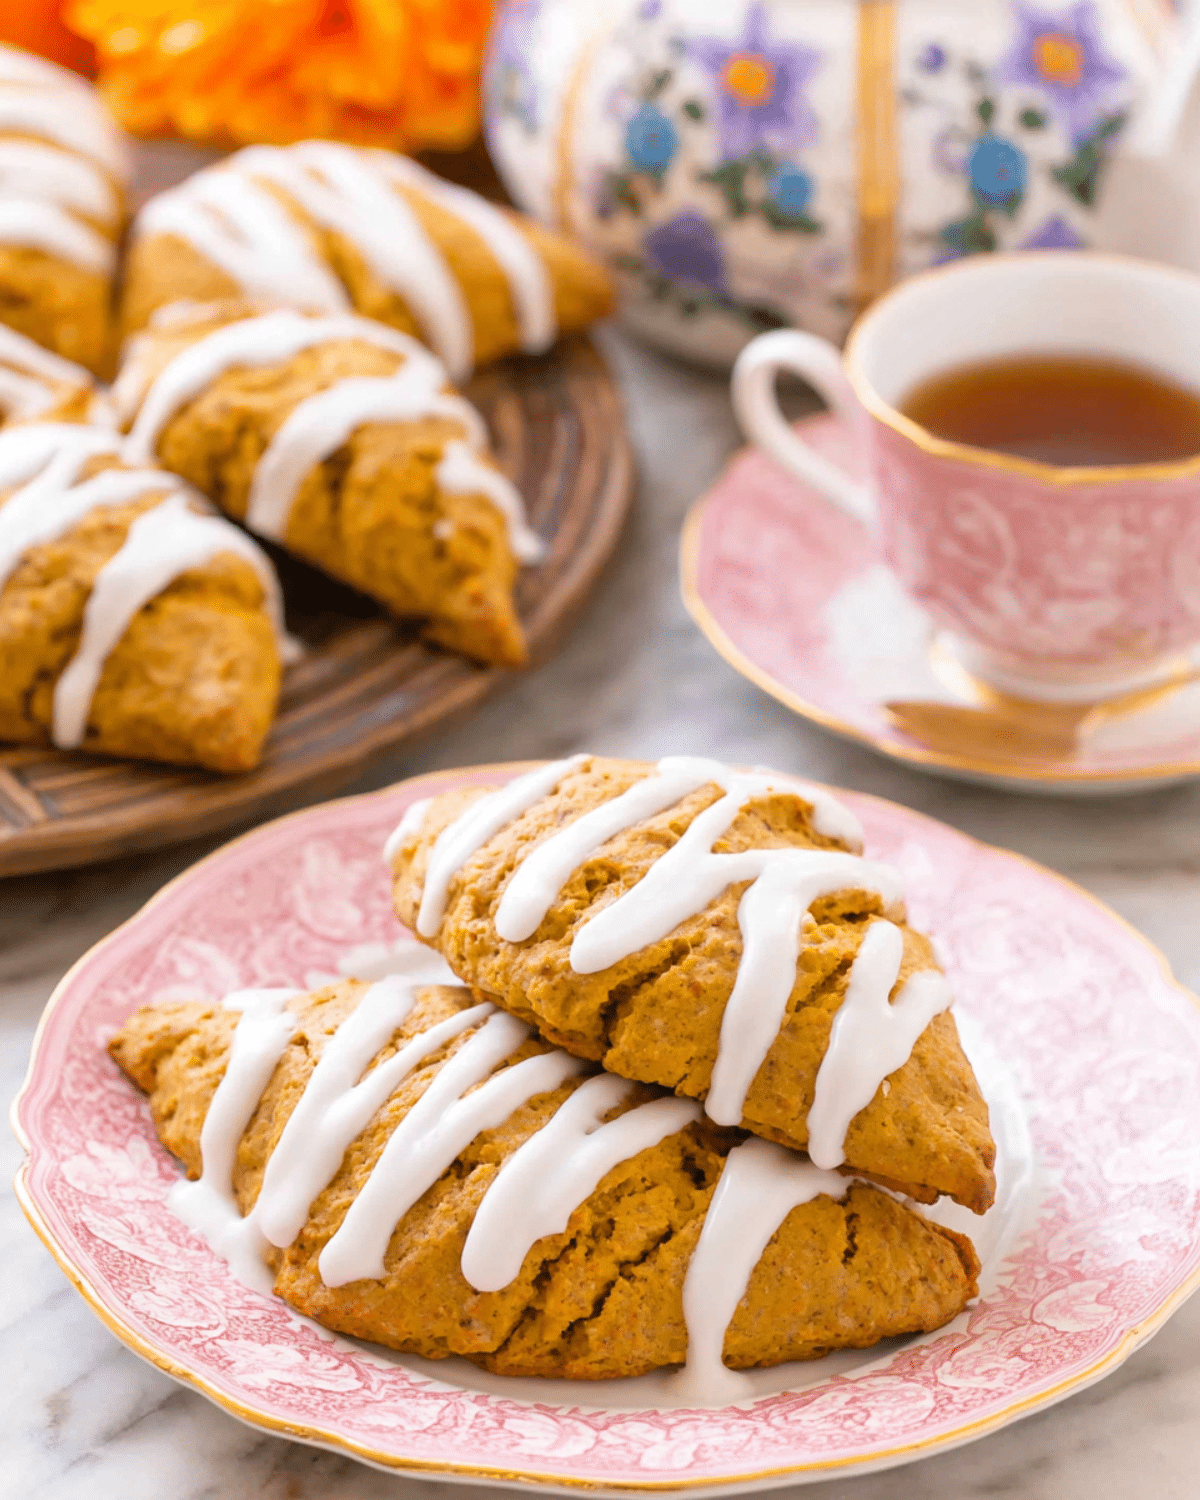
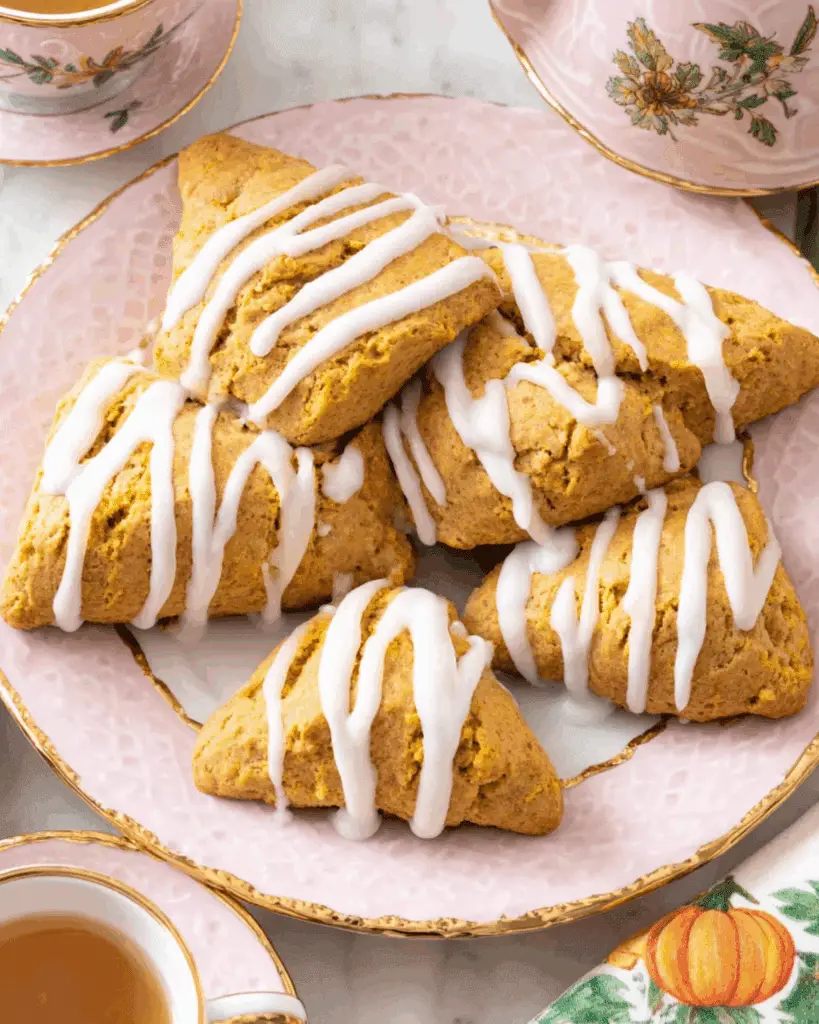
Glazing and decorating your scones
Once out of the oven, let the scones cool on a wire rack while you prep the glaze. Sift powdered sugar into a bowl and slowly whisk in milk until smooth. For a thinner glaze, add a little extra milk. Spoon or drizzle the glaze over the warm scones and let it set for about 30 minutes.
Want a twist? Try adding 1 tablespoon of pumpkin purée and a pinch of pumpkin pie spice to the glaze for a spiced version. You can also mix in maple syrup to create a rich, fall-inspired finish—similar to what you’d find in coffee shop favorites like easy pumpkin bread with crumb topping.
Delicious Variations You Can Try
Mini pumpkin scones for bite-sized joy
For smaller, snackable treats, divide the dough into two 5-inch rounds instead of one large square. Cut each round into 6 or 8 small triangles and reduce baking time to 10–12 minutes. These minis are perfect for brunch buffets, school snacks, or grab-and-go breakfast.
Pumpkin scones with maple or spiced glaze
Add a spoonful of maple syrup to the glaze for extra richness, or spice it up with a dash of pumpkin pie spice and a bit of canned pumpkin purée. Want to get creative? Layer the plain and spiced glaze for a bakery-style look that tastes as good as it looks.
Add-ins like chocolate chips or chopped nuts
Customize your pumpkin scones by folding in ½ cup of semisweet chocolate chips or toasted pecans. These additions add texture and a sweet or nutty flavor that pairs beautifully with the pumpkin base. For more fall-themed treats, check out our pumpkin pie bread pudding with challah.
Storage Tips: Keeping Your Pumpkin Scones Fresh
Short-term storage for daily snacking
Once fully cooled, store your pumpkin scones in an airtight container at room temperature for up to 3 days. If glazed, place parchment paper between layers to prevent sticking.
Freezing baked or unbaked scones
To freeze before baking, place shaped scones on a tray and freeze until solid. Then store in a zip-top freezer bag for up to a month. Bake directly from frozen—just add 2 minutes to the bake time. For baked scones, freeze unglazed ones and reheat before glazing.
How to reheat without drying them out
To revive a day-old scone, pop it in a 350°F oven for 5 minutes. Avoid microwaving—it tends to make the texture rubbery rather than fluffy.
Expert Baking Tips for Foolproof Pumpkin Scones
Common mistakes to avoid
Don’t skip freezing the dough before baking. Warm dough causes the butter to melt too quickly, resulting in flat, greasy scones. Also, avoid overmixing—it makes them dense and chewy.
How to measure flour accurately
Too much flour is the #1 cause of dry, crumbly scones. Use a kitchen scale if possible. If not, spoon flour into your measuring cup and level it off with a knife—never scoop directly from the bag.
Preventing tough, flat scones
Work quickly to keep the butter cold and handle the dough gently. You want those pea-sized bits of butter to remain intact until baking—that’s what gives scones their flake.
FAQs About Pumpkin Scones
Why are my pumpkin scones dry or crumbly?
You may have added too much flour or overbaked them. Always measure flour properly and check for doneness a few minutes before the timer goes off.
Can I use fresh pumpkin instead of canned?
Yes, but with caution. Fresh pumpkin purée tends to be wetter. If using, blot it with paper towels to remove excess moisture.
Do pumpkin scones need to be refrigerated?
No, they can be stored at room temperature for up to 3 days. However, if your kitchen is particularly warm or humid, refrigerating can help maintain freshness.
How do I make vegan or gluten-free pumpkin scones?
Use plant-based butter and cream, plus a flax egg. Swap the all-purpose flour with a 1:1 gluten-free flour blend. You can also explore our healthy pumpkin oat cookies for an allergen-friendly treat.
Conclusion: The Perfect Pumpkin Scone Every Time
Making pumpkin scones at home isn’t just easy—it’s incredibly rewarding. With the right techniques and quality ingredients, you can create bakery-style treats full of warm spice, buttery layers, and just the right touch of sweetness. Whether you enjoy them with coffee or serve them as a fall brunch centerpiece, they’re sure to be a seasonal favorite.
Don’t miss our collection of cozy fall bakes like this soft pumpkin cookie with cream cheese frosting for even more pumpkin-packed joy.
PrintPumpkin Scones

Soft, flaky pumpkin scones packed with warm spices and topped with a sweet glaze—perfect for fall mornings or a cozy snack.
- Prep Time: 20 minutes
- Cook Time: 20–25 minutes
- Total Time: 1 hour 10 minutes
- Yield: 8 scones
- Category: Breakfast
- Method: Baking
- Cuisine: American
- Diet: Vegetarian
Ingredients
- 1/2 cup unsalted butter (cold, cubed)
- 2 1/4 cups all-purpose flour
- 1/4 cup granulated sugar
- 1 1/2 teaspoons baking powder
- 1 1/2 teaspoons pumpkin pie spice
- 1 1/2 teaspoons ground cinnamon
- 1/2 teaspoon salt
- 1/4 teaspoon baking soda
- 1/2 cup canned pumpkin purée
- 1/2 cup heavy cream (plus more for brushing)
- 1/4 cup light brown sugar
- 1 large egg
- 1 1/2 teaspoons vanilla extract
- 1 1/2 cups powdered sugar (for glaze)
- 2 tablespoons milk (for glaze)
Instructions
- Cut butter into cubes and freeze for 10 minutes.
- In a large bowl, whisk flour, sugar, baking powder, spices, salt, and baking soda.
- In a separate bowl, mix pumpkin purée, cream, brown sugar, egg, and vanilla.
- Add frozen butter to dry mixture and cut in until crumbly.
- Fold in wet mixture until no dry pockets remain.
- Turn dough onto floured surface and pat into 8-inch square or round.
- Cut into 8 triangles and place on parchment-lined baking sheet.
- Freeze scones for 20–30 minutes.
- Brush tops with cream and bake at 400°F for 20–25 minutes.
- Cool on wire rack while preparing glaze.
- Mix powdered sugar and milk to make glaze.
- Drizzle or spread glaze over warm scones and let set for 30 minutes.
Notes
- Don’t overmix the dough to avoid tough scones.
- Freeze shaped scones before baking for flakier results.
- Use pumpkin puree, not pie filling.
- Measure flour carefully—too much makes dry scones.
- To freeze, store unbaked scones in airtight container for up to 1 month.
Nutrition
- Serving Size: 1 scone
- Calories: 439
- Sugar: 36g
- Sodium: 279mg
- Fat: 18g
- Saturated Fat: 11g
- Unsaturated Fat: 6g
- Trans Fat: 0.5g
- Carbohydrates: 65g
- Fiber: 2g
- Protein: 5g
- Cholesterol: 71mg