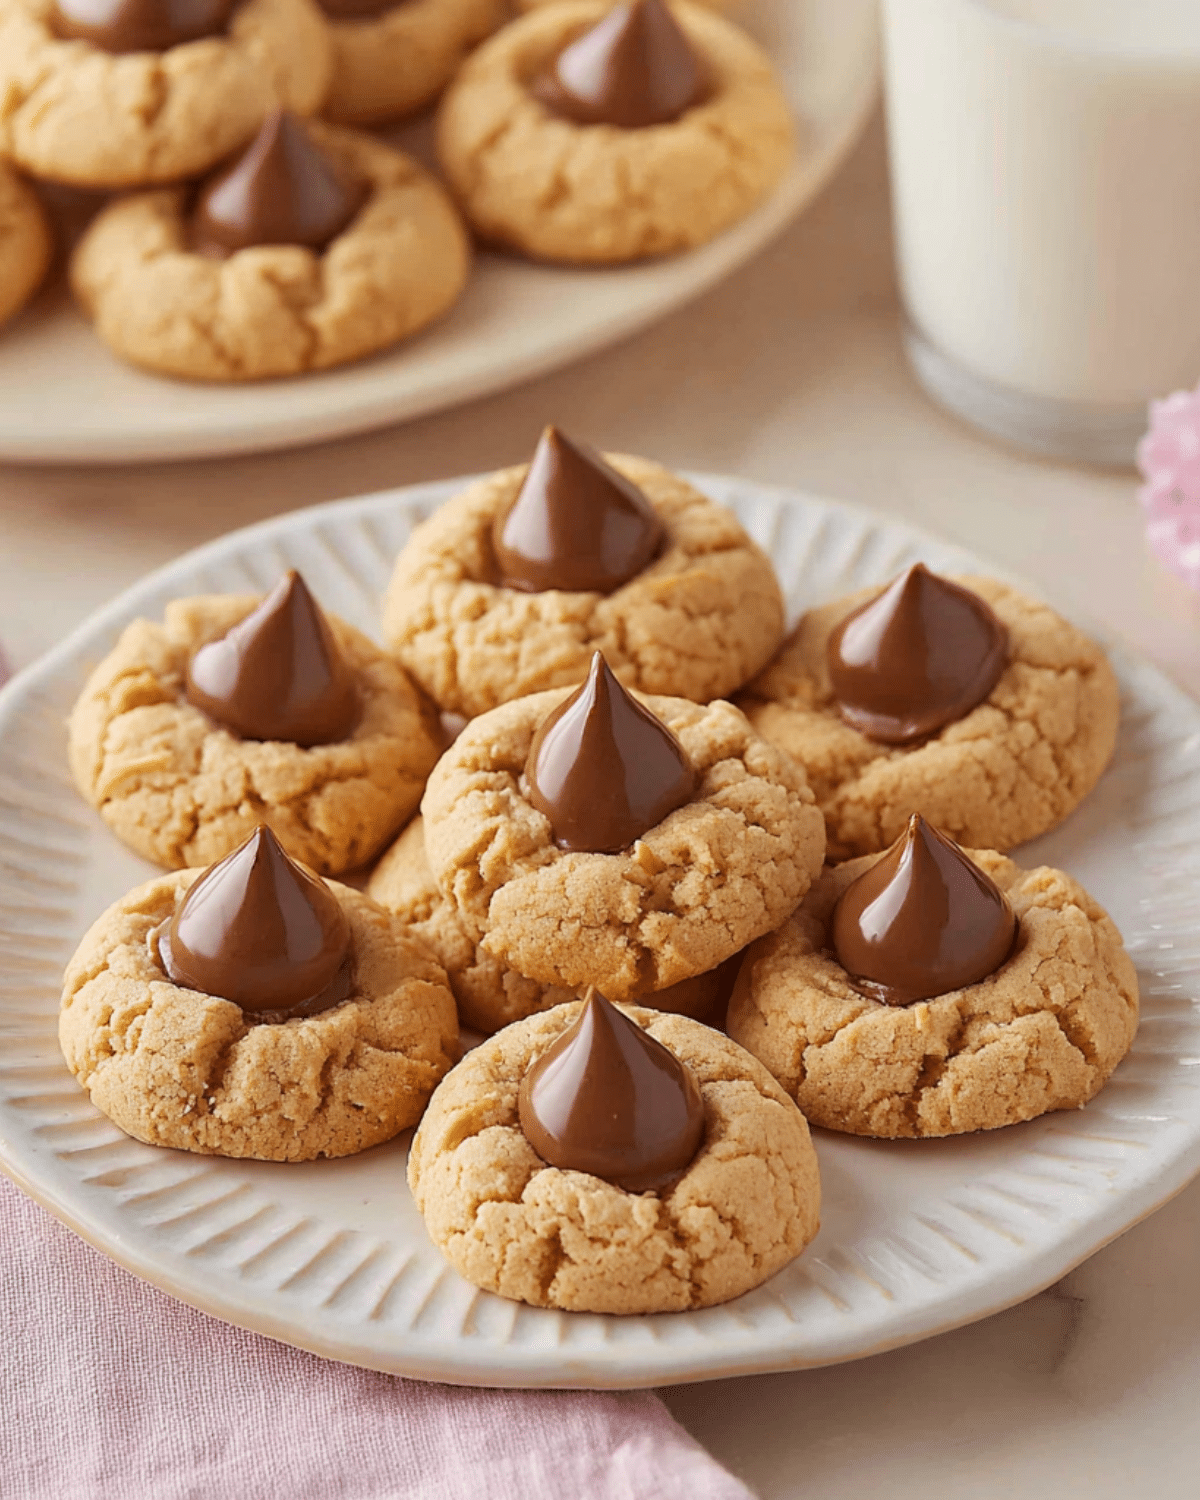
Few cookies strike the perfect balance of salty, sweet, and nostalgic quite like peanut butter kiss cookies. With their signature chocolate center nestled in soft, chewy peanut butter dough, these cookies are a holiday favorite for a reason. Whether you call them peanut butter blossoms or simply chocolate kiss cookies, their visual charm and irresistible flavor make them a staple on dessert trays from Christmas to cookie exchanges—and even as a cozy everyday treat.
In this article, we’ll dive deep into everything you need to know to make the best-ever peanut butter kiss cookies. From must-have ingredients and kitchen tools to pro baking tips, FAQs, and storage solutions, this guide has you covered. Plus, we’ll link to more delicious cookie recipes so you can build the ultimate holiday spread. Check out our classic peanut butter cookies for another easy and beloved option.
JUMP TO
Table of Contents
Why Peanut Butter Kiss Cookies Are a Timeless Favorite
These cookies aren’t just cute to look at—they bring together two of the most craveable flavors: creamy peanut butter and melty chocolate. But beyond flavor, their popularity is rooted in tradition.
The sweet story behind peanut butter blossoms
Peanut butter kiss cookies were originally known as “peanut butter blossoms” and first gained fame when they were entered in a Pillsbury Bake-Off contest in the 1950s. Instead of topping peanut butter cookies with traditional frosting or nuts, the baker added a Hershey’s Kiss right after baking. The result? A new classic that’s now baked in millions of homes across the U.S.
What makes these cookies stand out
What sets these apart from other cookies isn’t just the look—it’s the bite. The chewy peanut butter base contrasts with the firm chocolate, making each cookie a mini flavor explosion. They’re also incredibly easy to make, requiring minimal chilling or shaping.
Here’s why bakers love them:
- One-bowl dough
- No chilling needed
- Kid-friendly and fun to make
- Perfect for gifting or holiday trays
- Customizable with different types of chocolate
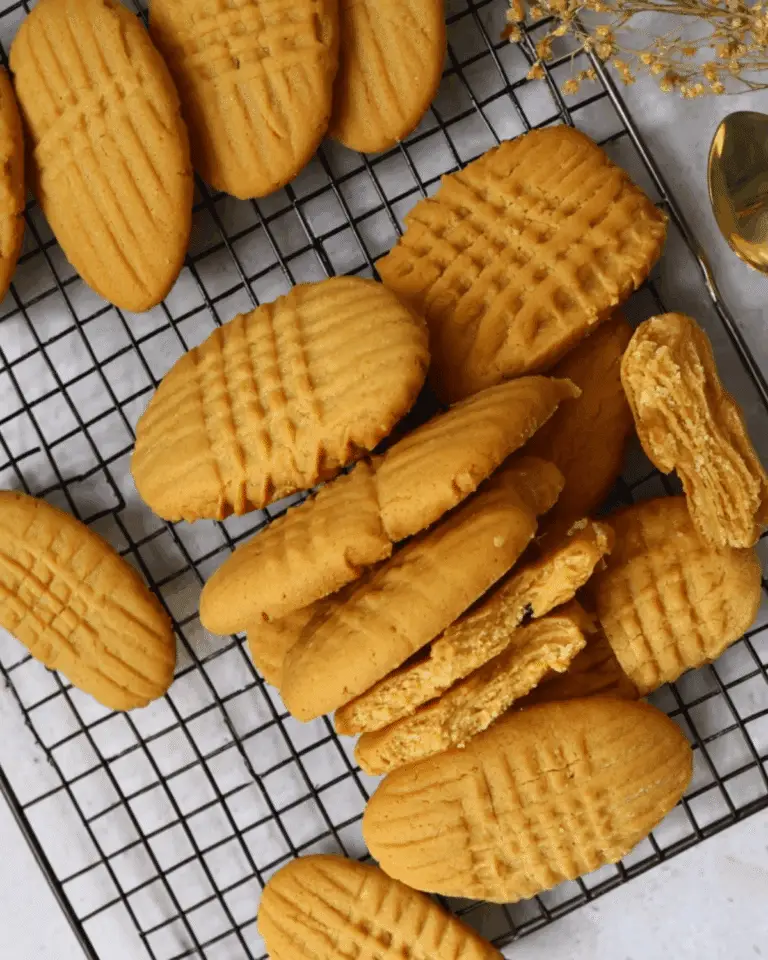
Looking for inspiration? Try our nutter butter cookies recipe for another peanut butter-packed treat.
Popular variations and flavor twists
While the classic version uses milk or dark chocolate Hershey’s Kisses, bakers today have embraced creativity. You can swap in:
- Caramel-filled Kisses
- White chocolate Kisses
- Mini peanut butter cups
- Candied pecans or almonds for crunch
- Festive sprinkles or sanding sugar
For a chocolatey twist, don’t miss our magic brownie cookies, another crowd-pleasing cookie you’ll love.
These subtle tweaks let you adapt the base recipe for any holiday or celebration. And thanks to their beautiful crackled top and chocolate center, these cookies always look bakery-quality.
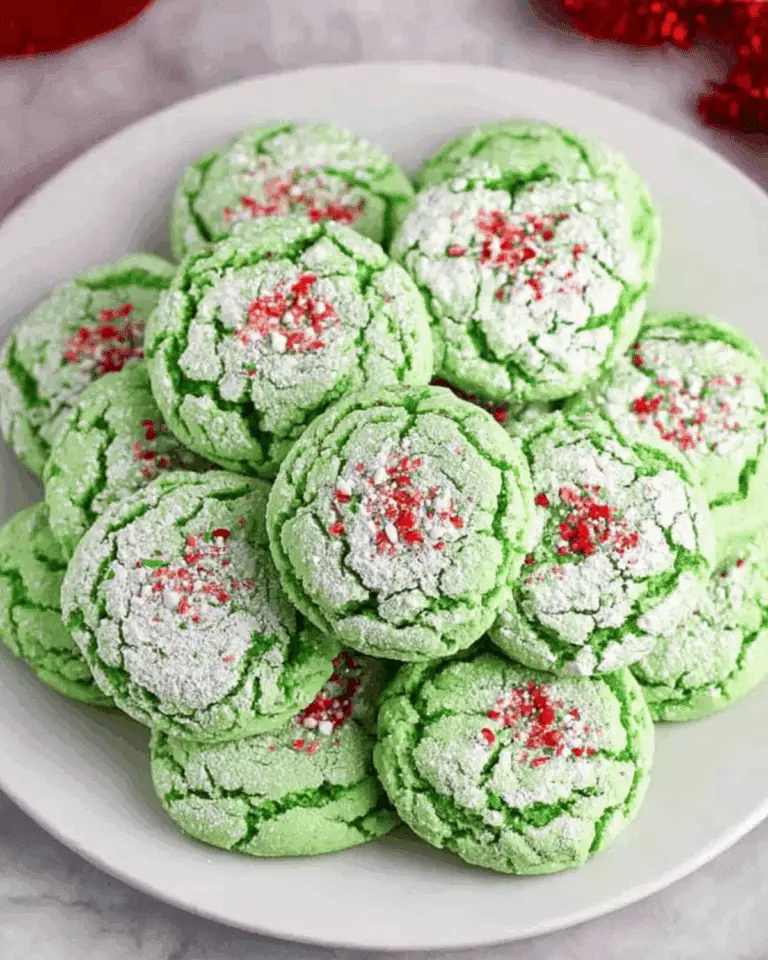
Craving more seasonal sweets? Discover great ideas like our Grinch Christmas truffles to liven up your dessert platter.
Ingredients and Tools You’ll Need for the Best Results
The secret to irresistible peanut butter kiss cookies lies in selecting the right ingredients and using a few reliable kitchen tools. With the proper setup, you’ll be baking soft, chewy cookies that look and taste like they came straight from a bakery.
Essential ingredients: Why each one matters
Even though this recipe is simple, each ingredient plays a key role in texture and flavor. Let’s break it down:
| Ingredient | Purpose |
|---|---|
| Creamy Peanut Butter | Adds moisture, richness, and signature nutty flavor. Use no-stir peanut butter with stabilizers—natural peanut butter tends to separate. |
| Unsalted Butter | Provides fat and flavor. Softened butter helps the dough come together evenly. |
| Granulated Sugar | Sweetens the dough and adds crunch when used for rolling. |
| Light Brown Sugar | Enhances moisture and gives a deeper, almost caramel-like flavor. |
| Egg | Binds the dough and adds structure. Room temperature works best. |
| Vanilla Extract | Rounds out the flavor with a warm note. |
| All-Purpose Flour | Forms the base structure. Measure accurately—too much leads to dry cookies. |
| Baking Soda | Helps the cookies rise and develop that classic cracked top. |
| Salt | Balances the sweetness and boosts overall flavor. |
| Hershey’s Kisses | The star topping! Pressed into cookies right after baking. You can choose milk chocolate, dark chocolate, or fun seasonal varieties. |
Pro Tip: Want to explore more no-bake peanut butter goodness? Don’t miss our no-bake peanut butter cookies—perfect for summer days or quick cravings.
Choosing the right peanut butter and chocolate
Choosing the right peanut butter is crucial. Use creamy, shelf-stable peanut butter (like Jif or Skippy) rather than natural or oily varieties. This ensures smooth, consistent dough.
As for chocolate, classic milk chocolate Kisses are traditional, but you can use:
- Dark chocolate for a richer flavor
- Peppermint Kisses for a holiday twist
- Peanut butter-filled or caramel Kisses for double indulgence
Feeling adventurous? Try adding mini peanut butter cups instead—just like in our Reese’s peanut butter trifle, they bring an extra pop of flavor.
Kitchen tools to simplify baking
No fancy gadgets are required, but having the right tools makes the process easier and faster.
| Tool | Use |
|---|---|
| Mixing Bowl or Stand Mixer | Creaming butter and sugar effortlessly |
| Cookie Scoop (#100 or #60) | Ensures uniform cookie size for even baking |
| Measuring Cups or Kitchen Scale | Avoids using too much flour or sugar |
| Parchment Paper | Prevents sticking and helps with cleanup |
| Baking Sheets | Provides even heat distribution |
| Cooling Rack | Allows cookies to cool evenly after baking |
If you love easy treats, check out our cookie dough dip recipe—no oven needed, just a few basic tools.
Once you’ve got your ingredients measured and tools prepped, you’re ready to move on to the fun part—making the dough and baking your peanut butter kiss cookies to perfection.
Step-by-Step Guide to Making Peanut Butter Kiss Cookies
Making peanut butter kiss cookies is easy and enjoyable, even if you’re a beginner. With the right techniques and timing, you’ll bake soft, chewy cookies that stay picture-perfect every time. Let’s walk through the process together.
Preparing the dough: Tips for perfect texture
Start by preheating your oven to 375°F (190°C) and lining your baking sheets with parchment paper. This helps the cookies bake evenly and prevents sticking.
- Cream the base: In a large bowl or stand mixer, beat together:
- ¾ cup creamy peanut butter
- ½ cup softened unsalted butter
- ½ cup granulated sugar
- ½ cup light brown sugar
- ¼ teaspoon salt
Beat on medium speed until light and fluffy—this creates a smooth base.
- Add wet ingredients:
- 1 large room-temperature egg
- 1 teaspoon vanilla extract
Add them in and mix until well combined. Scrape down the sides of the bowl to ensure even mixing.
- Incorporate dry ingredients:
- 1½ cups all-purpose flour
- ½ teaspoon baking soda
Gradually add the dry ingredients to the wet mixture. Mix on low speed until just combined. Overmixing at this stage can toughen your cookies.
Once mixed, the dough should be soft, slightly sticky, but easy to roll into balls.
Looking for a fun cookie recipe for the season? Don’t miss our Halloween cake pops spooky dessert.
Rolling, coating, and baking the cookies
Time to shape the cookies:
- Scoop and roll: Use a cookie scoop to measure about 1-inch dough balls. Roll them between your palms into smooth rounds.
- Coat with sugar (optional but recommended):
Roll each dough ball in granulated sugar or colored sanding sugar for added sparkle and crunch. - Arrange and bake:
Place the dough balls 2 inches apart on your prepared baking sheets. Bake for 8–10 minutes, or until the cookies are puffed, lightly cracked on top, and slightly golden at the bottom.
The cookies should look slightly underbaked—this ensures a chewy texture as they cool.
Pressing the chocolate kiss: When and how to do it right
Here’s the iconic part: pressing in the Hershey’s Kiss.
- Unwrap your kisses ahead of time (this is a great task for kids!).
- As soon as the cookies come out of the oven, immediately press one kiss into the center of each warm cookie.
- The heat will soften the base just enough for the kiss to stick, and the cookie will crack around the edges beautifully.
Let the cookies cool on the baking sheet until the chocolate sets. If you’re worried about the kisses melting, freeze them for 10 minutes before using. This helps them hold their shape.
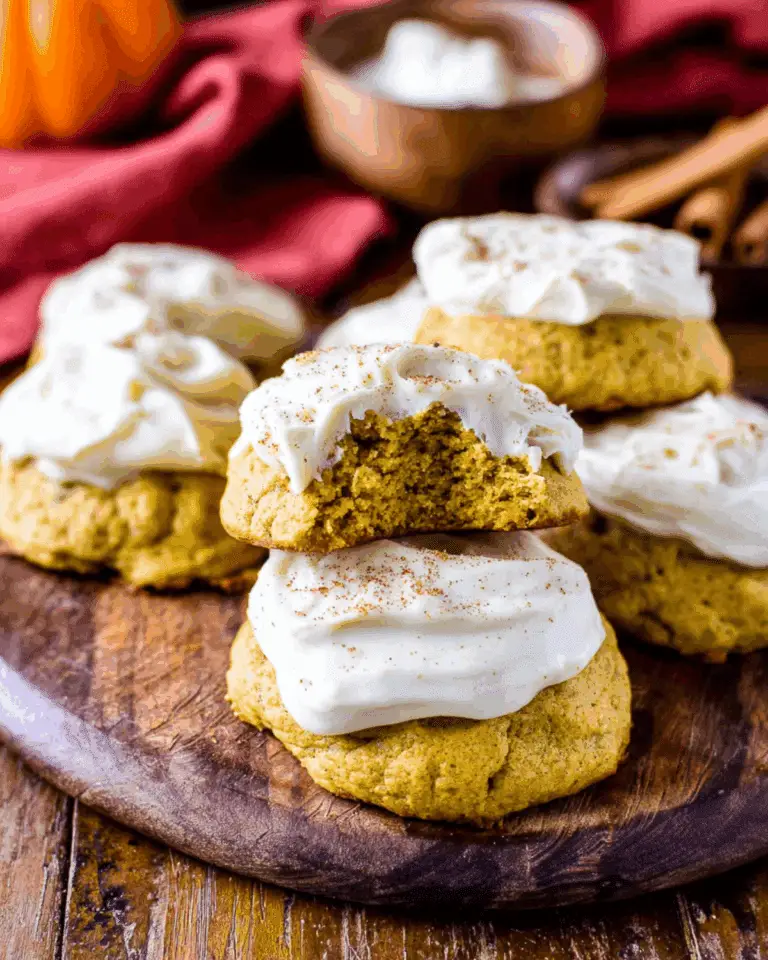
Want another chewy cookie to add to your dessert spread? Try our carrot cake cookies tasty recipe for a spiced, soft-baked option.
Troubleshooting and Expert Tips for Success
Even though peanut butter kiss cookies are simple to make, a few smart techniques can help you avoid common pitfalls and get perfect results every time. From dough texture to chocolate melting, here’s how to troubleshoot your way to cookie success.
How to avoid dry or crumbly cookies
One of the most common issues with this cookie recipe is dryness, and it usually comes down to measuring mistakes or overbaking.
Here’s how to fix it:
- Measure your flour correctly. Don’t scoop directly from the bag. Instead, spoon flour into your measuring cup and level it off. Better yet, use a kitchen scale (you’ll need about 180g of flour).
- Don’t overbake. These cookies should come out of the oven when they still look slightly underdone. They continue to cook on the baking sheet as they cool.
- Use a room-temperature egg so it blends seamlessly into the dough, helping the texture stay smooth and cohesive.
If you’re a fan of soft cookie centers, check out our Lofthouse cookies delicious recipe—they melt in your mouth every time.
Preventing the chocolate kiss from melting
Worried about the iconic kiss turning into a puddle? While it’s rare with room-temp kisses, you can take extra precautions.
Here’s how:
- Unwrap and freeze kisses for about 10 minutes before baking. Cold chocolate is more resistant to heat and holds its shape better.
- Press kisses in immediately after baking. Waiting too long can lead to cracking or uneven tops.
Bonus tip: Use different kiss flavors depending on the season. Peppermint, caramel, or almond kisses bring new dimensions to this classic cookie.
Looking for another chocolate-peanut butter combo? Don’t miss our buckeye pie dessert recipe, which features rich chocolate and creamy peanut butter layers.
Make-ahead and freezing options
Peanut butter kiss cookies are freezer-friendly, making them perfect for prepping ahead of the holidays or saving leftovers.
Here’s how to do it:
| Make-Ahead Tip | What to Do |
|---|---|
| Freeze the dough | Scoop and roll the dough into balls. Place them on a baking sheet and freeze until solid. Transfer to a freezer bag for up to 2 months. |
| Freeze baked cookies | Let cookies cool fully. Wrap in plastic wrap, then store in an airtight container. Freeze up to 2 months. |
| Before baking frozen dough | Let dough balls sit at room temperature for 10–15 minutes. Bake as usual—add 1 extra minute if needed. |
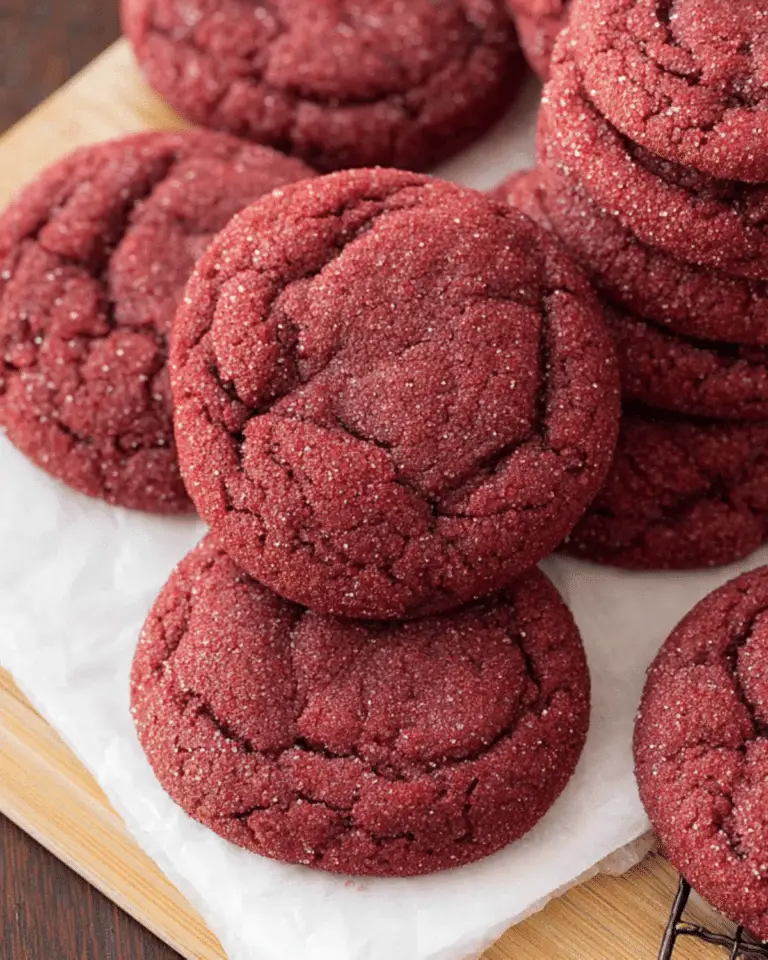
Want more freezer-friendly cookie ideas? Don’t miss our molasses cookies enjoyable recipe—they’re perfect for cold-weather baking.
Storage, Serving Ideas, and Fun Presentation Tips
Once you’ve baked your delicious batch of peanut butter kiss cookies, the next step is knowing how to store them properly and serve them in ways that wow your guests. These cookies aren’t just tasty—they’re also perfect for gifting and celebrations with a little creativity.
How to store cookies to keep them fresh
To preserve the soft texture and flavor, you’ll want to follow the best practices for storage:
| Storage Method | How Long | Tips |
|---|---|---|
| Airtight container (room temp) | Up to 5 days | Keep away from sunlight and heat sources |
| Refrigerator | Up to 2 weeks | Best if you live in a warm or humid climate |
| Freezer (baked) | Up to 2 months | Wrap in plastic wrap and place in a freezer-safe bag |
| Freezer (unbaked dough) | Up to 3 months | Freeze dough balls on a tray, then transfer to a container |
Always let cookies cool completely before storing to avoid excess moisture, which can make them soggy.
Looking for more store-it-now, serve-it-later treats? Check out our caramel apple fritter bread recipe—it freezes beautifully and makes a sweet breakfast or dessert.
Gift wrapping and presentation for holidays
Peanut butter kiss cookies look great on their own, but a little festive flair goes a long way when gifting.
Here are a few fun ideas:
- Stack cookies in clear cellophane bags tied with ribbon and a gift tag
- Fill a holiday tin with colorful tissue paper and cookies arranged neatly in layers
- Use a mason jar layered with cookies and add a decorative lid with fabric and twine
Add a little label that says “Made with love and peanut butter” for a sweet personal touch.
Planning a cookie swap or holiday party? Don’t miss our Christmas trifle dessert recipe—it makes a stunning centerpiece.
Serving suggestions and pairing ideas
These cookies shine on their own, but you can also elevate them by serving with:
- Hot cocoa or milk – classic and kid-friendly
- Coffee or espresso – perfect for holiday brunches
- Vanilla ice cream – sandwich two cookies together for an easy dessert
- Dessert charcuterie board – add peanut butter kiss cookies alongside chocolate-dipped pretzels, fudge, and fresh berries
Hosting a winter gathering? Discover great ideas like our chocolate chip banana cookies recipe to round out your dessert table.
Frequently Asked Questions (FAQs)
Can I freeze peanut butter kiss cookies?
Yes, these cookies freeze beautifully. Once completely cooled, wrap them in plastic wrap and place them in a freezer-safe container. They’ll keep for up to 2 months. If you’re freezing unbaked dough balls, store them separately from the chocolate kisses and press the kiss in after baking.
Do I need to chill the dough before baking?
Not at all. This is a no-chill cookie dough, which means you can go straight from mixing to baking. It saves time and still delivers soft, chewy results. Just make sure your butter isn’t too warm when you start.
Can I use a different type of chocolate instead of Hershey’s Kisses?
Absolutely! While milk chocolate Kisses are the traditional choice, feel free to switch it up:
–Dark chocolate kisses for a richer taste
–Peppermint or caramel-filled kisses for holiday flavors
–Mini peanut butter cups or chocolate chunks as unique alternatives
How do I keep my cookies soft for days?
Store your peanut butter kiss cookies in an airtight container at room temperature. For extra softness, add a slice of white bread or a few marshmallows inside the container—the moisture helps maintain that perfect chewiness.
Why You’ll Keep Coming Back to This Recipe
Whether it’s for the holidays, a cookie exchange, or just because you’re craving a nostalgic bite of peanut butter and chocolate, peanut butter kiss cookies hit the sweet spot every single time. They’re easy to make, fun to customize, and loved by kids and adults alike.
With the right ingredients, some helpful tips, and creative presentation ideas, these cookies will quickly become a staple in your recipe rotation.
Don’t miss our chocolate peanut butter Christmas trees if you’re planning a festive holiday baking day—they pair perfectly with these cookies for a seasonal treat platter.
PrintPeanut Butter Kiss Cookies

Peanut Butter Kiss Cookies are soft, chewy cookies made with creamy peanut butter and topped with a sweet chocolate kiss. Perfect for holiday baking or anytime you crave a nostalgic treat.
- Prep Time: 20 minutes
- Cook Time: 10 minutes
- Total Time: 30 minutes
- Yield: 36 cookies
- Category: Dessert
- Method: Baking
- Cuisine: American
- Diet: Vegetarian
Ingredients
- ¾ cup creamy peanut butter (188g)
- ½ cup unsalted butter, softened (113g)
- ½ cup granulated sugar, plus more for rolling (100g)
- ½ cup packed light brown sugar (110g)
- ¼ teaspoon salt
- 1 large egg, room temperature
- 1 teaspoon vanilla extract
- 1½ cups all-purpose flour (180g)
- ½ teaspoon baking soda
- 36 Hershey’s chocolate kisses, unwrapped
Instructions
- Preheat oven to 375°F (190°C). Line baking sheets with parchment paper.
- In a large bowl or stand mixer, cream together peanut butter, butter, granulated sugar, brown sugar, and salt until light and fluffy.
- Add the egg and vanilla extract; beat until well combined, scraping the bowl as needed.
- Mix in the flour and baking soda until just combined.
- Using a small cookie scoop, shape dough into 1-inch balls and roll in additional granulated sugar.
- Place dough balls 2 inches apart on prepared baking sheets.
- Bake for 8–10 minutes or until puffed and slightly cracked.
- Immediately press one Hershey’s Kiss into the center of each cookie.
- Let cookies cool on the baking sheet until chocolate is set.
Notes
- Use creamy, no-stir peanut butter for best texture.
- Measure flour accurately to avoid dry cookies—use a scale if possible.
- Freeze chocolate kisses before baking to prevent melting.
- Dough and baked cookies are freezer-friendly.
- Room temperature eggs blend better into dough.
Nutrition
- Serving Size: 1 cookie
- Calories: 121
- Sugar: 9g
- Sodium: 62mg
- Fat: 7g
- Saturated Fat: 3g
- Unsaturated Fat: 3g
- Trans Fat: 0.1g
- Carbohydrates: 14g
- Fiber: 1g
- Protein: 2g
- Cholesterol: 13mg