Looking for the ultimate quick-fix dessert that’s creamy, chocolatey, and doesn’t require turning on the oven? This No-Bake Chocolate Pudding Pie is your answer. Made with instant chocolate pudding, whipped topping, and a ready-made cookie crust, it’s the kind of simple, satisfying dessert that delivers major flavor without the baking fuss.
Whether you’re prepping for a summer BBQ, a holiday gathering, or just need a midweek chocolate fix, this pudding pie recipe checks all the boxes. You’ll love its silky-smooth texture, rich chocolate flavor, and beautiful layers. It’s also incredibly customizable, making it a go-to treat for both beginners and seasoned home bakers.
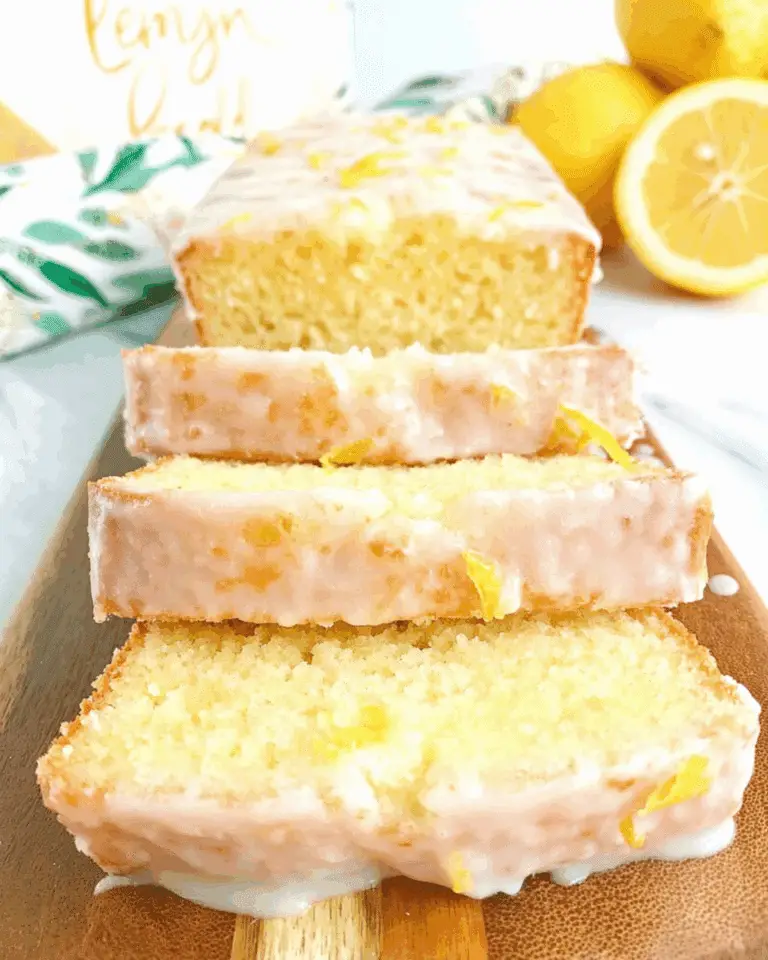
Don’t miss our No-Bake Lemon Blueberry Delight if you love cool, fruity dessert ideas too.
JUMP TO
Table of Contents
Why This No-Bake Chocolate Pudding Pie is a Must-Try
When dessert cravings strike but oven time isn’t an option, this pie delivers everything you want—fast. Here’s why this no-bake chocolate pie should be your go-to.
Quick, Fuss-Free Prep with No Oven Required
This dessert is all about simplicity. Using instant pudding mix and pre-made whipped topping cuts down the prep time dramatically. In less than 15 minutes, you’ll have a fully layered pie ready to chill. No baking. No water baths. No worrying about cracked tops. It’s the kind of no-fail recipe even kids can help with.
Perfect for Hot Days, Holidays & Make-Ahead Treats
When summer hits or your oven’s already full with holiday mains, this chilled dessert is a lifesaver. It’s also ideal for make-ahead situations—just whip it up a day or two in advance and refrigerate until you’re ready to serve.
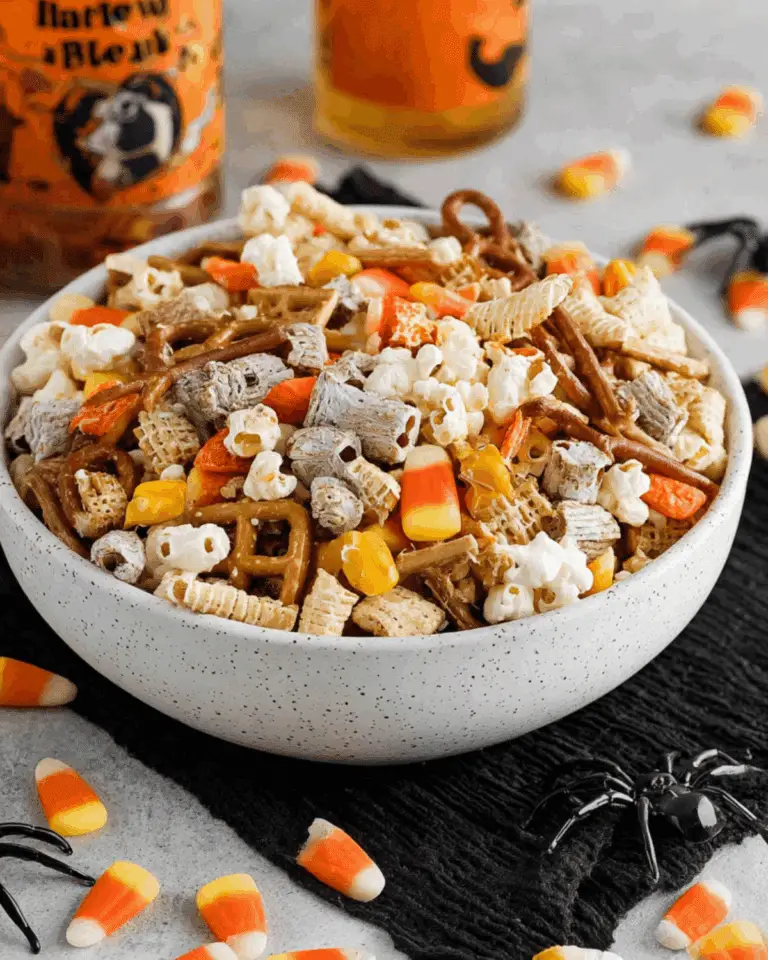
Looking for inspiration? Try our Easy Halloween Snack Mix Recipe for another crowd-pleasing, prep-ahead idea.
Loved by Kids and Adults Alike
The rich chocolate flavor paired with a light, fluffy topping makes it an instant hit with kids, while the smooth, creamy texture and grown-up chocolate notes keep adults coming back for seconds. It’s the kind of dessert that disappears in minutes at any potluck or party.
Essential Ingredients for the Perfect Chocolate Pudding Pie
You’ll only need a handful of ingredients to create this luscious layered pie, but each one plays a big role in the final flavor and texture.
Store-Bought vs. Homemade Crust – What Works Best
The original recipe uses a pre-made chocolate cookie crust, which is a convenient choice and adds a deep cocoa crunch. However, if you’re feeling ambitious, making your own crust with crushed Oreos and melted butter gives the dessert a homemade touch. You can also opt for a graham cracker crust for a lighter, buttery contrast.
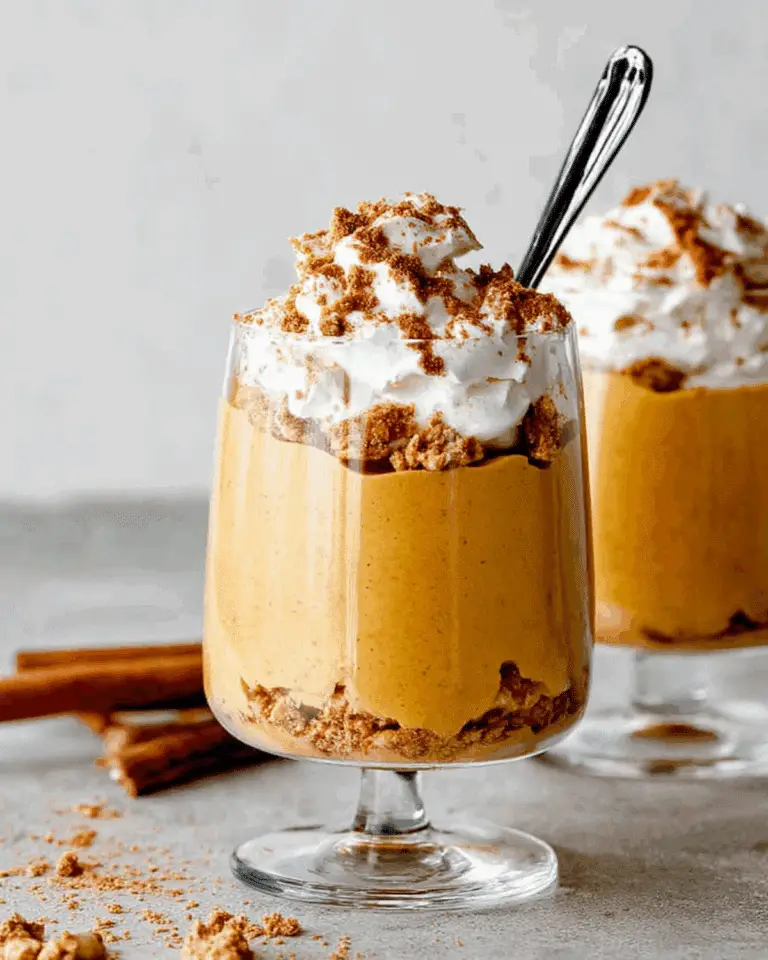
Discover great ideas like this in our Mini Keto Pumpkin Pie Recipe which also uses simple crust swaps for flexibility.
Choosing the Right Instant Pudding
Stick to Jell-O instant chocolate pudding mix (3.9 oz boxes), and don’t follow the box directions—use less milk than stated to achieve a thick, sliceable filling. Some bakers prefer chocolate fudge or dark chocolate pudding for an even richer taste.
Whipped Topping or Real Cream?
Cool Whip is the go-to for this recipe, and it works beautifully for both structure and flavor. If you want a more decadent topping, homemade whipped cream can be used—but only as the final topping layer. For the pudding mixture itself, stick to store-bought whipped topping to ensure the right texture.
Don’t miss our Chunkin Chocolate Pumpkin Cheesecake for another dreamy dessert where chocolate and creamy layers come together.
Step-by-Step Guide to Making No-Bake Chocolate Pudding Pie
This no-bake pie isn’t just easy—it’s nearly impossible to mess up. Follow these basic steps and enjoy a showstopping dessert every time.
Layering the Chocolate Pudding Base
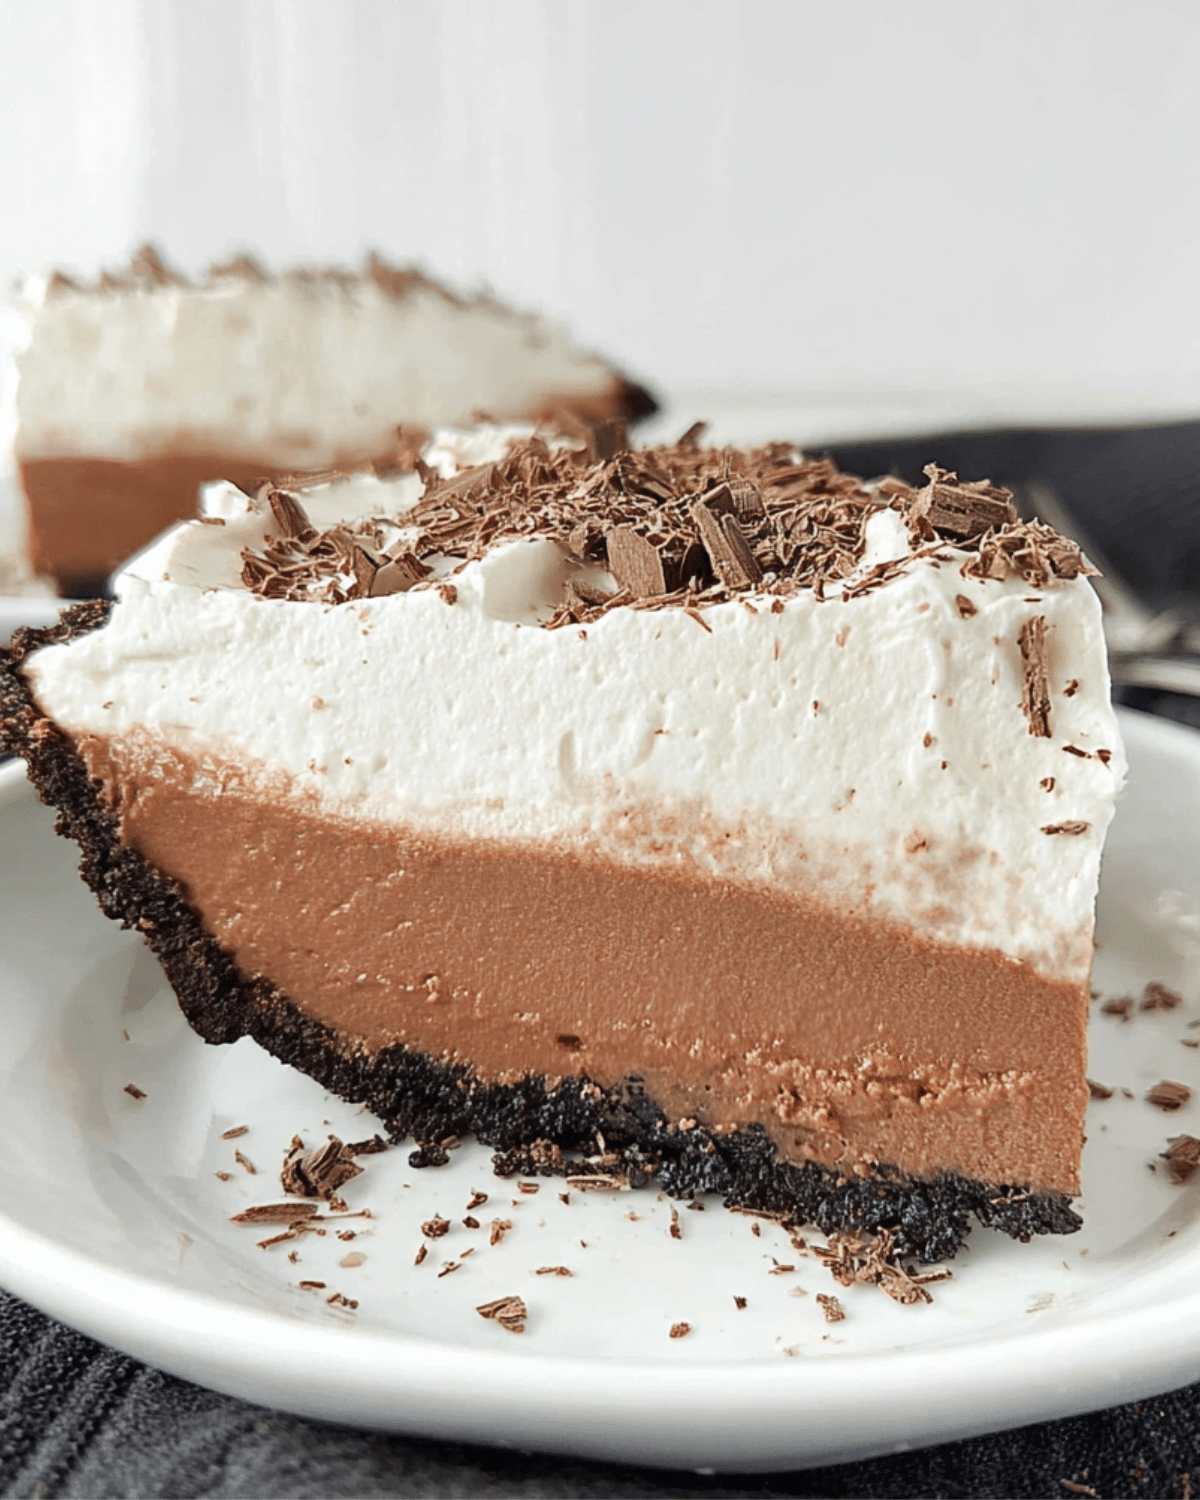
Start by whisking together the instant pudding and cold milk (2½ cups, not the box-recommended amount) until thick. Spoon half the pudding into your pie crust and smooth it out evenly. This layer gives you a rich chocolate base that contrasts nicely with the creamier top layers.
Blending the Creamy Cool Whip Mixture
Take the remaining pudding and fold in half of the Cool Whip until the mixture is light and fluffy. Spoon this onto the dark pudding layer and spread evenly. The combo of dense chocolate and airy chocolate mousse is pure dessert magic.
Check out our Easy Pumpkin Delight Recipe for a similar layered dessert that’s equally foolproof and satisfying.
Finishing Touches: Topping & Garnish Ideas
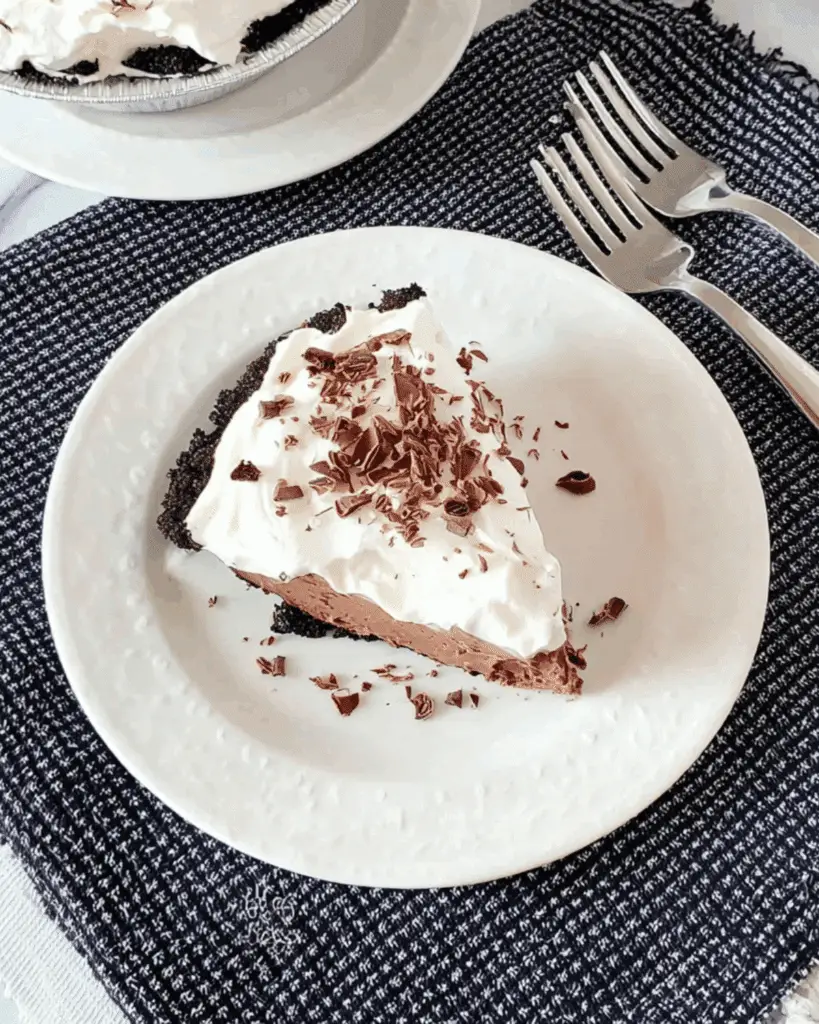
Top it off with the rest of the Cool Whip, spreading edge to edge or leaving a border for a layered look. Finish with chocolate shavings, mini chips, or Oreo crumbs for a bakery-worthy finish. Chill for at least two hours before slicing.
Storage Tips & Make-Ahead Advice
Proper storage ensures your chocolate pudding pie stays delicious, sliceable, and safe to eat. Whether you’re prepping for a big event or saving leftovers, here’s how to do it right.
How Long It Keeps in the Fridge
Once assembled, store your no-bake chocolate pudding pie in the refrigerator. It should chill for at least 2 hours before serving to set the layers fully. When stored properly with a lid or plastic wrap, it will stay fresh for up to 2 days. Beyond that, the crust may start to get soggy and the layers can lose definition.
If you’re preparing in advance for a party or gathering, make the pie the night before, and you’ll have a perfectly chilled, sliceable dessert ready to go.
Check out our Pumpkin Pie Bread Pudding with Challah for another great dessert that benefits from overnight refrigeration.
Can You Freeze It?
While it’s technically possible to freeze this dessert, it’s not ideal. Freezing can cause the texture of both the pudding and whipped topping to break down, leading to a watery or grainy consistency once thawed.
If you must freeze it, wrap the pie tightly in plastic wrap and aluminum foil, and consume it within 2 weeks. Thaw slowly in the refrigerator overnight and avoid microwaving.
Tips for Transporting to Potlucks or Parties
If you’re bringing this dessert to a gathering, prepare it in a disposable pie dish with a plastic lid. Keep it chilled in an insulated bag or cooler, especially in warm weather. Bring along extra garnishes like mini chocolate chips or whipped cream to refresh the look before serving.
Don’t miss our No-Bake Pumpkin Pie Bites Recipe for another transport-friendly, no-bake dessert that’s perfect for parties.
Fun Variations to Try with This No-Bake Pie Recipe
This pie is super flexible and can be easily modified to match your cravings or what you have in your pantry.
Flavor Swaps: Vanilla, Butterscotch, or Fudge
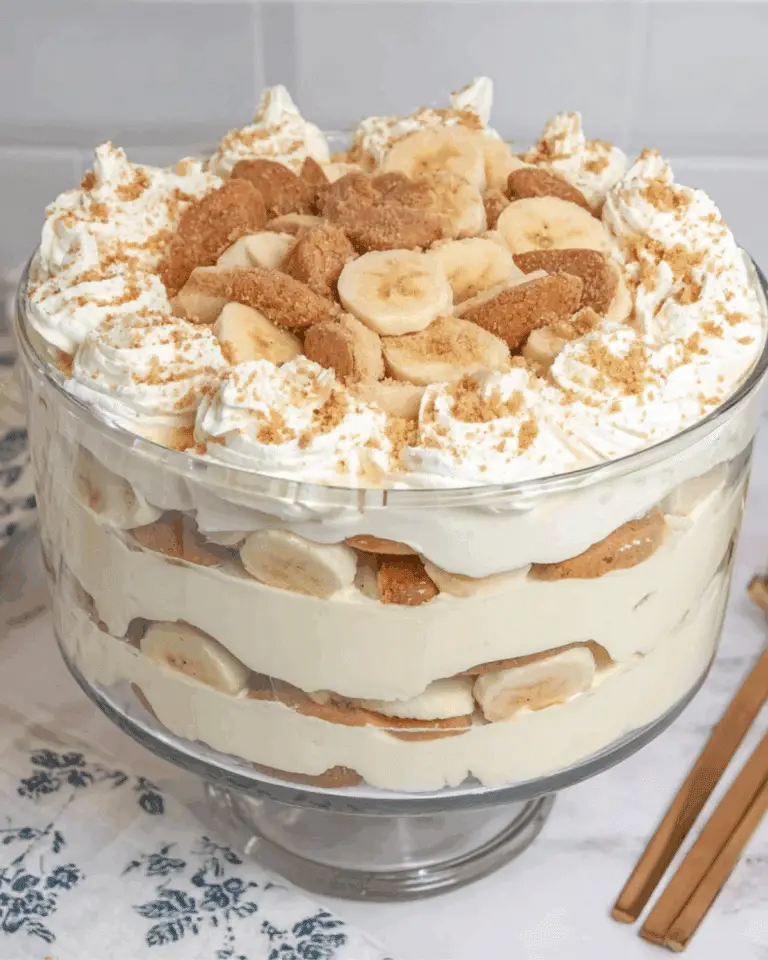
Want a twist on the classic chocolate flavor? You can use vanilla pudding, butterscotch, or even banana cream for a completely new flavor profile. Mix and match pudding types to create layered combinations like chocolate-banana or vanilla-fudge.
Alternate Crust Options: Graham, Pretzel, and More
While a chocolate cookie crust is traditional, you can switch things up with a graham cracker crust for a toasty flavor or a pretzel crust for a sweet-and-salty combo. Homemade crusts give you more control over sweetness and crunch but store-bought works just as well.
Looking for something more wholesome? Try our Healthy Pumpkin Oat Cookies Recipe that features natural sweetness and hearty texture.
Add-Ins & Layers: Cookies, Candy, Fruit, Nuts
Want to level up your pie? Here are some creative additions:
| Add-In | Description |
|---|---|
| Crushed Oreos | Add between layers for extra crunch |
| Mini marshmallows | Mix into the pudding for texture |
| Sliced bananas | Pairs beautifully with chocolate |
| Chopped pecans | Add crunch and nutty flavor |
| Candy pieces | Top with chopped Reese’s or M&M’s |
Experimenting with these extras can help you create your own signature version of this no-bake dessert.
Expert Tips to Elevate Your Chocolate Pudding Pie
Even simple recipes have their tricks. These expert tips will help you avoid common mistakes and impress everyone at the table.
How to Avoid a Runny Filling
The biggest mistake is following the instructions on the pudding box. This recipe calls for less milk to create a thicker, firmer filling. Stick to 2½ cups of milk for 2 boxes of pudding—no more. Also, use cold milk and whisk thoroughly until it’s very thick.
Tricks for Neat Pie Slices Every Time
Use a sharp, warm knife to slice the pie cleanly. Run the blade under hot water, wipe it dry, and cut. Wipe the knife between each slice. Chill the pie for at least 2–3 hours before cutting—overnight is even better for cleaner layers.
Kid-Friendly Decorating Ideas
Make it a family affair by letting kids decorate the top. Provide toppings like:
- Chocolate sprinkles
- Mini marshmallows
- Gummy bears
- Crushed cookies
- Colored whipped cream swirls
Not only will it taste great, but the pie will also look like a fun, edible art project.
Looking for more easy kid-friendly sweets? Try our Apple Cinnamon Oatmeal Cookies that are both fun and delicious.
Frequently Asked Questions (FAQ)
Can I use almond milk or plant-based milk in this recipe?
Technically yes, but it’s not recommended. Instant pudding requires the proteins and fat in dairy milk to set properly. Using almond, soy, or oat milk may result in a runny filling that doesn’t hold its shape. If you do experiment, choose unsweetened, full-fat plant milk and reduce the quantity slightly.
How far in advance can I make a no-bake chocolate pudding pie?
This pie is perfect for prepping ahead. You can make it up to 2 days in advance, but for best texture and appearance, add the top layer of whipped topping right before serving. Always store it tightly covered in the refrigerator.
What’s the best way to keep the crust from crumbling?
To prevent your crust from falling apart, chill the pie for at least 2 hours after assembling. If you’re making a homemade crust, press it down firmly into the pan and chill it for 15 minutes before adding the pudding layer. This helps the crust bind better and hold its shape when sliced.
Final Thoughts on Making the Best No-Bake Chocolate Pudding Pie
There’s something truly comforting about a dessert that’s simple, satisfying, and doesn’t require an oven. This No-Bake Chocolate Pudding Pie brings together the richness of chocolate pudding, the airy texture of whipped topping, and the perfect crunch of a cookie crust—all in just minutes.
With endless possibilities for customization, this dessert is a blank canvas for creativity. Whether you’re keeping it classic or going wild with toppings and mix-ins, it’s a treat that never disappoints.
Don’t miss our No-Bake Caramel Apple Pie Cheesecake Parfaits for another indulgent no-bake dessert you’ll want to add to your recipe box.
PrintNo-Bake Chocolate Pudding Pie
This No-Bake Chocolate Pudding Pie is a quick and easy dessert made with instant pudding, milk, and whipped topping in a chocolate cookie crust. It’s creamy, chocolatey, and perfect for any occasion—no oven required!
- Prep Time: 10 minutes
- Cook Time: 0 minutes
- Total Time: 2 hours 10 minutes (includes chilling time)
- Yield: 1 pie (8 servings)
- Category: Dessert
- Method: No-Bake
- Cuisine: American
- Diet: Vegetarian
Ingredients
- 2 boxes (3.9 oz each) Jell-O Instant Chocolate Pudding
- 2½ cups cold milk (2% or whole milk)
- 1 (8 oz) tub Cool Whip or whipped topping, thawed
- 1 (6 oz) chocolate cookie pie crust
- 1 chocolate bar (optional, for shaving on top)
Instructions
- In a large mixing bowl, whisk together the instant pudding and cold milk until thick and smooth.
- Spoon half of the pudding into the pie crust and spread evenly.
- Fold half of the Cool Whip into the remaining pudding to create a lighter mixture.
- Spoon the light chocolate mixture over the first pudding layer and spread evenly.
- Top with the remaining Cool Whip, spreading to the edges or leaving a border.
- Optionally, shave a chocolate bar over the top for garnish.
- Refrigerate for at least 2 hours before serving to allow the pie to set.
Notes
- Use less milk than the pudding box instructions to prevent a runny filling.
- For best results, chill overnight for clean slices.
- Homemade whipped cream can be used for topping, but not mixed into the pudding.
- Store in the refrigerator, covered, for up to 2 days.
Nutrition
- Serving Size: 1 slice
- Calories: 81
- Sugar: 8g
- Sodium: 59mg
- Fat: 3g
- Saturated Fat: 2g
- Unsaturated Fat: 1g
- Trans Fat: 0.1g
- Carbohydrates: 11g
- Fiber: 0.1g
- Protein: 3g
- Cholesterol: 10mg