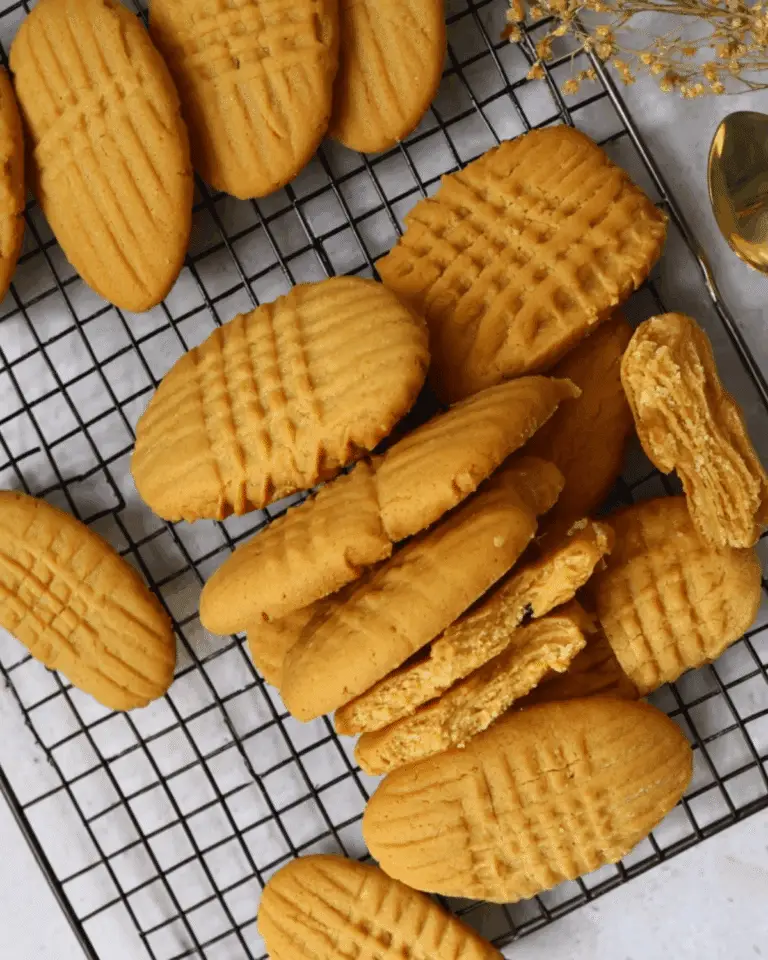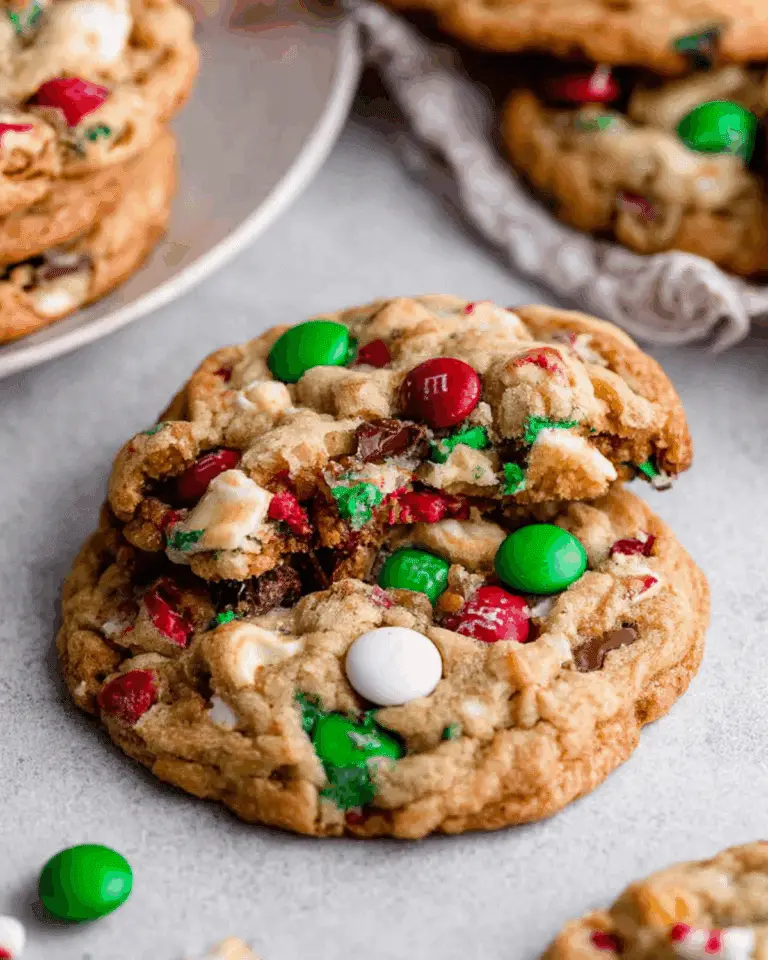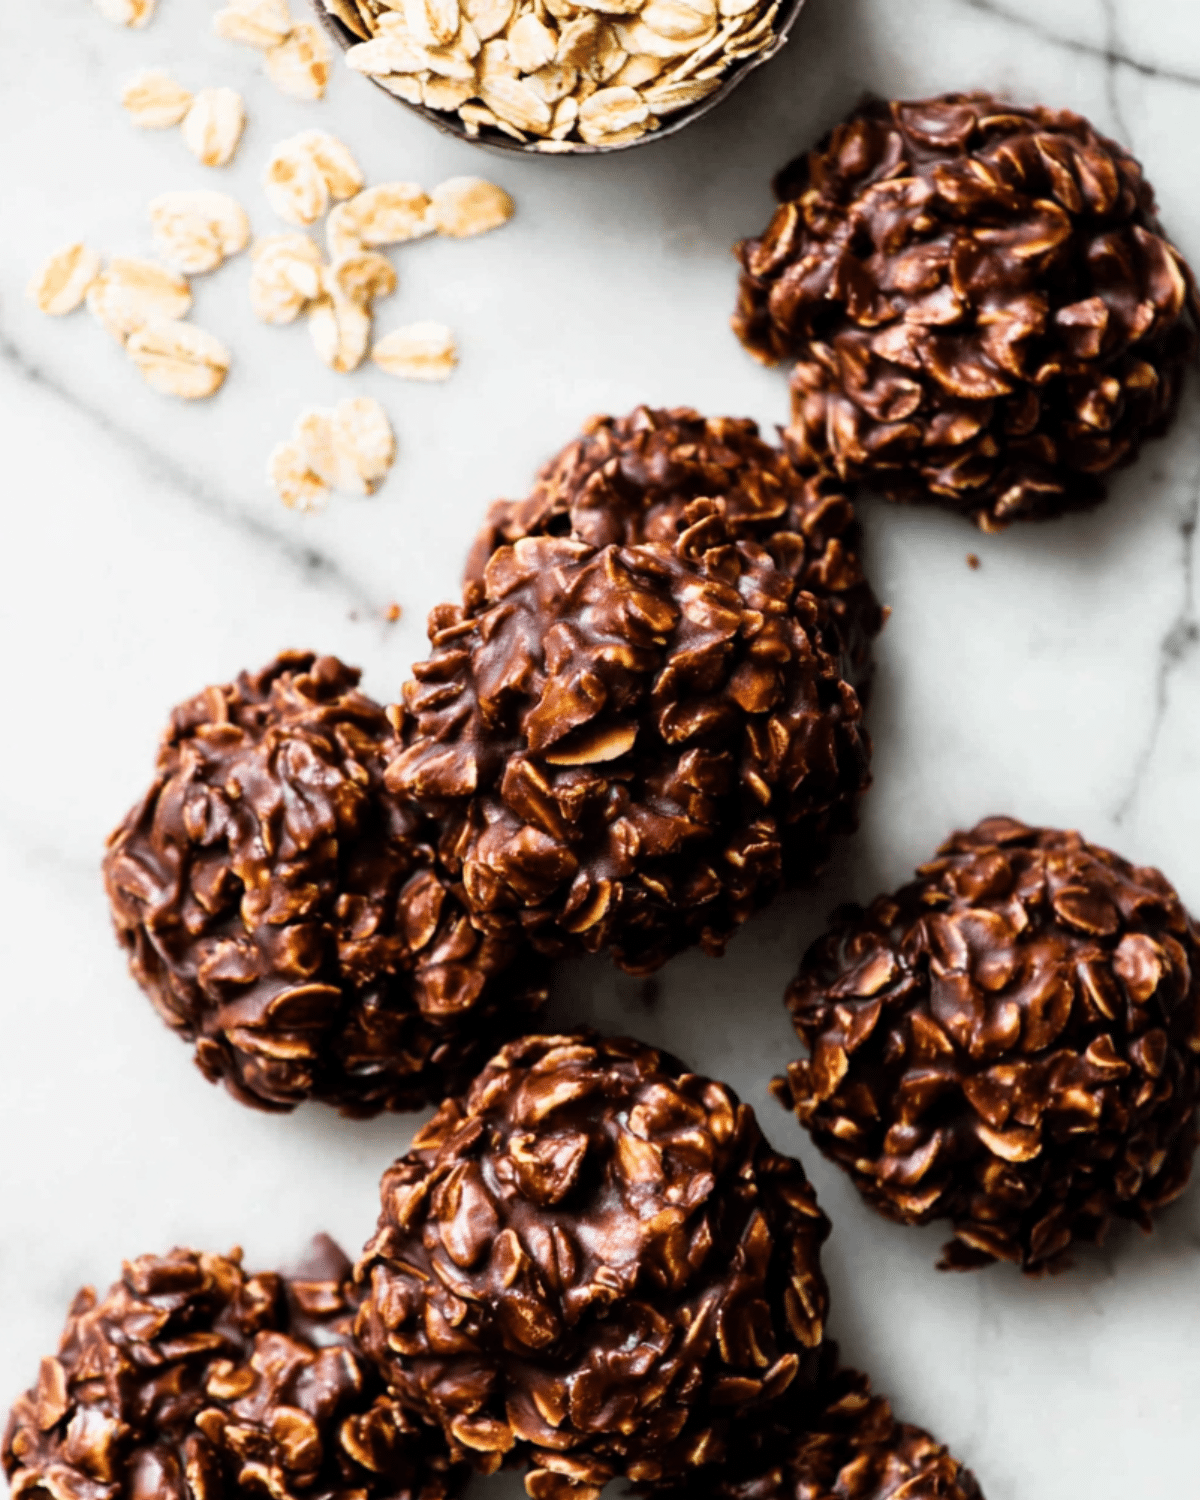
If you’re craving a rich, chocolaty treat without turning on the oven, no-bake chocolate peanut butter cookies are the answer. With just a few pantry staples, no eggs, and zero baking, you’ll have chewy, chocolatey, peanut butter-packed cookies ready in under an hour. These treats are perfect for busy weeknights, last-minute guests, or a no-fuss dessert craving. Plus, they’re incredibly adaptable—great for gluten-free, nut-free, and dairy-free variations. In this article, you’ll discover why these cookies are a must-try, get a clear walkthrough of the process, and learn expert tips to perfect your batch every time. Looking for inspiration? Try this easy cookie recipe loaded with marshmallow and peanut butter.
JUMP TO
Table of Contents
Why These No-Bake Chocolate Peanut Butter Cookies Are a Must-Try
No-bake cookies have been around for generations, but what makes this version so special is the perfectly balanced ratio of sugar, cocoa, oats, and peanut butter. There’s no oven required, no fancy tools needed, and the results are always irresistibly delicious.
The magic of no-bake simplicity
Let’s face it: baking can sometimes feel like a chore. Between preheating, watching the oven, and cleaning pans, it’s not always ideal for fast desserts. With no-bake chocolate peanut butter cookies, everything happens in one pot and sets on parchment paper. You only need a stovetop for a short boil—and the fridge does the rest. That simplicity makes them a go-to dessert when time is short but your sweet tooth is strong.
Perfect texture from rolled oats and creamy peanut butter
The blend of whole rolled oats and creamy peanut butter creates that classic chewy texture no-bake cookies are known for. The oats absorb the cocoa mixture just enough to firm up while staying soft inside. For best results, opt for rolled oats instead of steel cut—they’re quicker to bind and offer that nostalgic cookie texture. And don’t skimp on the peanut butter; it’s the ingredient that holds everything together while adding rich, nutty flavor.
Kid-friendly, crowd-pleasing and allergy-adaptable
One of the best parts about this recipe is how flexible it is. You can make it nut-free by swapping peanut butter with sunflower seed butter or Biscoff spread. Go dairy-free by using coconut oil instead of butter and plant-based milk. These cookies are easy enough for kids to help with and impressive enough to serve at parties or potlucks. Don’t miss our cookie dough dip for another no-bake favorite that’s ready in minutes!
Ingredients Breakdown – What Makes These Cookies So Addictive
The beauty of no-bake chocolate peanut butter cookies lies in their simplicity. With only eight basic ingredients, this cookie recipe delivers deep flavor, chewy texture, and nostalgic comfort—all without turning on your oven. Each ingredient plays a unique role in the structure and taste of the final treat.
Chocolate and peanut butter: A timeless pairing
At the heart of these cookies is the classic combination of chocolate and peanut butter. The cocoa powder brings that rich, bittersweet depth that balances out the sweetness, while the creamy peanut butter adds moisture and a luxurious, nutty flavor. You’ll want to use a commercial-style peanut butter like Jif or Skippy for best consistency, but natural peanut butter can work too—just stir it well and let the mixture cool slightly longer before shaping. Discover great ideas like chocolate chip banana cookies that use pantry staples in new ways.
Choosing the right oats: quick oats vs rolled oats
Oats aren’t just filler here—they’re structural and textural stars. You can use either old-fashioned rolled oats or quick oats, but each will yield slightly different results. Rolled oats give the cookies a chewier, chunkier feel, while quick oats make the cookies smoother and denser. Avoid steel-cut oats—they won’t soften enough. Using certified gluten-free oats also makes this recipe safe for gluten-sensitive eaters.
| Oat Type | Texture | Recommended For |
|---|---|---|
| Quick Oats | Softer, finer | Smoother cookie consistency |
| Rolled Oats | Chewy, hearty | More texture and bite |
| Steel-Cut Oats | Too firm, coarse | Not recommended |
Optional swaps for dairy-free and nut-free needs
Need a flexible treat? This recipe has you covered. Swap the butter with coconut oil to make the cookies dairy-free, and use any plant-based milk like almond, oat, or soy. Nut-free households can easily sub in sunflower seed butter or cookie butter for the peanut butter—it’ll still hold together beautifully and add fun new flavors. Check out our nutter butter trifle dessert for another peanut-free, indulgent option.
Quick Ingredient Checklist:
- Butter (or coconut oil) – Creates the rich base and helps the cookies firm up.
- Sugar – Sweetens and thickens the cocoa mixture.
- Milk (any kind) – Adds moisture to blend everything smoothly.
- Cocoa Powder – Delivers intense chocolate flavor.
- Peanut Butter – Binds and flavors the cookies.
- Vanilla Extract – Enhances the overall aroma.
- Salt – Balances the sweetness and boosts chocolate notes.
- Oats – Provide structure and chewy texture.
Don’t miss our no-bake pecan pie cheesecake for another low-effort, high-impact dessert you can prep ahead.
Step-by-Step Instructions for Foolproof No-Bake Cookies
These cookies come together in a snap, but success hinges on timing and technique. From boiling the cocoa mixture just right to letting the cookies set properly, follow this guide to nail the perfect no-bake cookie every single time.
Prepping your ingredients ahead
Before you even turn on the stove, gather and measure everything. These cookies move fast once the mixture starts cooking, and you won’t want to scramble to grab the oats or peanut butter. Lay out your ingredients, line your baking sheets with parchment or silicone mats, and clear some space in the fridge. Having everything prepped avoids clumps, burns, or overcooked batches.
Pro tip: Use a 3-quart saucepan to avoid boil-overs. That extra space helps mix more evenly.
Cooking the cocoa mixture to the right consistency
In your saucepan, combine the butter, sugar, milk, and cocoa powder. Whisk continuously over medium heat until the butter melts and everything blends into a smooth mixture. Once you see a full boil (bubbling in the center), stop stirring and start your timer—let it boil for exactly 1 minute. This quick simmer thickens the mixture just enough to bind the cookies later. Overcooking can lead to dry, crumbly cookies, while undercooking causes them to never set.
Immediately remove the pan from heat and stir in the peanut butter, vanilla, and salt. Mix quickly and thoroughly until smooth. Add the oats last and stir well until coated.
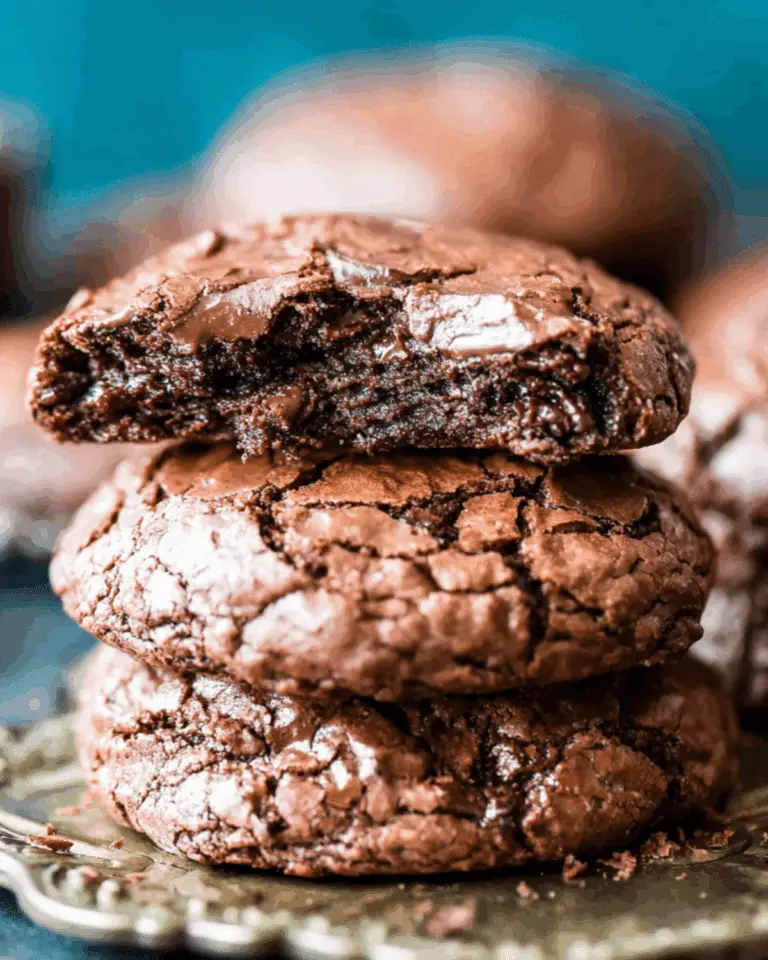
Don’t miss our magic brownie cookies for another rich, chocolate-loaded cookie fix!
Setting and cooling for perfect texture
Once everything is mixed, let the dough sit for about 5 minutes. This short rest lets the oats absorb some of the liquid, making the mixture firmer and easier to scoop. If you’re using natural peanut butter, wait up to 10 minutes for the same result.
Using a spoon or cookie scoop, drop 1-tablespoon mounds of dough onto your prepared baking sheets. You can gently flatten them with the back of a spoon for a more classic cookie shape. Place the trays in the refrigerator for 30–60 minutes until the cookies firm up.
Pro Tips to Avoid Common No-Bake Cookie Mistakes
No-bake cookies may seem effortless, but a few wrong moves can turn them into a sticky mess or a crumbly disaster. Whether you’re a first-timer or a seasoned dessert lover, these expert tips will help you get the perfect batch every time.
Why your cookies are crumbly or too soft
The most common issue? Texture problems. If your no-bake chocolate peanut butter cookies turn out too crumbly, you likely overcooked the cocoa mixture. Boiling it too long evaporates too much moisture, leaving you with a dry, hard-to-shape cookie. On the flip side, under-boiling results in cookies that won’t set and remain gooey even after hours in the fridge.
Fix it tip: Use a timer. The mixture should boil for exactly 60 seconds, not just until it looks ready. This ensures the sugar dissolves and binds properly with the fats and oats.
Timing is everything – boil duration matters
Boil time is the cornerstone of success with this recipe. The moment the mixture hits a rolling boil (bubbling from the center), start your countdown. Stirring during this time can disrupt the temperature and reduce the bonding process.
Avoid: Walking away from the pot—even 10 extra seconds can overcook the sugar and ruin your batch.
Learn more about chocolate timing techniques in our chocolate lasagna dessert which also relies on perfect layering and set time.
How to fix sticky dough before it’s too late
Is your dough too loose when you’re scooping? It might not have rested long enough. Let the mixture sit in the pot for 4–5 minutes before dropping onto baking sheets. This pause gives the oats time to soak up the cocoa mixture, improving both structure and texture.
Sticky scoop trick: If it’s still messy, chill the mixture for 10 minutes before shaping. You can also lightly grease your scoop or spoon with oil for cleaner drops.
Don’t miss our no-bake pumpkin cheesecake for another soft-set dessert that thrives on chill time.
Fun Variations to Customize Your Cookies
No-bake cookies are endlessly versatile, which is why they’ve stood the test of time. Once you’ve mastered the classic combo of chocolate, oats, and peanut butter, you can start experimenting with exciting variations to match any season, craving, or dietary preference.
Swap peanut butter for almond, sunflower or cookie butter
Not a fan of peanut butter or need a nut-free version? No problem. This recipe is flexible when it comes to the binding ingredient. Almond butter creates a smoother, slightly milder taste, while sunflower seed butter keeps it school-safe and allergy-friendly. Cookie butter adds a spiced, buttery richness that’s perfect for fall or holiday versions.
| Swap Option | Flavor Profile | Best For |
|---|---|---|
| Almond Butter | Mild, creamy | Low-sugar, refined-taste variations |
| Sunflower Seed Butter | Nutty, neutral | Nut-free versions for school or parties |
| Cookie Butter | Spiced, caramelized | Holiday cookies, fall recipes |
Add-ins like mini marshmallows, nuts or shredded coconut
You don’t have to stop at the basics. Mix-ins can take your no-bake cookies from good to unforgettable. Stir in mini marshmallows for a Rocky Road vibe, chopped pecans or walnuts for a crunchy bite, or shredded coconut for extra chew and sweetness. You can even sprinkle flaky sea salt on top for a gourmet finish.
Add-in ideas:
- Mini chocolate chips (let the mixture cool slightly before stirring in)
- Crushed pretzels
- Dried cranberries or raisins
- Toffee bits
- Chia seeds for a protein boost
Check out our cranberry shortbread cookies for another way to add fruity contrast to rich dessert bases.
Seasonal versions with sprinkles or holiday flavors
Dress these cookies up for any holiday or special occasion by playing with colors, shapes, and toppings. Add orange and black sprinkles for Halloween, crushed candy canes for Christmas, or pastel mini M&Ms for Easter. For heart-shaped versions, press them into silicone molds before chilling.
Seasonal twist tips:
- Stir in pumpkin pie spice or cinnamon for a cozy fall flavor
- Use heart-shaped cutters for Valentine’s Day
- Add red, white & blue sprinkles for 4th of July
- Top with edible glitter for a birthday treat
Don’t miss our Grinch Christmas truffles for another themed dessert idea that’s perfect for parties.
Storing and Serving No-Bake Cookies Like a Pro
You’ve nailed the mix, nailed the set, and maybe even added your own twist—now let’s make sure your cookies stay fresh and delicious for days (or weeks!) to come. Proper storage can make the difference between a soft, chewy bite and a dry, crumbly one.
Fridge vs countertop: what’s best for freshness?
Once your no-bake cookies have set, where should you keep them? It depends on how long you want them to last and how soft you prefer the texture.
- Refrigerator: Ideal for longer freshness. Keeps the cookies firm and chewy for up to 7 days. Store them in an airtight container, layered with parchment to prevent sticking.
- Countertop: Great if you plan to eat them within 2–3 days. They’ll be softer and slightly gooier, especially in warmer climates.
For maximum flexibility, you can refrigerate them first, then transfer a few to a room-temp container for easy snacking.
Freezing tips for long-term storage
These cookies freeze like a dream. Place fully set cookies in a single layer on a baking sheet, freeze until solid (about 1 hour), then transfer to a freezer-safe bag or container. They’ll keep well for up to 3 months.
To enjoy, just thaw them in the fridge overnight or let them sit at room temperature for about 30 minutes.
Freezer-safe tip: Use double-layer zip-top bags and press out all air before sealing to prevent freezer burn.
Learn more about freezer-friendly ideas with our apple bread pudding recipe, another dessert that holds up beautifully when stored correctly.
Serving suggestions for parties or gifts
Want to impress your guests or gift something homemade? These cookies are a hit at holiday gatherings, cookie exchanges, or as thoughtful edible gifts. Stack them in cellophane bags tied with ribbon, layer them in cookie tins, or serve on a decorative platter with fresh berries or mini marshmallows.
Presentation ideas:
- Stack and wrap in parchment with baker’s twine for rustic charm
- Arrange in a dessert charcuterie board alongside truffles and dips
- Package with a printed recipe card for thoughtful gift baskets
Check out our chessman banana pudding dessert for another crowd-pleasing dish that’s perfect for gatherings.
FAQs About No-Bake Chocolate Peanut Butter Cookies
Why won’t my no-bake cookies set?
This usually happens when the chocolate mixture hasn’t boiled long enough. The sugar needs time to dissolve fully and thicken—boiling for exactly 60 seconds after reaching a rolling boil is key. Skimping on that timing will leave your cookies too soft or gooey, even after chilling. Also, using too much peanut butter or not enough oats can lead to the same issue.
Can I use natural peanut butter?
Yes, but with caution. Natural peanut butter often separates, which can affect texture. If you use it, stir well before measuring and let the oat mixture sit a bit longer—about 10 minutes—so it firms up properly. Commercial peanut butters like Jif or Skippy yield more consistent results. Discover more ideas using peanut butter in our peanut butter bars recipe.
Are these cookies gluten-free?
Yes, if you use certified gluten-free oats. Regular oats are often processed in facilities with wheat, so double-check the label if you’re baking for someone with celiac or gluten sensitivity. Everything else in the recipe—cocoa, sugar, milk, butter, and peanut butter—is naturally gluten-free.
What kind of cocoa powder works best?
Both natural and Dutch-process cocoa powder work in this recipe since there’s no chemical leavening involved. Natural cocoa gives a sharper, more acidic taste, while Dutch-process adds a smoother, richer chocolate flavor. Use what you prefer or what’s on hand.
How long do no-bake cookies take to set?
Typically, the cookies will firm up in 30 to 60 minutes when placed in the fridge. If you’re short on time, 20 minutes in the freezer will do the trick. Just make sure they’re on a flat surface to avoid misshapen cookies.
Can I make these cookies without milk?
Absolutely. Any milk works—dairy or plant-based. Almond, oat, soy, or coconut milk are all great substitutes. Just avoid canned coconut milk since it’s too thick and fatty for this recipe’s consistency.
Conclusion: The Cookie You’ll Always Come Back To
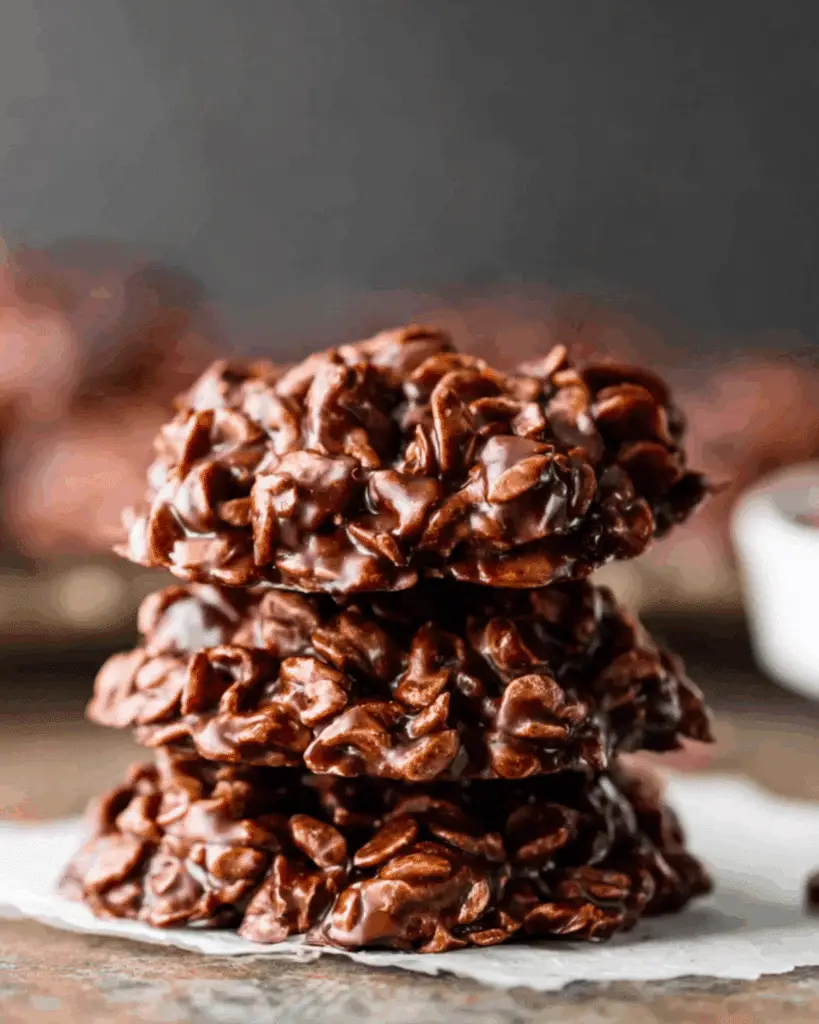
No-bake chocolate peanut butter cookies are proof that you don’t need a long ingredient list or an oven to make something truly satisfying. With their creamy peanut butter base, rich cocoa flavor, and chewy oat texture, these cookies deliver on every level. Whether you’re short on time, avoiding eggs or gluten, or just want a nostalgic sweet treat, this recipe is your go-to. It’s simple, adaptable, and always a hit—just one bite and you’ll know why they’ve stood the test of time. Don’t miss our twist on tradition with no-bake chocolate chip cookie dough truffles—they’re just as easy and even more indulgent.
PrintNo-Bake Chocolate Peanut Butter Cookies

These no-bake chocolate peanut butter cookies are quick, easy, and delicious. Made with only 8 ingredients, they’re the perfect dessert for busy days—no oven required!
- Prep Time: 10 minutes
- Cook Time: 5 minutes
- Total Time: 45 minutes (including setting time)
- Yield: 24 cookies
- Category: Dessert
- Method: No-Bake
- Cuisine: American
- Diet: Vegetarian
Ingredients
- 1/4 cup (4 Tbsp; 56g) unsalted butter
- 1 and 1/2 cups (300g) granulated sugar
- 1/2 cup (120ml) milk (dairy or non-dairy)
- 1/4 cup (21g) natural unsweetened or dutch-process cocoa powder
- 2/3 cup (170g) creamy peanut butter
- 1 Tablespoon (15ml) pure vanilla extract
- 3 cups (255g) old-fashioned whole rolled oats or quick oats
- 1/8 teaspoon salt
Instructions
- Prepare all ingredients in advance. Line baking sheets with parchment paper or silicone mats.
- In a medium saucepan, combine butter, sugar, milk, and cocoa powder. Whisk constantly over medium heat until the butter melts.
- Once boiling at the center, stop whisking and boil for exactly 60 seconds.
- Remove from heat. Immediately stir in peanut butter, vanilla extract, and salt until smooth.
- Add oats and stir well to combine. Let the mixture rest for 5 minutes to thicken.
- Drop 1-tablespoon portions onto the prepared baking sheets using a spoon or scoop. Flatten slightly if desired.
- Refrigerate for 30 to 60 minutes or until cookies are firm and set.
- Store leftovers in an airtight container in the refrigerator for up to 1 week.
Notes
- Use commercial peanut butter (like Jif or Skippy) for best consistency.
- Coconut oil can be used instead of butter for a dairy-free version.
- Both quick oats and rolled oats work; do not use steel-cut oats.
- For nut-free cookies, use sunflower seed butter or Biscoff spread.
- Freeze fully set cookies for up to 3 months.
Nutrition
- Serving Size: 1 cookie
- Calories: 140
- Sugar: 12g
- Sodium: 50mg
- Fat: 7g
- Saturated Fat: 2g
- Unsaturated Fat: 4g
- Trans Fat: 0g
- Carbohydrates: 18g
- Fiber: 1g
- Protein: 3g
- Cholesterol: 5mg