Few desserts have achieved the cult status of Magnolia Bakery Banana Pudding. Known for its creamy texture, perfect layers, and nostalgic flavor, this treat has fans lining up outside the iconic New York City bakery daily. But here’s the secret: you don’t have to make a trip to NYC to enjoy it. In this article, we’ll show you how to recreate the famous Magnolia Bakery Banana Pudding in your own kitchen—step by step.
You’ll discover the essential ingredients, layering techniques, smart preparation tips, and a few fun variations to make this classic your own. Looking for inspiration? Try our banana pudding cookies recipe for a crunchy twist on the original. Whether you’re prepping it for a party or simply treating yourself, this recipe is a guaranteed showstopper.
JUMP TO
Table of Contents
What Makes Magnolia Bakery Banana Pudding So Irresistible?
A Cult-Favorite Dessert with a Creamy Twist
At first glance, banana pudding seems like a humble Southern dessert. But Magnolia Bakery transformed it into a global sensation by elevating its texture and flavor. Instead of a traditional custard, their version uses instant vanilla pudding mixed with sweetened condensed milk and whipped cream—resulting in a cloud-like, velvety base that melts in your mouth.
How This Southern Classic Became a NYC Icon
Banana pudding has long roots in Southern kitchens, but Magnolia Bakery redefined it for a new generation. Located in the heart of Manhattan’s West Village, the bakery started serving it in the 1990s. Word-of-mouth turned it into a viral phenomenon. People stood in line for hours, sometimes just for this dessert. Its fame grew with appearances on TV shows, foodie blogs, and social media. Today, it’s one of the most Googled and imitated pudding recipes online.
Key Textures That Make It Unforgettable
The magic lies in the layers. Ripe banana slices provide a soft, fruity contrast. Nilla wafers offer crunch that turns perfectly tender after a few hours in the fridge. The whipped cream-pudding blend is thick yet airy—never soggy or overly sweet. Every spoonful delivers creaminess, crunch, and mellow banana flavor in one bite.
Don’t miss our cranberry pecan pumpkin bread recipe for another crowd-favorite treat that balances sweetness with rich texture.
Ingredients You’ll Need for the Perfect Copycat
Choosing the Right Bananas and Wafers
Bananas are central to this recipe. For best results, use ripe but firm bananas—those with a bright yellow peel and minimal brown spots. Overripe bananas can become mushy and overpower the dish. For wafers, Nabisco Nilla Wafers are the go-to choice for their perfect crunch and vanilla flavor that pairs beautifully with the pudding.
Instant Pudding Mix vs. Homemade Custard
While traditional recipes use stovetop custards, Magnolia Bakery opts for convenience and consistency. A 3.4 oz box of Jell-O instant vanilla pudding does the trick. It offers great flavor without the hassle of cooking and cooling. Plus, it blends seamlessly with whipped cream and condensed milk for that signature texture.
Why Sweetened Condensed Milk Is the Secret Weapon
This ingredient changes everything. Unlike regular milk, sweetened condensed milk adds a deep richness and subtle caramel undertone. When combined with cold water and pudding mix, it creates a thick base that supports the whipped cream without breaking down.
Check out our chocolate chip banana cookies recipe to explore more ways to use bananas in desserts.
Step-by-Step: How to Make Magnolia Bakery Banana Pudding
Prep the Pudding Base for Ultimate Creaminess
Start by whisking together 1½ cups of ice-cold water with a can (14 oz) of sweetened condensed milk in a large bowl. Then slowly add the instant vanilla pudding mix (3.4 oz Jell-O brand preferred), whisking until smooth. Refrigerate for at least 1 hour—or overnight—until the mixture is firm and fully set.
Layer Like a Pro: Cookies, Bananas, and Fluff
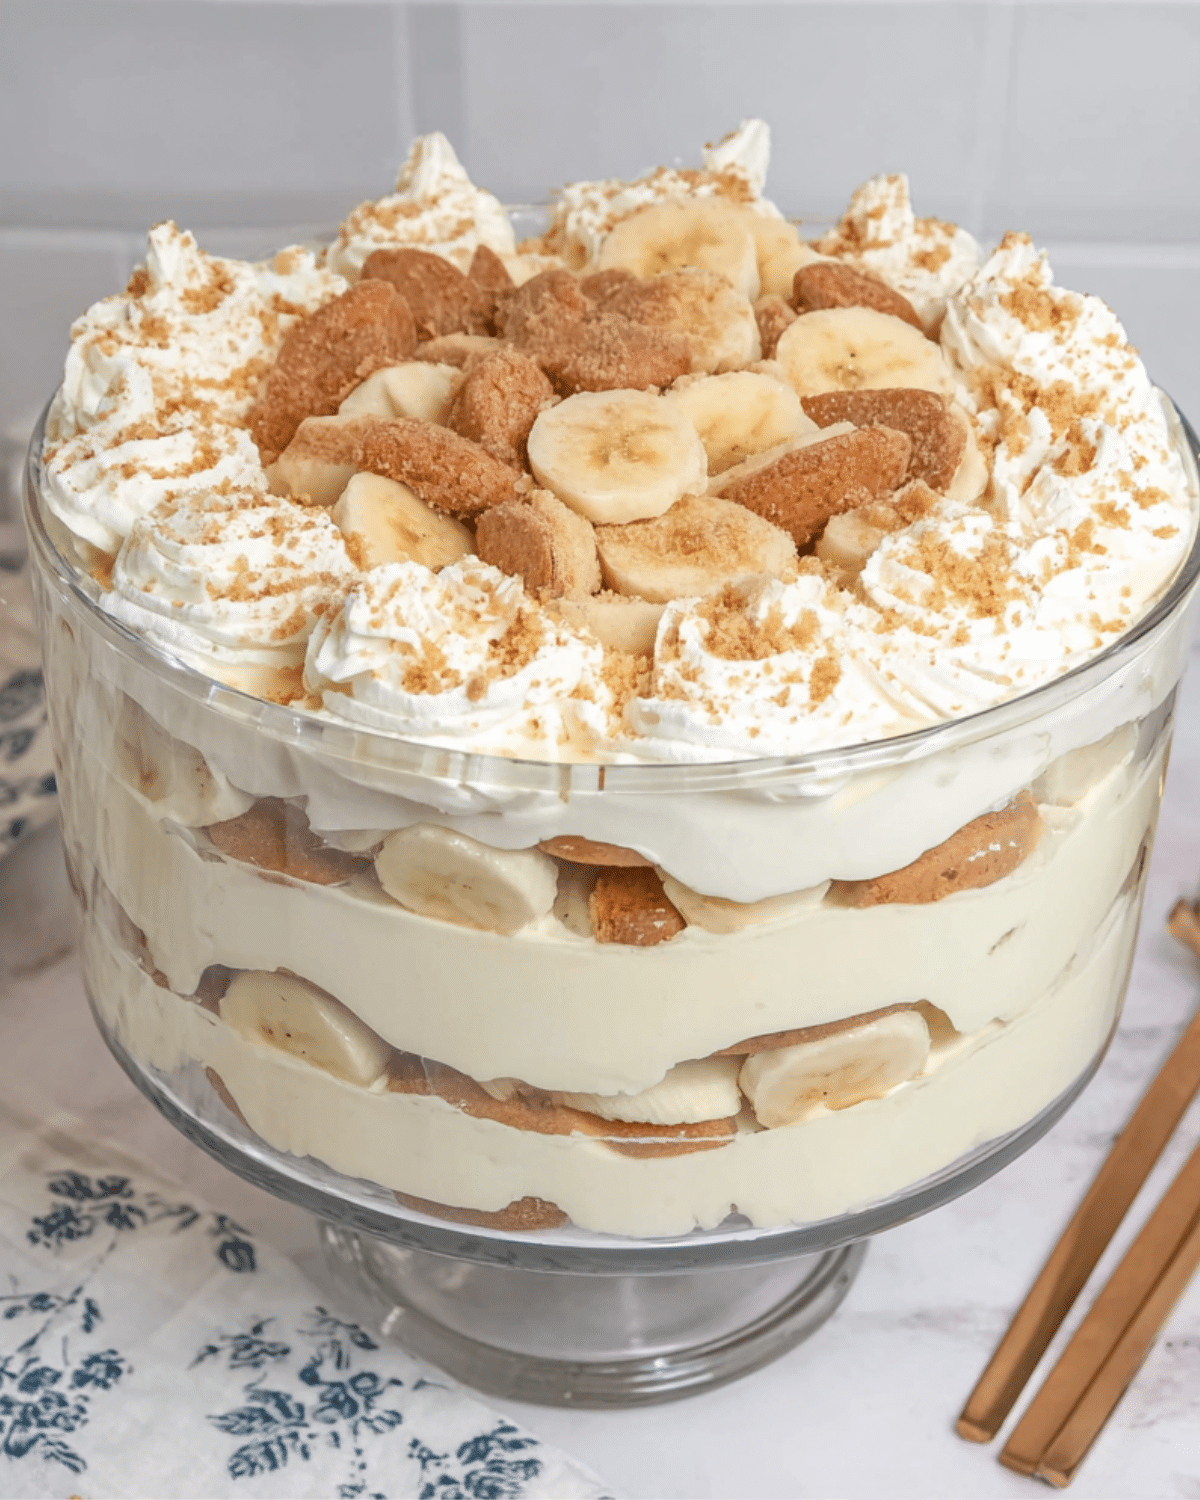
While the pudding chills, whip 3 cups of heavy cream until stiff peaks form. Gently fold the whipped cream into the set pudding mixture until fully incorporated. In a large trifle dish or glass bowl, begin layering: a scoop of pudding, a single layer of Nilla wafers, and sliced bananas. Repeat the layers until you run out of ingredients, finishing with a final pudding layer and decorative cookie topping.
Chill Time: Why Patience Pays Off
Cover the pudding with plastic wrap and refrigerate for 4–6 hours. This rest period allows the wafers to soften and the flavors to meld. Serve cold and enjoy within 12 hours for the best texture.
Don’t miss our banana nut pancakes recipe for a fluffy and fruity breakfast option that’s just as satisfying.
Pro Tips to Elevate Your Banana Pudding Game
How to Keep Bananas from Browning
Nothing ruins the visual appeal of banana pudding like dark, mushy bananas. To prevent this, slice your bananas just before layering. You can also lightly coat them with lemon juice or pineapple juice to slow oxidation without affecting the flavor too much. Another trick is to layer the bananas in the middle of the dish—shielded from air by pudding on both sides.
Best Dish Types for Layering and Serving
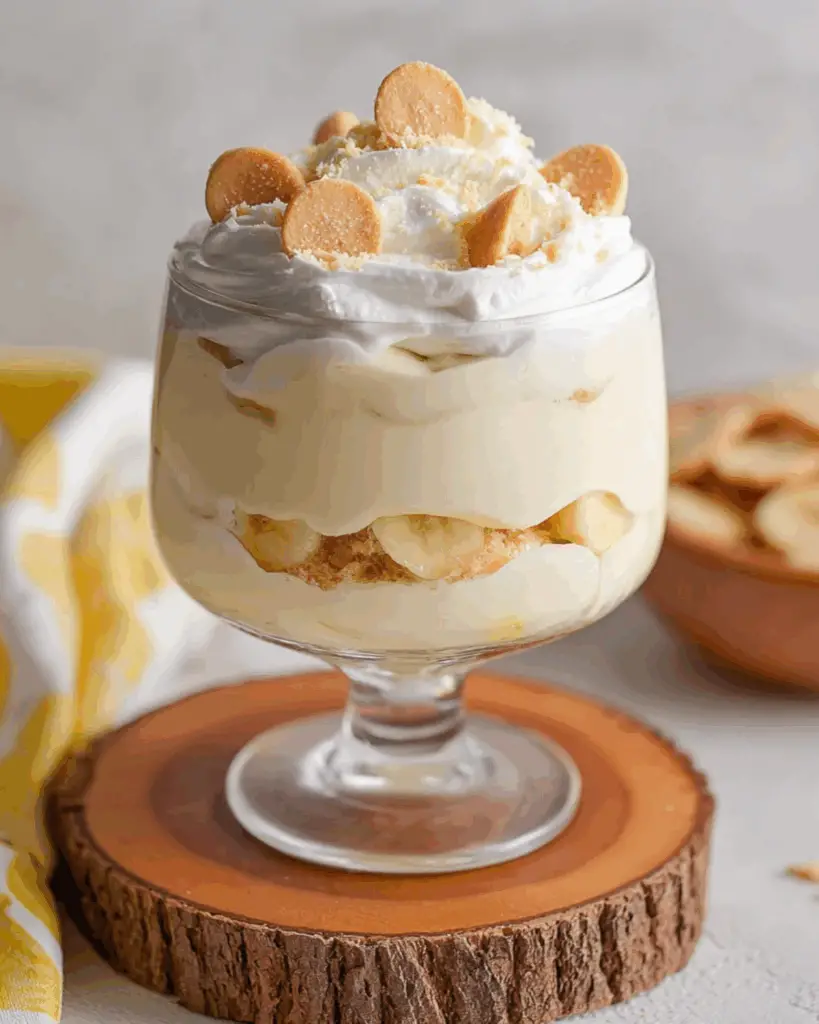
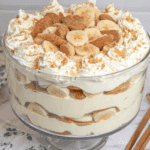
Presentation is part of the charm. Use a clear glass trifle bowl or deep glass dish to showcase the distinct layers of pudding, banana slices, and vanilla wafers. For parties or picnics, consider individual jars or dessert cups. They’re easy to serve and look elegant. If you’re short on time, a deep rectangular baking dish will do just fine.
Make-Ahead and Storage Hacks
This pudding is best served within 12 hours, but you can still prep components ahead. Make the pudding mixture a day in advance and store it separately from the whipped cream. Assemble everything the morning of your event and chill until it’s time to serve. Store leftovers in an airtight container and consume within 48 hours for best flavor and texture.
Looking for inspiration? Try our pumpkin pie spice cookies as a warm-spiced twist to serve alongside your pudding.
Serving Suggestions & Delicious Variations
Party-Perfect Trifle and Individual Servings
Hosting a gathering? Present the banana pudding in a large glass trifle bowl for that wow factor. Or spoon it into clear 8-ounce cups or mason jars for individual servings. These are portable, mess-free, and perfect for portion control. You can even tie a ribbon around the jar for a charming, rustic dessert.
Flavor Twists: Nutella, Caramel, or Peanut Butter
Want to take things up a notch? Spread a thin layer of Nutella or peanut butter between the cookie and banana layers. You can also drizzle caramel sauce over each layer for added richness. For texture, sprinkle in toffee bits, crushed pretzels, or chopped roasted peanuts.
Try our apple pie tacos recipe for another creative take on classic desserts.
Dairy-Free or Gluten-Free Swaps
Need a dietary adjustment? Use dairy-free whipped topping (like coconut cream) and almond milk-based pudding mix for a lactose-free version. Gluten-free vanilla wafer cookies are also widely available now. The key is to maintain the right ratios and textures, so the pudding still holds its signature creamy structure.
FAQs About Magnolia Bakery Banana Pudding
Can I make banana pudding a day in advance?
Yes! You can prepare the pudding mixture and even the whipped cream separately a day ahead. Assemble the layers the next day for best texture. Once fully assembled, try to serve within 12 hours to keep the cookies from getting too soggy.
What brand of wafers does Magnolia use?
Magnolia Bakery famously uses Nilla Wafers by Nabisco. These lightly sweetened, crisp vanilla cookies soften perfectly over time without becoming mushy too quickly. Generic versions work too, but the original delivers that signature taste and texture.
How long does Magnolia Bakery banana pudding last in the fridge?
Once assembled, it stays fresh for up to 48 hours if properly covered and refrigerated. However, the bananas may brown and the wafers soften over time. For best quality, eat within 12 to 24 hours.
Can I freeze leftover banana pudding?
Freezing isn’t recommended. The texture of the whipped cream and bananas can break down after thawing. If you’re looking to make it in advance, just prep the components separately and assemble them closer to serving time.
Final Thoughts: Why This Copycat Is a Must-Try
The Nostalgia, Flavor, and Ease in One Bowl
Magnolia Bakery Banana Pudding isn’t just a dessert—it’s a creamy, dreamy hug in a bowl. With layers of silky vanilla pudding, ripe bananas, and melt-in-your-mouth wafers, it delivers on flavor, texture, and nostalgia. Whether you’re recreating a NYC favorite or introducing it to someone for the first time, this copycat recipe will impress every time.
Why Homemade Beats Store-Bought Every Time
Making it at home means you control the quality of ingredients, the freshness of your bananas, and the balance of sweetness. Plus, it’s fun to assemble and doesn’t require any baking. Trust us, once you make this version, the store-bought stuff just won’t cut it anymore.
Check out our no-bake chocolate pudding pie for another effortless dessert that’s rich, creamy, and quick to serve.
PrintMagnolia Bakery Banana Pudding
This Magnolia Bakery Banana Pudding copycat recipe delivers a creamy, dreamy, and nostalgic no-bake dessert layered with vanilla pudding, ripe bananas, and Nilla wafers. It’s the perfect make-ahead treat for gatherings or everyday indulgence.
- Prep Time: 15 minutes
- Cook Time: 0 minutes
- Total Time: 6 hours
- Yield: 10 servings
- Category: Desserts
- Method: No-Bake
- Cuisine: American
- Diet: Vegetarian
Ingredients
- 1 (14 oz) can sweetened condensed milk
- 1½ cups ice cold water
- 1 (3.4 oz) package instant vanilla pudding mix (Jell-O brand recommended)
- 3 cups heavy cream
- 1 (11 oz) box vanilla wafers (Nabisco Nilla Wafers preferred)
- 5 ripe bananas, sliced
Instructions
- In a medium bowl, whisk together the sweetened condensed milk and cold water until fully combined.
- Slowly whisk in the instant pudding mix until smooth and no lumps remain. Cover and refrigerate for at least 1 hour or overnight until firm.
- Using an electric mixer, whip the heavy cream until stiff peaks form.
- Gently fold the whipped cream into the pudding mixture until no streaks remain.
- In a trifle bowl or large glass dish, spread one-quarter of the pudding mixture on the bottom.
- Layer one-third of the vanilla wafers and 1 to 1½ sliced bananas evenly over the pudding.
- Repeat the layering process until all ingredients are used, ending with a final layer of pudding and wafers on top.
- Cover with plastic wrap and refrigerate for 4–6 hours before serving.
Notes
- Use ripe but firm bananas to avoid mushy texture.
- To prevent bananas from browning, lightly coat with lemon or pineapple juice.
- Best served within 12–24 hours for optimal texture.
- Use a trifle dish or glass bowl to show off the beautiful layers.
- Do not freeze the pudding as texture may break down.
Nutrition
- Serving Size: 1 cup
- Calories: 370
- Sugar: 28g
- Sodium: 160mg
- Fat: 20g
- Saturated Fat: 13g
- Unsaturated Fat: 6g
- Trans Fat: 0g
- Carbohydrates: 40g
- Fiber: 1g
- Protein: 4g
- Cholesterol: 60mg