If you love the deep, rich flavor of brownies but crave the convenience of cookies, you’re in for a treat. These Magic Brownie Cookies deliver the best of both worlds—chewy on the edges, fudgy in the center, and topped with that signature shiny crackle you’d expect from a perfect brownie. In this guide, you’ll learn how to make bakery-style brownie cookies at home, what ingredients truly matter, and exactly how to get that melt-in-your-mouth magic every time.
Whether you’re baking for the holidays or just satisfying your chocolate craving, these cookies will never disappoint. Looking for inspiration? Try our 3-Ingredient Brownies Dessert Recipe to pair perfectly with your cookie batch.
JUMP TO
Table of Contents
What Makes Magic Brownie Cookies So Special?
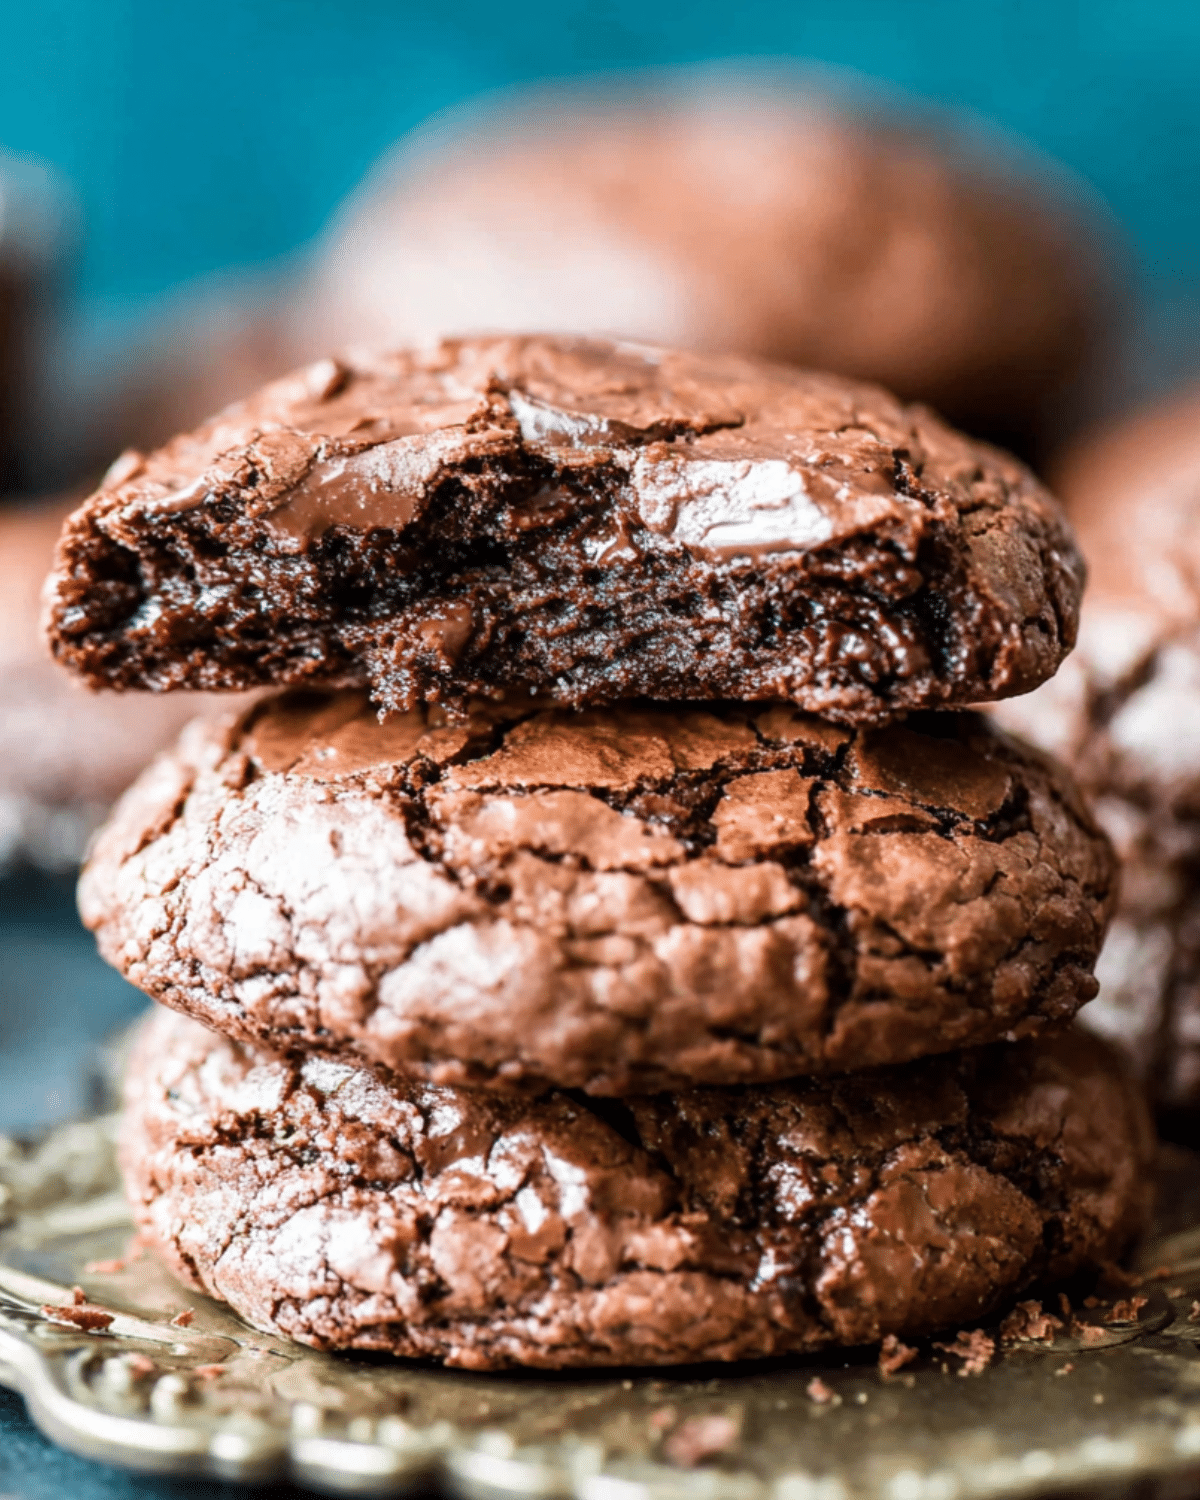
Fudgy Centers with Crackly Tops
The first bite into a magic brownie cookie is unforgettable. You get that crisp, delicate crust that shatters into a rich, moist center. The fudgy texture comes from using melted chocolate instead of just cocoa powder. That moisture, combined with the intense chocolate flavor, makes these cookies far superior to regular chocolate chip varieties.
Perfect Blend of Brownies and Cookies
Brownies and cookies might seem like distant dessert cousins, but when blended right, they become a powerhouse. These cookies hold their shape like a classic cookie yet taste just like a decadent brownie. Thanks to the balanced mix of flour, eggs, and fat, you get chewiness, structure, and gooey richness in every bite.
Why This Recipe Works Better Than Store-Bought
Unlike store-bought mixes that often rely on preservatives and artificial flavors, homemade magic brownie cookies use pantry staples and quality ingredients. Real chocolate, butter, and a perfect balance of sugars create a flavor profile no boxed mix can match. Plus, the texture is unbeatable—crisp edges and soft centers every time.
Essential Ingredients for Perfect Magic Brownie Cookies
Getting these cookies just right starts with understanding the role each ingredient plays. Don’t worry—we’ll keep it simple.
Why High-Quality Chocolate Matters
The heart of every good brownie cookie is chocolate. This recipe uses semisweet or dark chocolate bars, chopped and melted with butter. Avoid chocolate chips for the melting base—they contain stabilizers that can affect the final texture. High-quality chocolate ensures richness and depth in flavor that you can taste in every bite.
Want even more chocolate magic? Don’t miss our Copycat Crumbl Cosmic Brownie Cookies for an over-the-top treat.
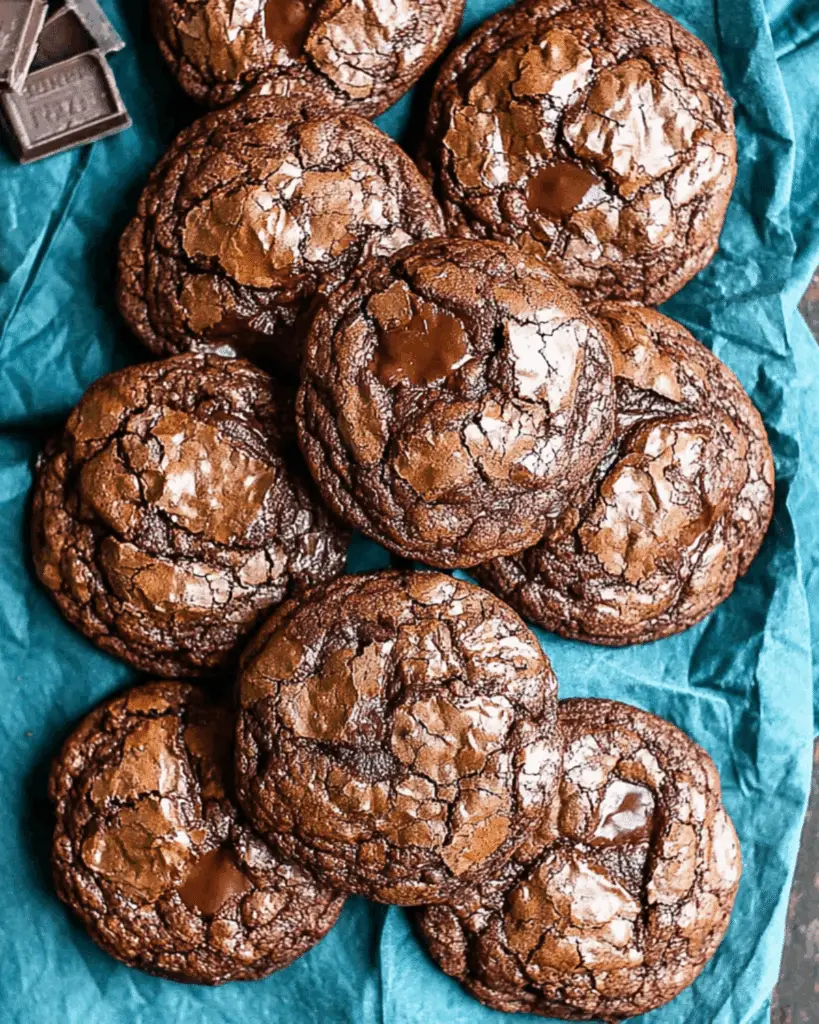
Eggs, Sugar & the Science Behind the Crackly Top
That shiny, crinkly top we all love? It’s all thanks to whipped eggs and sugar. Beating the eggs with granulated and brown sugar for 2–3 minutes introduces air and starts a meringue-like base. This not only creates lift but gives the surface its glossy, crackled finish—a signature of great brownie cookies.
Flour, Cocoa Powder & Texture Control
With just ⅓ cup of flour and ¼ cup of natural cocoa powder, this dough stays light and moist. The low flour content means the chocolate stays dominant, while cocoa deepens the flavor. Be sure not to over-measure—too much flour makes the cookies cakey instead of fudgy.
Pro tip: Use a kitchen scale for accuracy. It’s one of the easiest ways to level up your baking game.
Step-by-Step Instructions to Make Magic Brownie Cookies
This recipe is beginner-friendly but benefits from a few pro techniques. Follow these steps to ensure bakery-style results every time.
Melting the Chocolate Correctly
Start by combining chopped chocolate and butter in a heatproof bowl. Microwave in 25-second bursts, stirring well in between. Don’t rush this step—overheating will seize your chocolate, ruining the texture. If preferred, melt over a double boiler for more control.
Whipping the Egg Mixture for Structure
In a separate bowl, beat together eggs, granulated sugar, brown sugar, vanilla, and salt using an electric mixer. Gradually increase to high speed and beat for 2–3 minutes. The result should be light and fluffy—this gives the cookies structure and helps develop that crackly top.
Mixing and Chilling the Dough for Thickness
Once the chocolate is melted and slightly cooled, mix it into the egg base. Sift in the flour, cocoa, and baking powder. Gently fold together, then stir in mini chocolate chips. Chill the dough for 20–30 minutes—this is key for thickness. Skipping this step will result in flat, spread-out cookies.
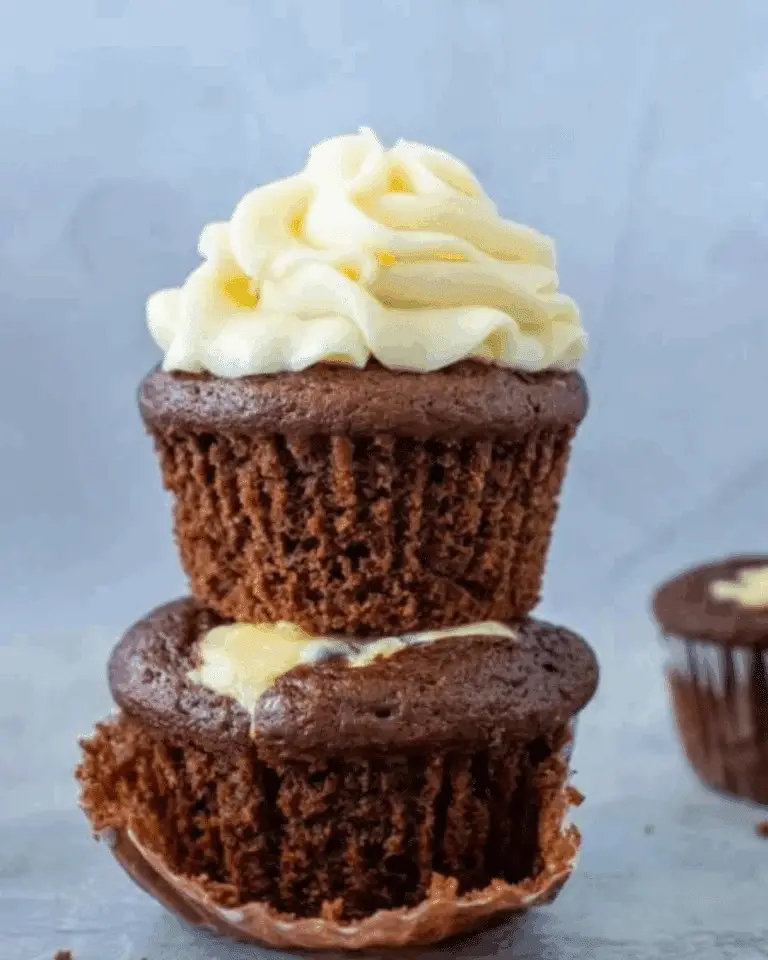
Check out Cheesecake Stuffed Chocolate Cupcakes if you’re into rich, gooey textures with a twist.
Baking and Cooling Like a Pro
Once your dough is chilled, you’re ready to bake. But getting the texture just right isn’t only about ingredients—it’s also about timing and technique.
Scooping for Consistency
For even baking and perfectly shaped cookies, use a 2-tablespoon cookie scoop or weigh out the dough. Roll each portion gently between your palms to form smooth balls. This helps the cookies bake uniformly and gives them that signature rounded top with crackly edges.
If you’re going for picture-perfect results, press a few mini chocolate chips into the tops right after baking. Looking for more crowd-pleasing treats? Check out our Almond Joy Cookies Recipe for another chocolatey twist.
Bake Time and Temperature Tips
Preheat your oven to 350°F (175°C). Line a baking sheet with parchment paper and place the dough balls about 2 inches apart to allow for spreading.
Bake for 10 minutes—no more. The edges should be set, but the centers will still look soft. That’s okay! They’ll continue to firm up as they cool. Overbaking is the number one way to ruin a fudgy cookie.
Cooling for Fudgy Texture
Let the cookies cool completely on the baking sheet. Moving them too soon can cause breakage and collapse, especially when the center is still warm and gooey. After 10–15 minutes, they’ll be sturdy enough to transfer to a wire rack if needed.
Pro tip: Don’t bake on a warm cookie sheet. If reusing trays, let them cool completely before adding more dough. This prevents the cookies from spreading too much and going flat.
Expert Tips and Variations to Customize Your Batch
Magic brownie cookies are incredibly versatile. Here’s how to tweak the recipe to match your flavor preferences or dietary needs.
Adding Nuts or Chocolate Chunks
Fold in ½ cup chopped walnuts or pecans for a satisfying crunch. Toast them first for an even deeper flavor. You can also swap mini chocolate chips for dark chocolate chunks or white chocolate chips if you prefer a different bite.
Want even more holiday-ready flair? Don’t miss our festive Christmas Trifle Dessert Recipe for your winter baking lineup.
Gluten-Free or Low-Sugar Alternatives
To make the cookies gluten-free, replace the all-purpose flour with a 1:1 gluten-free baking blend. Avoid almond flour or coconut flour, as they’ll throw off the texture.
For a lower sugar version, reduce granulated sugar by ¼ and use a low-glycemic substitute like coconut sugar or monk fruit sweetener. Keep in mind, though, that texture and spread may vary.
Holiday or Seasonal Flavor Twists
Add peppermint extract and crushed candy canes for a holiday version, or mix in a bit of espresso powder for a mocha twist. A dash of cinnamon or chili powder adds warmth and a surprising kick that pairs perfectly with chocolate.
For something fruity, fold in dried cherries or cranberries—they cut through the richness and add a tangy pop.
How to Store and Freeze Magic Brownie Cookies
Whether you’re baking ahead or trying not to eat the whole batch in one sitting (we get it), here’s how to keep your cookies fresh.
Short-Term Storage Tips
Store cookies in an airtight container at room temperature for up to 5 days. To maintain softness, place a slice of bread inside the container—the cookies will absorb the moisture and stay chewy.
Avoid storing them in the fridge, which tends to dry them out faster.
Freezing Dough vs. Baked Cookies
You can freeze the cookie dough or the baked cookies. For dough, scoop it into balls, freeze on a tray, then transfer to a freezer bag. When ready to bake, allow to thaw slightly or bake straight from frozen—just add an extra minute to the baking time.
To freeze baked cookies, let them cool completely, then store in layers with parchment between each. They’ll stay fresh in the freezer for up to 3 months.
Looking for even more make-ahead desserts? Check out our No-Bake Chocolate Chip Cookie Dough Truffles for an easy freezer-friendly treat.
How to Reheat Without Drying Out
Pop cookies in the microwave for 5–7 seconds to bring back that fresh-from-the-oven feel. Or warm them in a 300°F oven for a few minutes. Be careful not to overdo it—just enough heat to soften the chocolate chips and restore the gooey center.
Common Mistakes and How to Avoid Them
Even the best bakers can run into issues with brownie cookies. Here are the most frequent problems and exactly how to fix them.
Flat Cookies – What Went Wrong?
If your cookies spread too much and turn out flat, a few things could be the culprit:
- Under-mixed egg mixture: You must beat the eggs and sugars for 2–3 minutes to trap air, which gives the cookies structure.
- Skipping the chill time: The dough needs at least 20–30 minutes in the fridge. Warm dough spreads way too fast in the oven.
- Hot baking sheet: Adding dough to a warm tray from a previous batch causes instant spreading.
Avoid these pitfalls to keep your cookies thick and bakery-style.
Dry Texture – Overmixing or Too Much Flour
The key to a fudgy bite lies in gentle mixing and accurate measuring. Stir the flour in just until combined, and use a kitchen scale to prevent over-measuring. Even an extra tablespoon of flour can make your cookies dry and cakey.
If you’re new to baking or looking to level up, Discover great ideas like our Mini Chocolate Chip Muffins Recipe for easy wins in the kitchen.
Skipping the Chill – Why It’s a Problem
We get it—you’re eager to bake. But skipping the chilling process will leave you with cookies that spread thin and lose that chewy center. The short 25-minute chill helps firm up the dough, giving it structure and preventing a messy bake.
FAQs About Magic Brownie Cookies
Can I make these brownie cookies without eggs?
Not ideally. Eggs are essential for the crackly top and chewy structure. If needed, you could try a flax egg or egg replacer, but the texture will change significantly.
Why don’t my brownie cookies have a shiny top?
This is almost always due to under-whipping the eggs and sugar. Beat them for 2–3 full minutes on high speed until the mixture is pale and thick. That’s what creates the meringue-like top layer.
Can I use cocoa powder instead of melted chocolate?
Cocoa powder alone won’t give the same richness. You can try it, but the cookies may come out dry or lack depth in flavor. This recipe relies on melted chocolate for its gooey center.
How do I know when brownie cookies are done?
The edges should look set, but the center will still appear slightly soft. Trust the 10-minute bake time. If they’re still too gooey once cooled, add 1–2 more minutes next batch.
Can I double the batch?
Absolutely! This recipe scales well. Just be sure to chill the dough and bake in batches with a cooled tray between rounds.
Final Thoughts on Making the Best Magic Brownie Cookies
Magic Brownie Cookies are a home baker’s dream. With a crackly top, soft middle, and rich chocolate flavor, they’re the kind of cookie that disappears fast—whether you’re serving them at a party or hoarding them on the couch (we don’t judge). The recipe is simple, but following key steps like chilling the dough and whipping the eggs makes all the difference.
Want more dessert magic? Don’t miss our delicious Brownie Batter Dessert Recipe for even more chocolatey indulgence.
Happy baking!
PrintMagic Brownie Cookies

These Magic Brownie Cookies are the perfect blend of fudgy brownies and chewy cookies with a crackly top. Easy to make and ready in under an hour, they’re rich, chocolatey, and utterly irresistible.
- Prep Time: 15 minutes
- Cook Time: 10 minutes
- Total Time: 45 minutes
- Yield: 24 cookies
- Category: Dessert
- Method: Baking
- Cuisine: American
- Diet: Vegetarian
Ingredients
- 8 oz semisweet or dark chocolate bars, chopped
- 1/4 cup (57 g) unsalted butter, cut into pieces
- 2/3 cup (133 g) granulated sugar
- 1/3 cup (66 g) light brown sugar, firmly packed
- 2 large eggs, room temperature
- 1 teaspoon vanilla extract
- 1/4 teaspoon table salt
- 1/3 cup (41 g) all-purpose flour
- 1/4 cup (25 g) natural cocoa powder
- 1/4 teaspoon baking powder
- 1/2 cup (95 g) mini chocolate chips
Instructions
- Preheat oven to 350°F (175°C) and line baking sheets with parchment paper.
- Combine chopped chocolate and butter in a microwave-safe bowl. Heat in 25-second intervals, stirring between each until melted and smooth. Set aside to cool slightly.
- In a large bowl, beat together eggs, granulated sugar, brown sugar, vanilla, and salt. Mix on high speed for 2–3 minutes until thick and pale.
- Drizzle the melted chocolate into the egg mixture and stir until fully combined.
- Sift flour, cocoa powder, and baking powder into the bowl. Fold gently to combine.
- Stir in mini chocolate chips.
- Cover and chill dough for 20–30 minutes in the refrigerator.
- Scoop dough into 2-tablespoon-sized balls and roll to smooth. Place on baking sheet 2 inches apart.
- Bake for 10 minutes. Cookies should be set on edges and soft in the center.
- Let cool completely on the baking sheet before removing.
Notes
- Do not skip chilling the dough—it prevents cookies from spreading too much.
- Use a kitchen scale for precise measurements and best texture.
- Press extra chocolate chips on top after baking for a prettier presentation.
- Store at room temperature in an airtight container up to 5 days.
- Freeze baked cookies or dough for up to 3 months.
Nutrition
- Serving Size: 1 cookie
- Calories: 206
- Sugar: 22g
- Sodium: 56mg
- Fat: 10g
- Saturated Fat: 6g
- Unsaturated Fat: 3.4g
- Trans Fat: 0.1g
- Carbohydrates: 27g
- Fiber: 2g
- Protein: 2g
- Cholesterol: 30mg