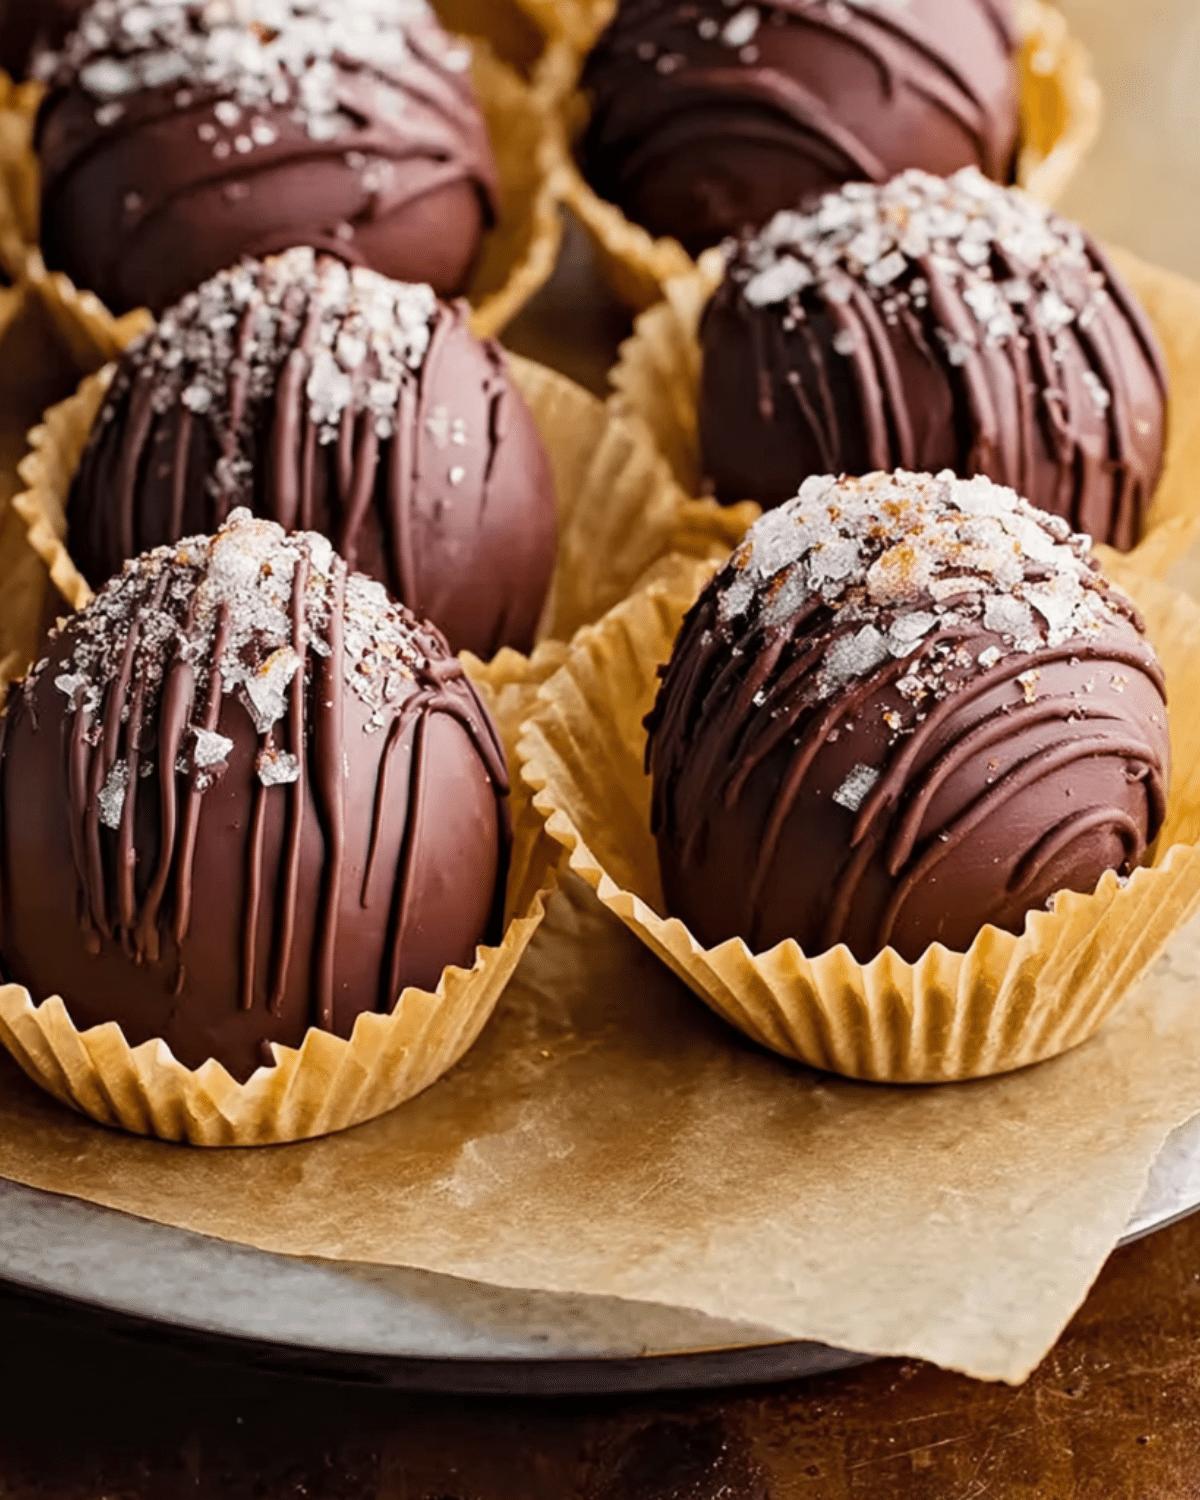
If you haven’t jumped on the hot chocolate bombs trend yet, you’re missing out on one of the most fun and satisfying ways to enjoy a warm drink. These magical, melt-in-your-mug treats are chocolate spheres filled with hot cocoa mix and marshmallows. Once hot milk is poured over them, they burst open and transform into a rich, cozy cup of hot chocolate—pure winter magic.
In this article, you’ll learn everything from how to make hot chocolate bombs at home to creative customizations, troubleshooting, and even gifting tips. Whether you’re looking to impress holiday guests or create a family-friendly kitchen activity, we’ve got you covered.
Looking for inspiration? Try our chewy pumpkin cookies recipe for the perfect pairing with your cocoa bombs.
JUMP TO
Table of Contents
How to Make Hot Chocolate Bombs at Home
Creating hot chocolate bombs from scratch may sound intimidating, but it’s actually a straightforward process when broken down step by step. Here’s everything you need to know.
Ingredients You’ll Need
The first step to making a successful batch of hot chocolate bombs is gathering the right ingredients. The base of your bomb is chocolate—either semi-sweet, milk, dark, or white chocolate all work, but it’s best to use high-quality bars or couverture chocolate for smooth melting and clean molding.
You’ll also need:
- Hot cocoa mix (homemade or store-bought)
- Mini marshmallows
- Optional fillings like crushed peppermint, caramel bits, or sprinkles
- Edible glitter, colored candy melts, or powdered flavors for extra flair
Check out our maple pumpkin cookies recipe for another cozy baking project.
Tools You’ll Want:
- Silicone or acrylic half-sphere molds (2” or 2.5” diameter)
- A food-safe brush (if painting chocolate)
- A microwave-safe bowl or double boiler
- Parchment paper and gloves for cleaner handling
Step-by-Step Instructions
1. Melt and Temper the Chocolate
Start by melting your chocolate in short bursts (20 seconds at a time) in the microwave or using a double boiler. Stir frequently to avoid burning. If you’re going for a glossy finish and firm shell, tempering is recommended. That means heating and cooling the chocolate to specific temperatures, usually around 88–90°F for dark chocolate.
2. Mold the Chocolate Shells
Using a spoon or pastry brush, coat the insides of your mold with melted chocolate. Be generous but not too thick. Chill for 5–10 minutes, then repeat for a second coat to ensure sturdiness.
3. Fill and Seal
Once set, gently pop the shells out of the molds. Fill half of them with 1 tbsp of cocoa mix and a handful of marshmallows. Warm a plate slightly, then press the edge of an empty shell onto it for 1–2 seconds to slightly melt the rim. Quickly press it onto a filled half to seal. Allow it to set completely.
Discover great ideas like our easy Halloween snack mix to accompany your drinks.
Pro Tips for Success
Hot chocolate bombs are simple, but a few expert tricks can take yours from messy to magnificent.
Use Gloves to Handle Shells
Wearing gloves prevents fingerprints and keeps the chocolate looking glossy.
Chill, But Don’t Freeze
Refrigerating helps chocolate set faster, but freezing can lead to cracks due to rapid temperature change.
Patch Any Holes Immediately
If you spot thin spots or cracks, patch with more melted chocolate before removing from molds.
Don’t miss our pumpkin s’mores cookies recipe for another indulgent, seasonal treat.
Creative Hot Chocolate Bomb Ideas
If you’ve mastered the basics of hot chocolate bombs, it’s time to get creative. From holiday themes to flavor twists and kid-friendly designs, there’s no limit to what you can do with these cocoa-filled spheres. Here’s how to go beyond the classic chocolate and marshmallow version.
Fun Flavor Variations
Mixing up the flavor of your hot chocolate bombs is where the real magic happens. Whether you like things bold, sweet, or spiked, there’s a flavor combo for everyone.
Peppermint Mocha Bombs
Add a touch of crushed peppermint candy and a dash of instant espresso powder inside each bomb. Use dark chocolate for a rich mocha base that’s perfect for winter.
White Chocolate Raspberry
Fill with white cocoa mix and freeze-dried raspberries. Use pink-tinted white chocolate shells for a lovely Valentine’s look.
S’mores Explosion
Inside: crushed graham crackers, mini marshmallows, and a bit of chocolate powder. Outside: drizzle with melted milk chocolate and sprinkle crushed graham crackers on top.
Boozy Bombs for Adults
Add a splash of Irish cream powder, rum-flavored cocoa, or even tiny pipettes filled with liqueur inside the bombs for an adults-only version.
Looking for inspiration? Try our chocolate chip pumpkin bread as a comforting side treat with your flavored cocoa bombs.
Holiday & Seasonal Themes
Make your hot chocolate bombs festive for every season and holiday with just a few tweaks.
Christmas Cocoa Bombs
Use red and green candy melts, festive sprinkles, and even crushed candy canes on top. Pack them in clear ornament balls for unique gifting.
Halloween “Witch’s Brew” Bombs
Fill them with black cocoa, green marshmallows, and spooky sprinkles. Paint the shell with edible gold or purple shimmer for a mysterious effect.
Valentine’s Day Hearts
Use heart-shaped molds and pink chocolate. Add strawberry cocoa mix and red marshmallows inside. Bonus: include a small love note tag.
Don’t miss our eyeball brownies recipe for the perfect spooky dessert pairing.
Kid-Friendly Customizations
Hot chocolate bombs are a fantastic activity to do with kids—just keep the designs fun, simple, and safe.
Edible Glitter & Colorful Shells
Use food-grade glitter, rainbow sprinkles, or edible paint to let kids decorate their own creations.
Fun Faces or Characters
With candy eyes and edible markers, turn your bombs into snowmen, reindeer, or even cartoon characters.
Allergy-Friendly Options
Use dairy-free chocolate and allergen-free marshmallows for children with sensitivities. There are plenty of vegan cocoa mixes available, too.
Discover great ideas like our Christmas sugar cookies recipe to keep the festive fun going all season long.
Storage, Gifting, and Troubleshooting
Hot chocolate bombs are as practical as they are pretty—if you store them correctly and handle the little quirks that come with homemade treats. Plus, they make amazing DIY gifts that feel both luxurious and personal.
How to Store Hot Chocolate Bombs
Proper storage is key to preserving the texture and taste of your bombs.
Room Temperature vs. Refrigeration
If your home stays under 70°F (21°C), room temperature storage in an airtight container is fine for up to 2 weeks. For warmer climates or longer shelf life, store them in the fridge. Just remember: condensation from cold storage can affect appearance.
Avoid Moisture & Odors
Chocolate absorbs smells easily. Always keep bombs away from pungent foods (like onions or garlic), and use odor-proof containers if possible.
Freezing: Yes or No?
While freezing is possible, it’s not ideal unless you’re prepping them far in advance. Be sure to double-wrap in plastic and use a freezer-safe container to avoid frost buildup.
Don’t miss our homemade pumpkin chai cinnamon rolls for the perfect brunch pairing with your cocoa bombs.
DIY Gift Packaging Ideas
Hot chocolate bombs make stunning, thoughtful gifts, especially during the holidays or special occasions. Here’s how to package them like a pro.
Clear Ornament Balls
Place each bomb inside a plastic ornament shell and tie it with a ribbon. Add a tag that says “Pour hot milk over me!”
Cupcake Liners & Gift Boxes
Set bombs in festive cupcake liners inside small bakery boxes. Add tissue paper or shredded filler for cushioning.
Mason Jar Presentation
Place one or two bombs in a wide-mouth mason jar, seal it, and decorate the lid with ribbon and a custom label.
Check out our easy strawberry Santa treats for another adorable holiday gift idea.
Common Issues & How to Fix Them
Even seasoned bakers run into hiccups. Here are the most frequent problems and how to solve them.
The Chocolate Shell Cracks
This usually happens due to rapid temperature changes. Always let shells cool gradually and avoid placing warm bombs in cold storage too quickly.
The Shell Doesn’t Seal
If the two halves aren’t sealing cleanly, your chocolate may be too cool. Warm the edges slightly again on a hot plate before sealing.
It Doesn’t Melt in the Milk
Your milk may not be hot enough. Use milk that’s heated to at least 160°F (71°C), and always pour it directly over the top of the bomb to ensure melting.
For another no-fail dessert, check out our no-bake chocolate orange cheesecake.
FAQ
How do you use a hot chocolate bomb?
Place the bomb in a mug and pour 8–10 oz of hot milk over it. Watch it melt and stir gently to combine the mix and marshmallows.
Can you make hot chocolate bombs without molds?
Yes! Use cupcake liners or shape chocolate into flat discs and sandwich the filling between two of them. The result isn’t a perfect sphere but works the same way.
Do hot chocolate bombs need to be refrigerated?
Not necessarily. Store them in a cool, dry place. Refrigeration is only needed in warm or humid environments.
How long do hot chocolate bombs last?
When stored properly, they last 2–3 weeks at room temperature or up to 2 months refrigerated. For longer storage, freeze them for up to 3 months.
Conclusion
Hot chocolate bombs aren’t just a drink—they’re a full-on experience. They’re fun to make, endlessly customizable, and bring joy to everyone who receives or sips one. Whether you’re crafting them with kids, prepping thoughtful gifts, or just elevating your own cozy nights in, these little cocoa spheres deliver warmth in every sense.
Looking for more feel-good recipes? Check out our homemade pumpkin jam recipe for a spread that’s as cozy as your mug of cocoa.
PrintHot Chocolate Bombs

Hot Chocolate Bombs are a fun and cozy winter treat made from chocolate spheres filled with hot cocoa mix and marshmallows. When hot milk is poured over them, they melt into a rich, indulgent drink.
- Prep Time: 30 minutes
- Cook Time: 0 minutes
- Total Time: 30 minutes
- Yield: 6 hot chocolate bombs
- Category: Dessert, Beverage
- Method: No-Bake
- Cuisine: American
- Diet: Vegetarian
Ingredients
- 2 cups high-quality semi-sweet chocolate or chocolate melts
- 6 tablespoons hot cocoa mix (1 tbsp per bomb)
- 1/2 cup mini marshmallows
- Optional: crushed peppermint, sprinkles, edible glitter, flavored powders
Instructions
- Melt the chocolate using a microwave or double boiler, stirring frequently.
- Brush or spoon the melted chocolate into silicone molds to coat the insides. Chill for 10 minutes.
- Repeat with a second layer of chocolate to strengthen the shell. Chill again until fully set.
- Carefully remove chocolate halves from molds.
- Fill half the shells with 1 tbsp cocoa mix and mini marshmallows.
- Warm a plate and melt the edge of the empty half-shell. Press onto filled half to seal.
- Let sealed bombs rest until fully set.
- To serve: place one bomb in a mug and pour 8-10 oz of hot milk over it. Stir and enjoy.
Notes
- Use gloves to avoid fingerprints on chocolate.
- Store at room temperature in a dry, airtight container.
- Refrigerate only in warm climates to avoid melting.
- Tempering chocolate improves appearance and stability.
- Add edible glitter or drizzle for decoration.
Nutrition
- Serving Size: 1 bomb
- Calories: 180
- Sugar: 18g
- Sodium: 40mg
- Fat: 10g
- Saturated Fat: 6g
- Unsaturated Fat: 3g
- Trans Fat: 0g
- Carbohydrates: 22g
- Fiber: 2g
- Protein: 2g
- Cholesterol: 0mg