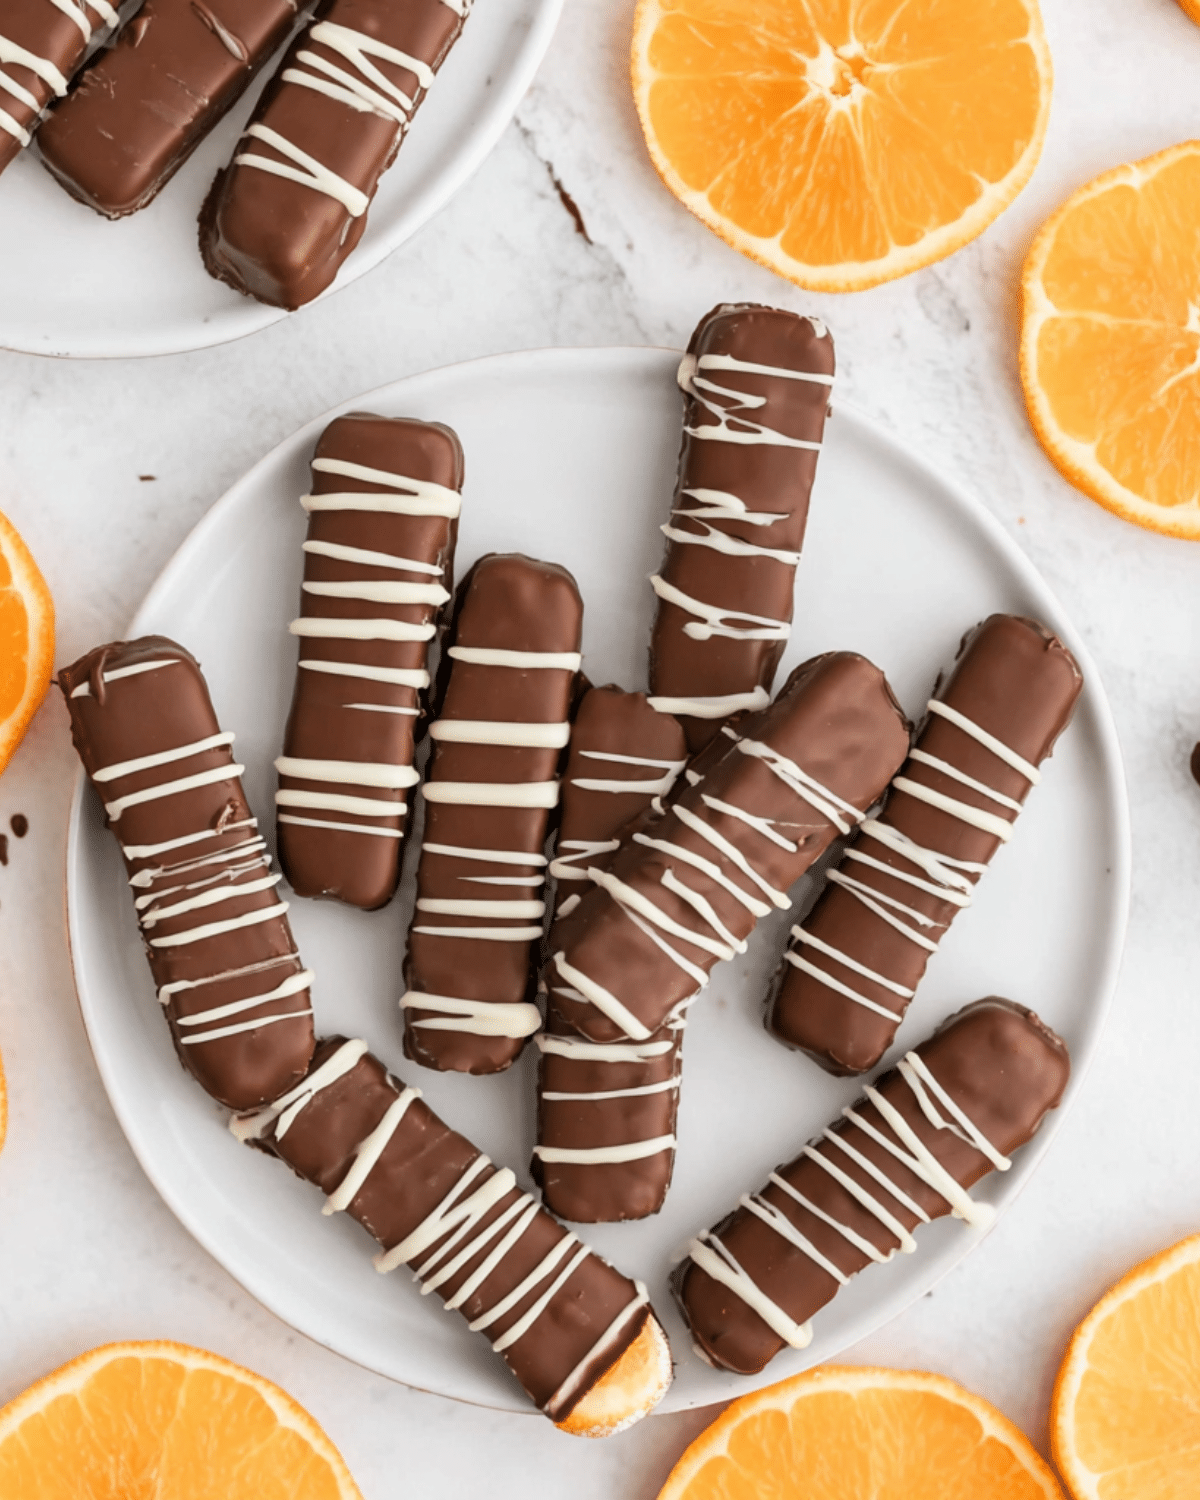
There’s something undeniably nostalgic about the zesty burst of citrus wrapped in smooth, rich chocolate. Homemade Chocolate Orange Sticks bring that holiday magic to life in your own kitchen. These chewy, fruity, chocolate-covered delights are more than just candy—they’re a memory-making tradition, perfect for holiday gifts, party trays, or late-night treats. In this article, we’ll walk you through the step-by-step process to make them from scratch, share pro tips to perfect your technique, and offer flavorful variations to try all year round.
Looking for more unique candy ideas? Don’t miss our rocky road candy recipe — it’s a hit at every party.
JUMP TO
Table of Contents
Why Homemade Chocolate Orange Sticks Are a Must-Try Treat
The nostalgic charm of chocolate and citrus
Combining citrus and chocolate might sound unusual to some, but for many, it’s a flavor pairing that sparks sweet childhood memories. The bright zing of orange layered under a silky coat of chocolate makes every bite a delight. Store-bought versions have long been a holiday staple, but making them at home adds that extra layer of love—and freshness—you just can’t buy in a box.
How this treat became a holiday tradition
Chocolate orange sticks have been a holiday favorite for decades, often showing up in Christmas stockings or on festive platters. Traditionally gifted in elegant boxes, these candies became synonymous with holiday cheer. The homemade version elevates the experience, allowing you to customize everything from the thickness of the jelly to the type of chocolate. It’s no wonder so many families now include this recipe in their annual holiday baking lineup.
Store-bought vs. homemade: Which is better?
While store-bought orange sticks have convenience on their side, homemade wins in every other category—flavor, texture, freshness, and personalization. When you make them at home, you control the quality of each ingredient, from the pure orange juice concentrate to the premium chocolate coating. Plus, you can avoid preservatives and artificial flavorings found in many packaged versions.
Check out our vanilla bean buttercream frosting for another homemade treat worth mastering.
Essential Ingredients for Chocolate Orange Sticks
The key to achieving the perfect orange jelly
The heart of this candy lies in its smooth, vibrant orange jelly. To make it at home, you’ll need:
| Ingredient | Purpose |
|---|---|
| Unflavored gelatin (3 Tbsp) | Creates that classic chewy, jelly texture |
| Granulated sugar (2 cups) | Sweetens and stabilizes the jelly |
| Water (hot & cold) | Helps dissolve the sugar and soften gelatin |
| Orange juice concentrate (2 Tbsp) | Delivers intense orange flavor |
| Lemon juice & lemon extract | Enhance the citrus punch without overpowering |
| Orange extract (1 tsp) | Boosts flavor depth |
| Orange food coloring | Optional, for a more vibrant appearance |
The combination of orange and lemon might raise eyebrows, but the lemon simply enhances the orange without making the flavor taste lemony.
Choosing the right chocolate: milk, dark, or white?
Chocolate choice matters. The richness of milk chocolate balances the tangy orange filling, while dark chocolate adds a bold, slightly bitter contrast. If you’re into sweeter combinations, white chocolate creates a creamy counterpoint to the citrus. Whatever you choose, ensure it’s melting chocolate or chocolate bark that sets up smoothly for a glossy finish.
Optional enhancements: extracts, food coloring & texture tips
- Extract swaps: Try peppermint or raspberry extract for creative twists.
- Texture tip: Let the jelly fully set (preferably overnight) before cutting or dipping.
- Food coloring: A few drops of orange food coloring can enhance the look but are totally optional.
Discover great ideas like cherry jelly hearts candy if you’re into fruity and festive sweets.
Step-by-Step Guide to Making Homemade Chocolate Orange Sticks
Making homemade chocolate orange sticks isn’t just fun—it’s surprisingly easy when broken down into simple steps. The key is patience during the setting and dipping phases. Let’s walk through it from start to finish.
Preparing the orange jelly base
Start by softening the gelatin. In a small bowl, combine 3 tablespoons of unflavored gelatin with ½ cup of cold water. Set it aside to let it bloom. This is what gives the jelly its bounce.
Next, in a saucepan over medium heat, stir 2 cups of sugar into ½ cup of hot water until fully dissolved. Once the sugar is melted, increase the heat to a gentle boil. Now add the gelatin mixture and continue boiling over medium-low heat for about 20 minutes, stirring occasionally.
Remove from heat and stir in the flavor boosters:
- 2 tablespoons frozen orange juice concentrate
- 2 tablespoons lemon juice
- ½ teaspoon lemon extract
- 1 teaspoon orange extract
- A few drops of orange food coloring (optional but adds vibrant appeal)
Stir the mixture until smooth and fragrant. Your kitchen will smell like a candy shop by now.
Mold options and cutting techniques
You’ll want a non-stick silicone mold or mini loaf pans for shaping. Spray the molds generously with non-stick spray before pouring in the mixture.
Let the jelly set overnight at room temperature. Once firm, gently remove from the molds. If you used loaf pans, slice the jelly into 1/3-inch wide strips to mimic store-bought orange sticks. If using molds shaped like rectangles, you can simply cut them in half.
Want more creative sweets? Looking for inspiration? Try our gingerbread truffles dessert — festive and freezer-friendly!
Dipping in chocolate and decorative finishes
Now the fun (and slightly messy) part—chocolate coating!
Melt about 12 ounces of melting chocolate or almond bark according to the package directions. Use a fork or candy dipping tool to gently lower each jelly stick into the melted chocolate. Let the excess drip off, then place it on a sheet of wax or parchment paper to set.
Want to add flair? Drizzle white chocolate on top once the coating is firm for a bakery-style finish. Just make sure everything is completely dry before packing or gifting.
For a showstopping treat board, don’t miss our Halloween chocolate pretzel spider webs, a spooky-sweet companion to these orange sticks.
Pro Tips for Perfect Chocolate Orange Sticks Every Time
How to avoid sticky or runny jelly
If your jelly turns out too soft or sticky, the culprit is usually under-boiled gelatin. Be sure to let the mixture boil gently for the full 20 minutes—this ensures the gelatin activates fully and sets firm. Don’t skip letting the jelly sit overnight, either. It needs time to firm up at room temperature.
Also, make sure to coat your molds well with non-stick spray to prevent the candy from tearing during removal.
Troubleshooting chocolate coating issues
Here are a few tips to avoid chocolate disasters:
- Don’t overheat the chocolate. Use a double boiler or microwave in 15-second bursts.
- Dry the jelly completely before dipping—any moisture causes the chocolate to seize.
- Use a fork to dip and drain. This gives the best control and coating coverage.
- Set candies on wax or parchment paper to cool for mess-free cleanup.
Storing and gifting tips for long-lasting freshness
Store finished chocolate orange sticks in an airtight container at room temperature for up to a week, or in the fridge for up to 2–3 weeks. To gift them, place the candies in mini cupcake liners inside a festive box or tin.
Shipping them? No problem. These sturdy candies hold up surprisingly well—just wrap tightly and avoid warm-weather mailing.
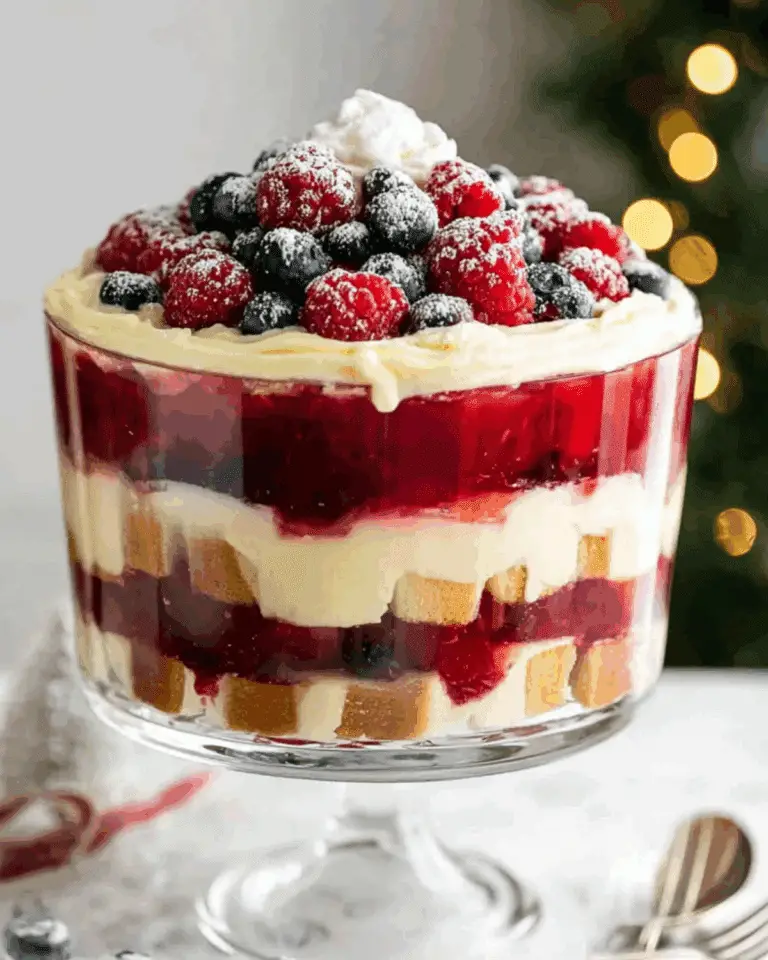
Check out our Christmas trifle dessert recipe for another showstopper holiday gift idea.
Delicious Variations You Can Try
Raspberry, lemon, and other fruity spin-offs
The base recipe is flexible! Try swapping the orange juice concentrate with:
- Raspberry concentrate for a berry burst
- Lemon for a tart citrus candy
- Pineapple for a tropical twist
Just remember to adjust extracts and food coloring accordingly.
White chocolate vs dark chocolate pairings
Love variety? Try half your batch in white chocolate and the other half in dark. White chocolate makes the orange pop visually, while dark chocolate offers a rich, intense contrast.
Pro tip: Add crushed peppermint or sea salt flakes to the tops before the chocolate dries for extra flair.
Kid-friendly molds and party themes
Use silicone molds in shapes like hearts, stars, or even mini donuts to fit your party or holiday theme. Great for Valentine’s Day, Halloween, or even baby showers.
Don’t miss our fun and festive pumpkin pie cupcakes dessert — a kid-approved favorite!
Frequently Asked Questions About Homemade Chocolate Orange Sticks
How long do homemade chocolate orange sticks last?
They last up to a week at room temperature or 2–3 weeks in the refrigerator. Store them in an airtight container for best results.
Can I freeze chocolate orange sticks?
Yes! Place them in a sealed container with parchment paper between layers. Freeze for up to 2 months. Thaw in the fridge before serving.
What’s the best mold to use for these candies?
Silicone molds work best because they flex when you remove the jelly. You can also use mini loaf pans if you don’t have molds—just slice the jelly into sticks after setting.
Are chocolate orange sticks gluten-free?
Yes—this recipe is naturally gluten-free, as long as you ensure your chocolate and flavor extracts are certified gluten-free.
Conclusion: Why You’ll Keep Coming Back to This Recipe
Whether you’re recreating a cherished childhood treat or starting a new holiday tradition, homemade chocolate orange sticks offer the perfect blend of flavor, nostalgia, and fun. They’re easy enough to make with kids, impressive enough to gift, and delicious enough to disappear fast.
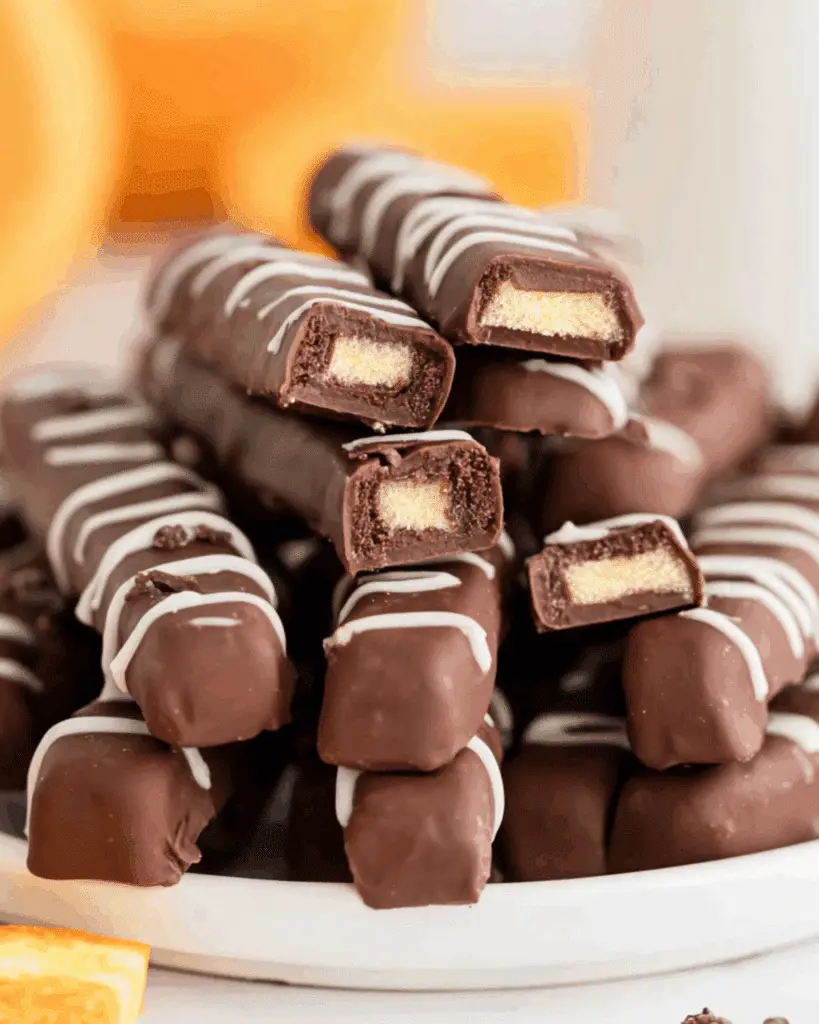
From their chewy citrus jelly centers to their decadent chocolate shells, these candy sticks are a holiday must-have that you’ll want to make again and again.
Looking for more candy classics? Don’t miss our old-fashioned Martha Washington candy, another homemade favorite that’s perfect for gifting.
PrintHomemade Chocolate Orange Sticks
Homemade Chocolate Orange Sticks are chewy citrus jelly candies dipped in rich chocolate—perfect for holiday gifting or sweet snacking.
- Prep Time: 15 minutes
- Cook Time: 20 minutes
- Total Time: 8 hours (includes overnight setting)
- Yield: 30–36 candy sticks
- Category: Dessert
- Method: Boiled and Dipped
- Cuisine: American
- Diet: Gluten Free
Ingredients
- 3 Tbsp unflavored gelatin (about 4 packets)
- 2 cups granulated sugar
- 1/2 cup cold water
- 1/2 cup hot water
- 2 Tbsp frozen orange juice concentrate
- 2 Tbsp lemon juice
- 1/2 tsp lemon extract
- 1 tsp orange extract
- 5–6 drops orange food coloring (optional)
- 12 oz melting chocolate or almond bark (milk, dark, or white)
- Non-stick spray (for greasing molds)
Instructions
- In a small bowl, combine the unflavored gelatin with 1/2 cup cold water and let it sit to bloom.
- In a saucepan over medium heat, stir 2 cups sugar into 1/2 cup hot water until dissolved.
- Increase heat to medium-high and bring the mixture to a gentle boil.
- Add the bloomed gelatin and boil on medium-low heat for 20 minutes, stirring occasionally.
- Remove from heat and stir in orange juice concentrate, lemon juice, lemon extract, orange extract, and optional food coloring. Mix until smooth.
- Spray molds or mini loaf pans with non-stick spray and pour the mixture into them.
- Let set overnight at room temperature until fully firm.
- Remove jelly from molds and cut into 1/3-inch wide sticks.
- Melt chocolate as per package instructions.
- Dip each jelly stick into melted chocolate and place on wax or parchment paper to set.
- Optionally drizzle white chocolate for decoration once fully set.
Notes
- Ensure gelatin is fully bloomed and boiled to avoid sticky texture.
- Silicone molds are easiest for removal and shaping.
- Let candies dry fully before packaging or gifting.
- White, dark, or milk chocolate all work well—choose based on preference.
- Can be stored in an airtight container at room temp for 1 week or refrigerated for 2–3 weeks.
Nutrition
- Serving Size: 1 stick
- Calories: 60
- Sugar: 11g
- Sodium: 3mg
- Fat: 2g
- Saturated Fat: 2g
- Unsaturated Fat: 0.1g
- Trans Fat: 0g
- Carbohydrates: 11g
- Fiber: 0.01g
- Protein: 0.3g
- Cholesterol: 0mg