Halloween isn’t complete without something sweet, spooky, and fun to share — and Halloween Cake Pops check all those boxes. These bite-sized, colorful treats are perfect for parties, school events, and family gatherings. Whether you’re an expert baker or a first-time decorator, you’ll love how easy these are to make, decorate, and serve. Plus, you can customize every pop into a tiny edible monster, pumpkin, or ghost.
If you’re hunting for more ghoulish dessert inspiration, discover great ideas like our Halloween Desserts Collection packed with festive favorites your guests will adore.
With just a few simple ingredients and a bit of creativity, you can transform an ordinary cake into a show-stopping Halloween centerpiece. In this guide, we’ll walk you through what makes Halloween cake pops special, the ingredients you’ll need, and how to prepare them like a pro. Get ready to mix, dip, and decorate your way to party perfection.
JUMP TO
Table of Contents
What Are Halloween Cake Pops?
A Fun and Festive Spin on Classic Cake Pops
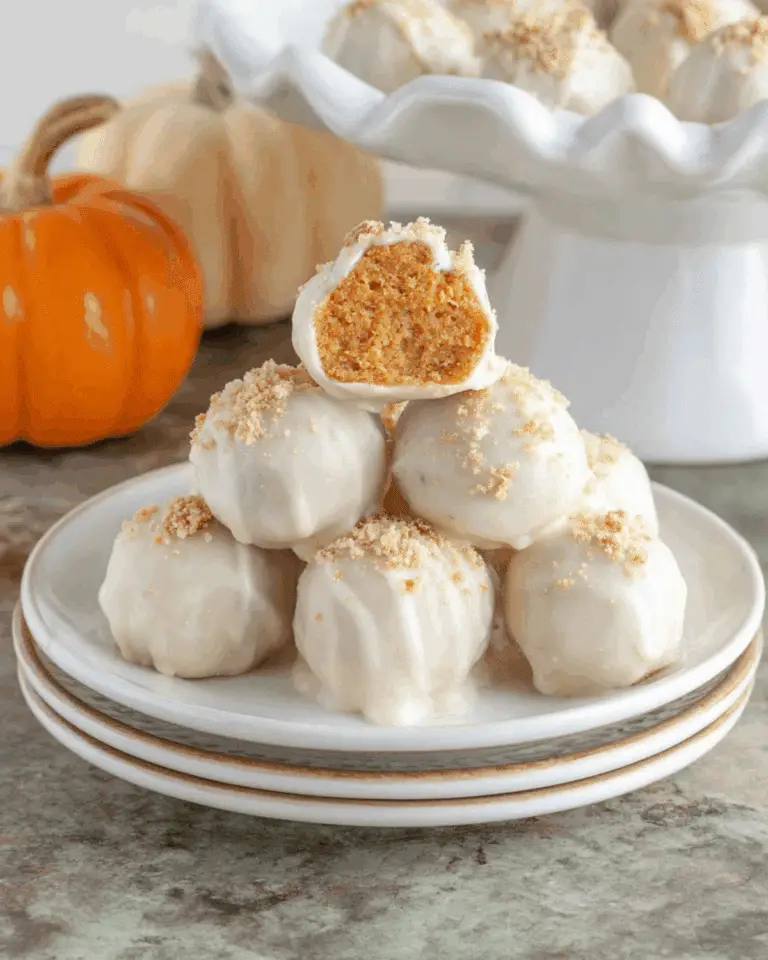
At their core, Halloween cake pops are simply cake crumbs combined with frosting, rolled into small balls, and dipped in a sweet candy coating. What makes them so irresistible is the endless room for creativity. You can turn them into ghosts with white candy melts, pumpkins with orange coatings, or mummies wrapped in chocolate drizzle. The best part? They look amazing but are surprisingly easy to make.
Why They’re Perfect for Halloween Parties
When it comes to Halloween treats, these pops stand out for several reasons. They’re:
- Mess-free: No plates or forks needed.
- Kid-friendly: Little hands can easily grab and enjoy them.
- Customizable: Change up colors, decorations, and designs to match your theme.
- Make-ahead friendly: You can prep them a day before your event.
These pops also make great gifts when wrapped individually in cellophane with festive ribbons. For even more creative party ideas, check out our Halloween Cupcake Recipe — another fun way to wow your guests.
Ingredients You’ll Need for Halloween Cake Pops
Before you dive into the decorating fun, gather all your ingredients. You probably already have most of them in your pantry.
| Ingredient | Quantity | Purpose |
|---|---|---|
| Baked cake (any flavor) | 3 cups (crumbled) | Base for cake pops |
| Frosting | ½ cup | Helps bind crumbs |
| Candy melts (white, orange, black, green) | 2 cups | Coating for decoration |
| Lollipop sticks | As needed | For holding pops |
| Sprinkles, candy eyes, edible markers | To decorate | Final touch |
| Shortening (optional) | 1 tsp | Helps smooth the candy coating |
Optional Flavor Add-Ins
Want to give your Halloween cake pops a twist? Add:
- A few drops of vanilla extract for sweetness.
- Crushed cookies or Oreos for crunch.
- A spoon of peanut butter or Nutella for richness.
These small tweaks take your treats to the next level without complicating the recipe. Learn more about seasonal baking with our Pumpkin Spice Cake Recipe — it’s another fall favorite that complements any Halloween spread.
Expert Ingredient Tips for Perfect Results
- Use day-old cake: It’s easier to crumble and mix than fresh cake.
- Choose candy melts over white chocolate: They’re easier to color and melt more evenly.
- Avoid overmixing the cake and frosting: Too much frosting makes the mixture mushy and hard to shape.
- Always chill the pops before dipping: This helps them stay firm and hold together when coated.
These small steps make a big difference in texture and appearance. Once your ingredients are ready, you’re just minutes away from creating picture-perfect pops that’ll steal the show at any Halloween gathering.
Step-by-Step Guide: How to Make Halloween Cake Pops
Making Halloween cake pops is much easier than it looks. Whether you’re crafting spooky ghosts or bright orange pumpkins, the process follows a simple pattern: mix, shape, dip, and decorate. Here’s how to do it like a pro.
1. Prepare the Cake Mixture
Start by baking your favorite cake flavor (chocolate, vanilla, or red velvet work great). Once it’s cooled, crumble the cake into fine crumbs using your hands or a food processor. Add frosting gradually and mix until the texture resembles soft dough. It should hold its shape when squeezed but not feel sticky.
Tip: Use a little frosting at a time — you can always add more, but too much will make your mixture mushy.
2. Shape the Cake Balls
Take small portions of the mixture and roll them into 1-inch balls using your palms. Place them on a parchment-lined baking sheet. Once all your cake balls are ready, refrigerate them for about 30 minutes. Chilling helps them firm up and prevents cracking later.
3. Insert the Sticks
Melt a small amount of candy coating and dip the tip of each lollipop stick into it before inserting it into a cake ball. This step acts as glue and helps keep the stick secure. Place them back in the fridge for 10–15 minutes to set.
4. Dip and Coat
Now for the fun part! Melt your candy coating (white, orange, or black) in a microwave-safe bowl in 30-second intervals, stirring between each. Once smooth, dip each chilled cake pop into the coating. Gently tap off excess coating on the edge of the bowl while rotating the pop for an even finish.
Pro Tip: Use a tall, narrow cup for dipping — it gives a smoother, more uniform coating.
Don’t miss our Halloween Cookies Recipe for another easy, mess-free treat you can make alongside your cake pops.
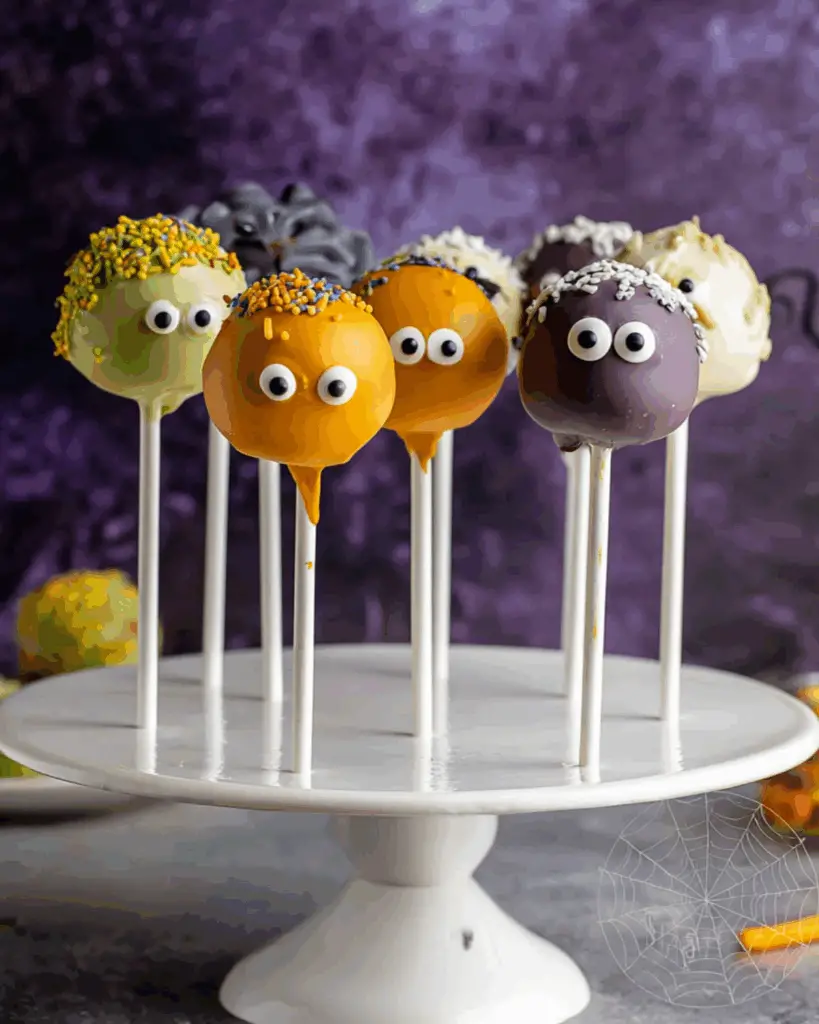
5. Dry and Display
After dipping, stick each pop upright into a foam block or cake pop stand to dry. Once they’re set, you can get creative with decorations. Add edible eyes, candy corn, or drizzle white chocolate to give them character. Let the pops harden completely before serving or wrapping.
Creative Decoration Ideas for Halloween Cake Pops
Halloween is all about creativity and color. Use these fun ideas to make your Halloween cake pops stand out on any dessert table.
Pumpkin Cake Pops
Dip cake balls in orange candy melts and top them with small green candy or licorice for stems. Use a toothpick to create lines down the sides for a realistic pumpkin effect.
For more autumn-themed baking ideas, check out our Pumpkin Spice Cake Recipe — it pairs perfectly with these pumpkin pops.
Ghost Cake Pops
Coat your pops in white candy melts and draw spooky faces using black edible food markers. Simple yet classic, ghost pops are a Halloween must-have.
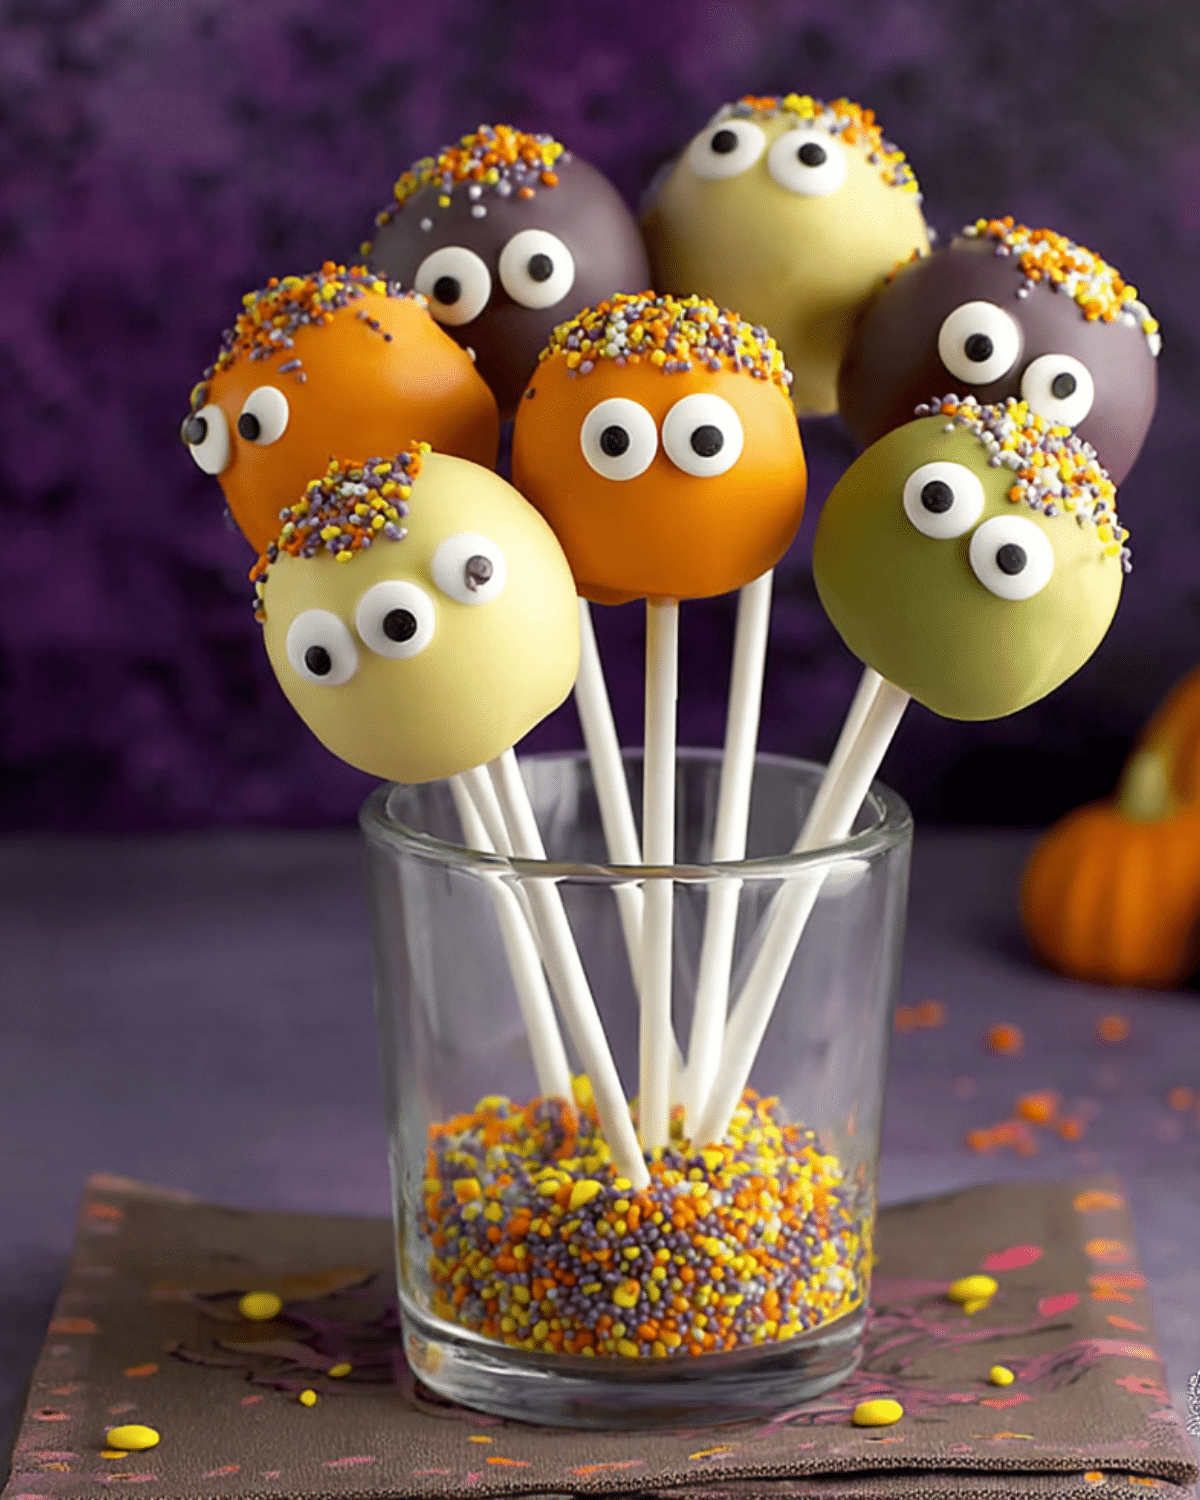
Monster Cake Pops
Let your imagination run wild! Use bright colors like green, purple, and blue, then add candy eyes for a playful monster look. They’re especially fun for kids’ parties.
Mummy Cake Pops
Dip your cake pops in white coating, then drizzle additional lines of melted white chocolate to create a wrapped effect. Add candy eyes between the “bandages” for that extra eerie charm.
Tips for Perfect Halloween Cake Pops
Even though these treats are simple to make, a few pro tricks can take your results from good to great.
Prevent Cracks and Breaks
Avoid over-chilling the cake balls before dipping; this temperature difference often causes cracks. Chill them for just 20–30 minutes — not longer.
Achieve Smooth, Glossy Coating
Add a teaspoon of shortening or coconut oil to your candy melts before dipping. It helps thin the coating for a flawless finish.
Keep Pops from Falling Off the Sticks
Always let the candy “glue” at the base of the stick dry completely before dipping the entire pop. This small step makes all the difference.
Storage and Shelf Life
Store cake pops in an airtight container at room temperature for up to 3 days. If you want to make them ahead, refrigerate them for up to a week. Avoid humidity to keep them looking picture-perfect.
Looking for inspiration? Try our Halloween Brownie Bites — they’re just as fun and festive as these pops.
Frequently Asked Questions (FAQs)
How far in advance can I make Halloween cake pops?
You can prepare Halloween cake pops up to two days before your event. Store them in an airtight container in the fridge to keep them fresh. If you’re planning to decorate them later, refrigerate the cake balls and dip them closer to serving time for best results.
Can I freeze Halloween cake pops?
Yes! Halloween cake pops freeze beautifully. Freeze the uncoated cake balls in a single layer, then move them to a freezer bag for up to one month. When you’re ready to decorate, thaw them in the refrigerator before dipping.
Why do my cake pops crack or fall off the sticks?
Cracking usually happens when the chilled cake balls meet warm candy coating. Let the pops rest at room temperature for 5–10 minutes before dipping. To prevent slipping, dip the stick into melted candy before inserting it into the cake ball.
How can I make my Halloween cake pops more vibrant?
Use oil-based candy coloring instead of water-based dyes. They blend smoothly with candy melts and create bold, even colors. For a professional look, add shimmer dust or edible glitter once they’re dry.
What’s the best way to serve Halloween cake pops at a party?
Present them upright in themed holders, foam blocks, or pumpkin-shaped stands. You can also wrap each pop in a clear bag tied with orange or black ribbons for easy grab-and-go treats.
For food safety and detailed decoration advice, visit the FDA Food Safety Tips for Holidays.
Conclusion: Why Halloween Cake Pops Are the Perfect Spooky Dessert
From haunted house parties to trick-or-treat nights, Halloween cake pops are the perfect treat that combines fun, creativity, and flavor. Their bite-sized nature makes them ideal for sharing, and the endless decoration possibilities turn dessert time into an art project. Whether you’re crafting cute ghosts for kids or eerie mummies for adults, these pops never fail to impress.
The best part? You can use any leftover cake, play with colors, and even involve your kids in the decorating fun. They’re proof that delicious desserts don’t need to be complicated — just a little imagination and a few candy melts can transform simple cake crumbs into show-stopping Halloween magic.
If you love this recipe, learn more about other spooky treats in our Halloween Desserts Collection and don’t miss our Halloween Cookies Recipe for more festive fun.
With these easy tips, you’ll be ready to serve up the best Halloween cake pops your guests have ever seen. Happy haunting and even happier baking!
PrintHalloween Cake Pops
Halloween Cake Pops are spooky, bite-sized treats made by combining crumbled cake with frosting, shaping them into balls, dipping in candy coating, and decorating them into fun Halloween-themed designs like ghosts, pumpkins, and mummies. Perfect for parties, kids, and festive gatherings.
- Prep Time: 30 minutes
- Cook Time: 30 minutes
- Total Time: 1 hour
- Yield: 20–24 cake pops
- Category: Dessert
- Method: No Bake / Chill and Dip
- Cuisine: American
- Diet: Vegetarian
Ingredients
- 3 cups baked cake (crumbled, any flavor)
- 1/2 cup frosting
- 2 cups candy melts (white, orange, black, or green)
- Lollipop sticks (as needed)
- Sprinkles, candy eyes, and edible markers (for decoration)
- 1 tsp shortening (optional, for smooth coating)
- 1/2 tsp vanilla extract (optional)
- 1/4 cup crushed cookies or Oreos (optional)
Instructions
- Bake your favorite cake and let it cool completely. Crumble the cake into fine crumbs using your hands or a food processor.
- Add frosting gradually to the crumbs and mix until the texture resembles moldable dough that holds its shape without being sticky.
- Roll the mixture into 1-inch balls and place them on a parchment-lined baking sheet.
- Refrigerate the cake balls for 20–30 minutes to firm up before dipping.
- Melt a small amount of candy coating. Dip each lollipop stick tip into the coating, then insert it halfway into each cake ball. Chill again for 10–15 minutes.
- Melt the rest of the candy coating in a microwave-safe bowl in 30-second intervals, stirring until smooth.
- Dip each chilled cake pop into the melted coating, gently tapping off any excess for a smooth finish.
- Stick the dipped cake pops upright into a foam block or cake pop stand to dry completely.
- Decorate with candy eyes, sprinkles, or edible markers to create ghost, pumpkin, mummy, or monster designs.
- Allow the pops to harden before serving or wrapping individually for parties.
Notes
- Use day-old cake for best texture; it crumbles easily.
- Don’t overmix frosting into crumbs—use just enough to bind.
- Chill cake balls briefly to prevent cracking during dipping.
- Use oil-based food coloring for vibrant candy melt colors.
- Store finished cake pops in an airtight container for up to 3 days at room temperature or up to a week refrigerated.
Nutrition
- Serving Size: 1 cake pop
- Calories: 150
- Sugar: 14g
- Sodium: 90mg
- Fat: 7g
- Saturated Fat: 4g
- Unsaturated Fat: 2g
- Trans Fat: 0g
- Carbohydrates: 20g
- Fiber: 0.5g
- Protein: 1g
- Cholesterol: 10mg