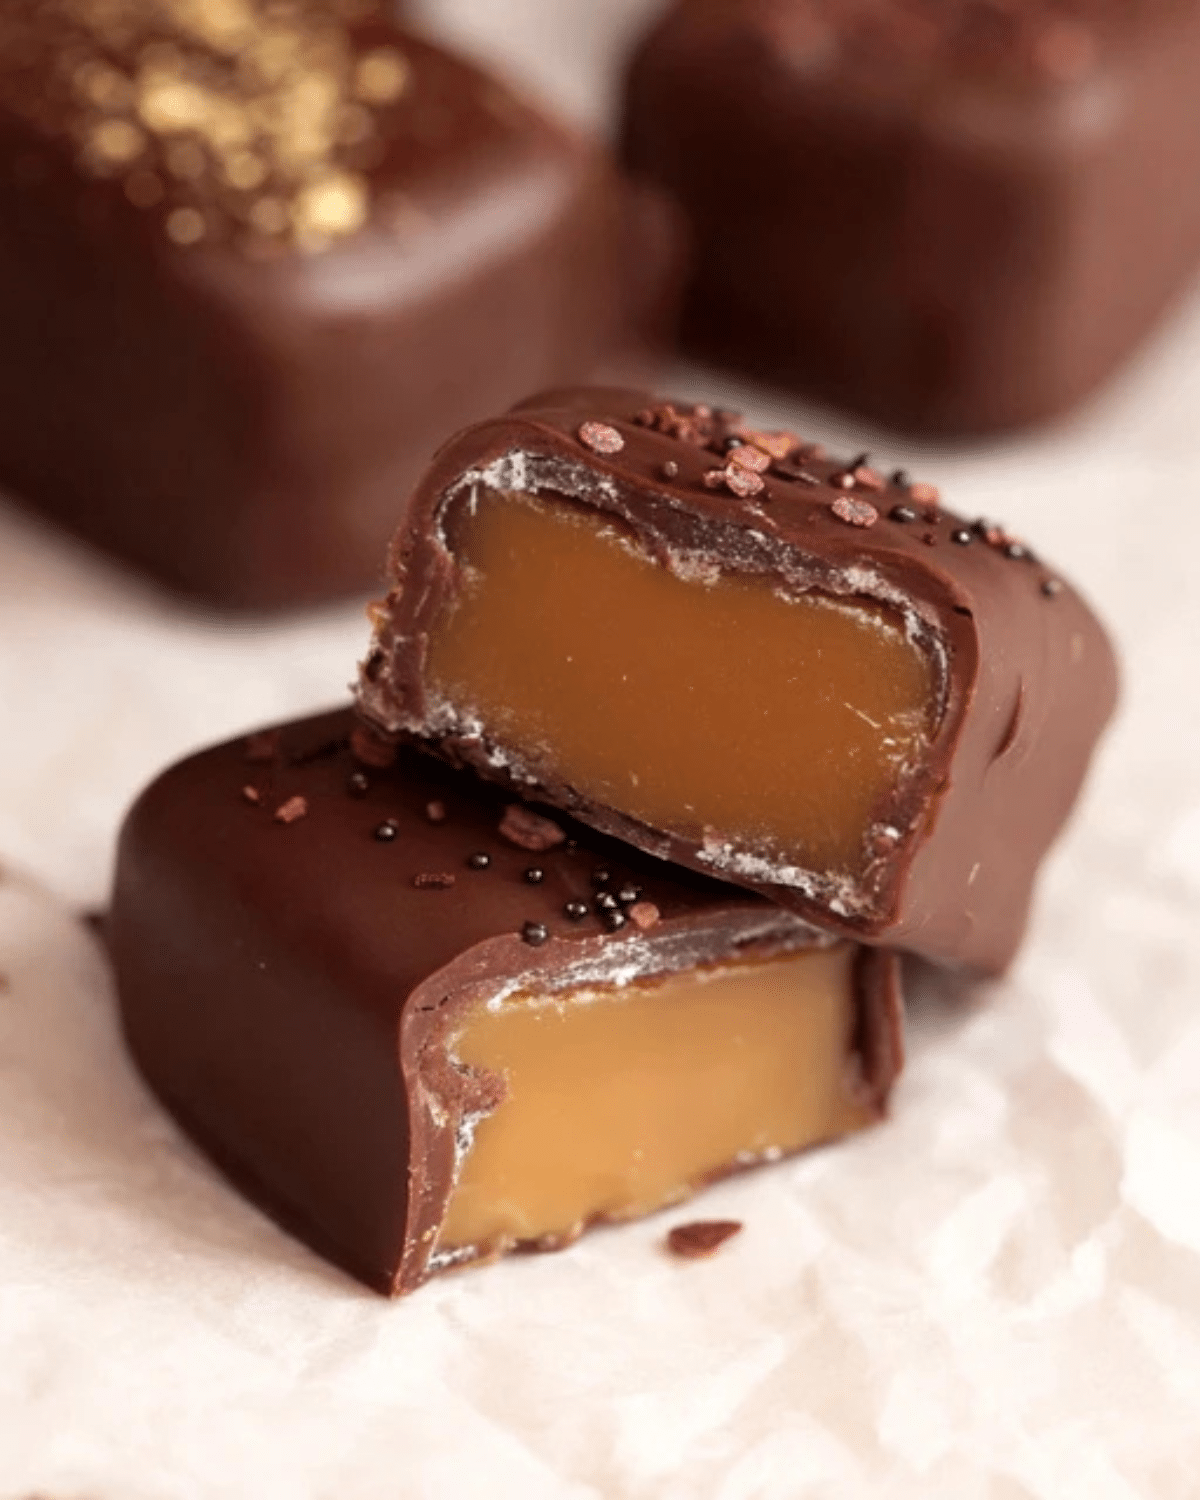
Chocolate Covered Caramels are one of those treats that feel instantly special. Soft, chewy caramel wrapped in a smooth layer of chocolate creates a perfect balance of textures and flavors. Each bite is rich, sweet, and comforting, making these candies a favorite for holidays, gift-giving, and special occasions.
What makes Chocolate Covered Caramels so appealing is their simplicity. With just a few ingredients and some patience, you can create candy that looks and tastes like it came from a professional shop. The combination of buttery caramel and rich chocolate never goes out of style.
These candies are especially popular during the holidays, but they’re just as enjoyable year-round. Whether you’re making them for a dessert tray, packaging them as gifts, or simply treating yourself, Chocolate Covered Caramels always feel indulgent and satisfying.
JUMP TO
Table of Contents
Why Chocolate Covered Caramels Are So Popular
Chocolate Covered Caramels have remained popular for generations because they deliver comfort and luxury in one small bite. The contrast between chewy caramel and firm chocolate coating creates a texture people crave.
Caramel brings deep, buttery sweetness, while chocolate adds richness and slight bitterness that balances the sugar. Together, they create a candy that feels indulgent without being overwhelming.
Another reason these candies are so loved is versatility. They can be made with different types of chocolate, sprinkled with salt, or decorated for special occasions. Despite these variations, the core flavor remains familiar and comforting.
Because they’re bite-sized, Chocolate Covered Caramels are easy to enjoy in moderation or share with others. This makes them perfect for parties, gifting, or simply keeping on hand for a sweet treat.
What Makes a Perfect Caramel Center
The heart of Chocolate Covered Caramels is the caramel itself. A good caramel should be soft, chewy, and rich without being sticky or hard.
Butter provides richness and flavor, while sugar and cream create that signature smooth texture. Cooking the caramel to the right temperature ensures it sets properly while staying tender.
A small amount of vanilla enhances sweetness and rounds out the flavor. Salt is essential, even in sweet caramel, because it balances sugar and deepens flavor.
When cooked correctly, caramel should hold its shape when cut but still melt slightly when bitten. This texture is what makes Chocolate Covered Caramels so satisfying.
The Role of Chocolate in This Classic Candy
Chocolate plays an important supporting role in Chocolate Covered Caramels. It provides structure, flavor contrast, and visual appeal.
Dark chocolate adds richness and a slight bitterness that balances the sweet caramel. Milk chocolate offers a creamier, sweeter coating, while semi-sweet chocolate strikes a balance between the two.
Properly tempered or gently melted chocolate creates a smooth, glossy finish that sets nicely around the caramel. This coating not only enhances flavor but also helps keep the caramel fresh.
The chocolate shell should be thin enough to bite through easily while still fully enclosing the caramel center.
Why Homemade Chocolate Covered Caramels Are Worth It
Making Chocolate Covered Caramels at home may seem intimidating, but the results are well worth the effort. Homemade versions allow you to control sweetness, texture, and quality.
You can choose high-quality chocolate, adjust caramel softness, and customize flavors. This level of control results in candy that tastes fresher and richer than many store-bought options.
Homemade Chocolate Covered Caramels also make thoughtful gifts. Wrapped individually or arranged in boxes, they feel personal and special.
Once you’ve made them once, the process becomes much more approachable, and the rewards are consistently delicious.
A Candy Perfect for Gifting and Celebrations
Chocolate Covered Caramels are ideal for gifting because they look elegant and store well. They’re commonly included in holiday treat boxes, party favors, and dessert spreads.
Because they can be made ahead of time, they’re convenient for planning events. Their classic flavor appeals to a wide range of tastes, making them a safe and popular choice.
Whether served casually or packaged beautifully, Chocolate Covered Caramels always feel like a special treat.
Ingredients Needed to Make Chocolate Covered Caramels

Chocolate Covered Caramels are made with a short list of ingredients, but each one is essential for achieving the right texture and flavor. Because candy making relies on balance and timing, using quality ingredients makes a noticeable difference.
Granulated sugar forms the base of the caramel. As it cooks, it melts and caramelizes, creating that deep, rich sweetness that defines caramel candy.
Butter adds richness and a smooth mouthfeel. It softens the caramel and prevents it from becoming too hard once set. Unsalted butter is best so you can control the salt level.
Heavy cream is what gives caramel its creamy, chewy texture. When added carefully, it transforms melted sugar into a smooth sauce that firms up beautifully once cooled.
Corn syrup or glucose helps prevent crystallization. This ingredient keeps the caramel smooth and chewy rather than grainy. While optional in some recipes, it greatly improves consistency.
Vanilla extract enhances the sweetness and adds depth. It’s added at the end to preserve its flavor.
Salt balances the sweetness and intensifies the caramel flavor. Even a small amount makes the caramel taste richer and more complex.
For the coating, chocolate is key. Semi-sweet, dark, or milk chocolate can be used depending on preference. High-quality chocolate melts smoothly and sets cleanly around the caramel.
How to Cook Soft and Chewy Caramel
Cooking caramel is the most important step when making Chocolate Covered Caramels. While it requires attention, the process is straightforward when done carefully.
Start by heating sugar and corn syrup in a heavy-bottomed saucepan over medium heat. Stir gently until the sugar dissolves, then stop stirring and allow the mixture to cook undisturbed. This prevents crystallization.
As the sugar melts, it will turn from clear to golden amber. This color change indicates caramelization. Watching closely is important, as sugar can burn quickly once it reaches this stage.
Once the caramel reaches a deep amber color, carefully add the butter and warm cream. The mixture will bubble vigorously, so adding the cream slowly helps control splashing.
Stir gently until the caramel is smooth and fully combined. Continue cooking until the caramel reaches the desired temperature for a soft, chewy texture.
Remove from heat and stir in vanilla and salt. The caramel should be glossy, smooth, and thick.
Setting the Caramel for Cutting
Once cooked, the caramel needs time to set properly before dipping. This step ensures clean cuts and uniform pieces.
Pour the hot caramel into a lined pan, spreading it evenly. Using parchment paper makes removal easier once the caramel has cooled.
Allow the caramel to cool at room temperature until fully set. Rushing this step by refrigerating too early can affect texture.
Once set, lift the caramel slab from the pan and place it on a cutting surface. Using a sharp knife lightly coated with oil helps prevent sticking.
Cut the caramel into even squares or rectangles. Uniform pieces ensure even chocolate coverage later.
Preparing Caramels for Chocolate Dipping
Before dipping, the caramel pieces should be ready and firm enough to handle. This step helps create clean, professional-looking Chocolate Covered Caramels.
If the caramel feels too soft, chilling it briefly can make handling easier. Avoid freezing, as overly cold caramel can cause the chocolate to crack later.
Arrange the cut caramels on a parchment-lined tray, leaving space between each piece. This setup makes dipping faster and cleaner.
Having all caramels prepared before melting chocolate keeps the process smooth and stress-free.
Common Caramel-Making Mistakes to Avoid
Avoid stirring sugar once it begins to boil, as this can cause crystallization. Gentle swirling of the pan is safer if needed.
Using high heat can burn the caramel quickly. Medium heat provides better control and more even caramelization.
Adding cold cream too quickly can cause the sugar to seize. Warming the cream slightly helps prevent this issue.
By paying attention to these details, you’ll create caramel that’s perfectly soft and ready for dipping.
How to Dip Caramels in Chocolate Like a Pro
Dipping is the final step that transforms soft caramel into beautiful Chocolate Covered Caramels. While this step looks delicate, it’s very manageable with the right approach.
Start by melting the chocolate gently. Use a double boiler or microwave in short intervals, stirring frequently to prevent overheating. The chocolate should be smooth and fluid but not hot.
Drop one caramel at a time into the melted chocolate. Using a fork or dipping tool, turn the caramel to coat it completely. Lift it out, tap gently to remove excess chocolate, and place it on parchment paper.
Working in small batches helps maintain control. If the chocolate thickens, gently rewarm it until smooth again. This keeps the coating thin and even.
Allow the chocolate to set at room temperature. Avoid refrigerating immediately, as rapid cooling can dull the finish or cause cracking.
Flavor Variations and Finishing Touches
Chocolate Covered Caramels are easy to customize with small additions that elevate both flavor and appearance.
Sprinkling flaky sea salt on top while the chocolate is still wet creates a sweet-and-salty contrast that’s especially popular. Chopped nuts or toasted coconut can also be added for texture.
For variety, dip caramels in different types of chocolate. Dark chocolate adds depth, milk chocolate adds creaminess, and white chocolate offers a sweeter finish.
Drizzling contrasting chocolate over the top creates a decorative touch without much effort. This is especially useful for gift boxes or dessert trays.
Flavor extracts like espresso or orange can be added to the caramel for subtle variation, keeping the base recipe intact.
Best Ways to Store Chocolate Covered Caramels
Proper storage helps Chocolate Covered Caramels maintain their texture and flavor. Once the chocolate has fully set, they’re ready to store.
Keep the caramels in an airtight container at room temperature for up to two weeks. Layer parchment paper between rows to prevent sticking.
If your kitchen is warm, refrigeration can help, but allow the caramels to come to room temperature before serving for best texture.
Avoid storing near strong odors, as chocolate can absorb surrounding smells.
Gifting Chocolate Covered Caramels
Chocolate Covered Caramels make excellent homemade gifts. Their classic appearance and rich flavor feel thoughtful and special.
Wrap individual caramels in wax paper or place them in decorative boxes. Adding labels or ribbons makes them feel polished and gift-ready.
They’re perfect for holidays, birthdays, thank-you gifts, or party favors. Because they keep well, they’re easy to prepare ahead of time.
Homemade caramels show care and effort, making them especially meaningful when shared.
Frequently Asked Questions About Chocolate Covered Caramels
Why is my caramel too hard or too soft?
Caramel texture depends on cooking temperature. Slight adjustments can change firmness.
Do I need a candy thermometer?
While not required, it helps ensure consistent results.
Can I freeze Chocolate Covered Caramels?
Freezing is not recommended, as texture can suffer when thawed.
Why is my chocolate streaky?
Overheating or moisture can cause chocolate to seize or lose shine.
Why Chocolate Covered Caramels Are Always a Favorite
Chocolate Covered Caramels combine two timeless flavors into one unforgettable treat. The soft, chewy caramel paired with rich chocolate creates a balance that never goes out of style.
Making them at home allows you to control quality, customize flavors, and enjoy candy that feels truly special. Whether served at gatherings or given as gifts, they always impress.
Once you master the process, Chocolate Covered Caramels become a recipe you’ll return to again and again.
PrintChocolate Covered Caramels – Easy Sweet Treat

Chocolate Covered Caramels are soft, chewy homemade caramels coated in smooth, rich chocolate. This classic candy is perfect for holidays, gifting, or anytime you want a sweet, indulgent treat made from scratch.
- Prep Time: 25 minutes
- Cook Time: 25 minutes
- Total Time: 1 hour 30 minutes
- Yield: 30 pieces
- Category: Candy
- Method: Stovetop
- Cuisine: American
- Diet: Vegetarian
Ingredients
- 1 cup granulated sugar
- 1/2 cup corn syrup or glucose syrup
- 1/2 cup unsalted butter
- 1 cup heavy cream, warmed
- 1 teaspoon vanilla extract
- 1/2 teaspoon salt
- 12 ounces semi-sweet or dark chocolate, chopped
- Flaky sea salt (optional, for topping)
Instructions
- Line an 8×8-inch baking pan with parchment paper.
- In a heavy saucepan, heat sugar and corn syrup over medium heat until sugar dissolves.
- Cook without stirring until the mixture turns deep amber.
- Carefully add butter and warm cream, stirring gently until smooth.
- Continue cooking until caramel reaches soft, chewy consistency.
- Remove from heat and stir in vanilla and salt.
- Pour caramel into prepared pan and let cool completely.
- Cut set caramel into small squares.
- Melt chocolate gently using a double boiler or microwave.
- Dip each caramel into melted chocolate, coating fully.
- Place on parchment paper and sprinkle with sea salt if desired.
- Let chocolate set at room temperature before storing.
Notes
- Use a candy thermometer for consistent caramel texture.
- Warm cream prevents caramel from seizing.
- Let chocolate set naturally for best shine.
- Store caramels in a cool, dry place.
Nutrition
- Serving Size: 1 piece
- Calories: 150
- Sugar: 16g
- Sodium: 45mg
- Fat: 8g
- Saturated Fat: 5g
- Unsaturated Fat: 2g
- Trans Fat: 0g
- Carbohydrates: 18g
- Fiber: 1g
- Protein: 1g
- Cholesterol: 20mg