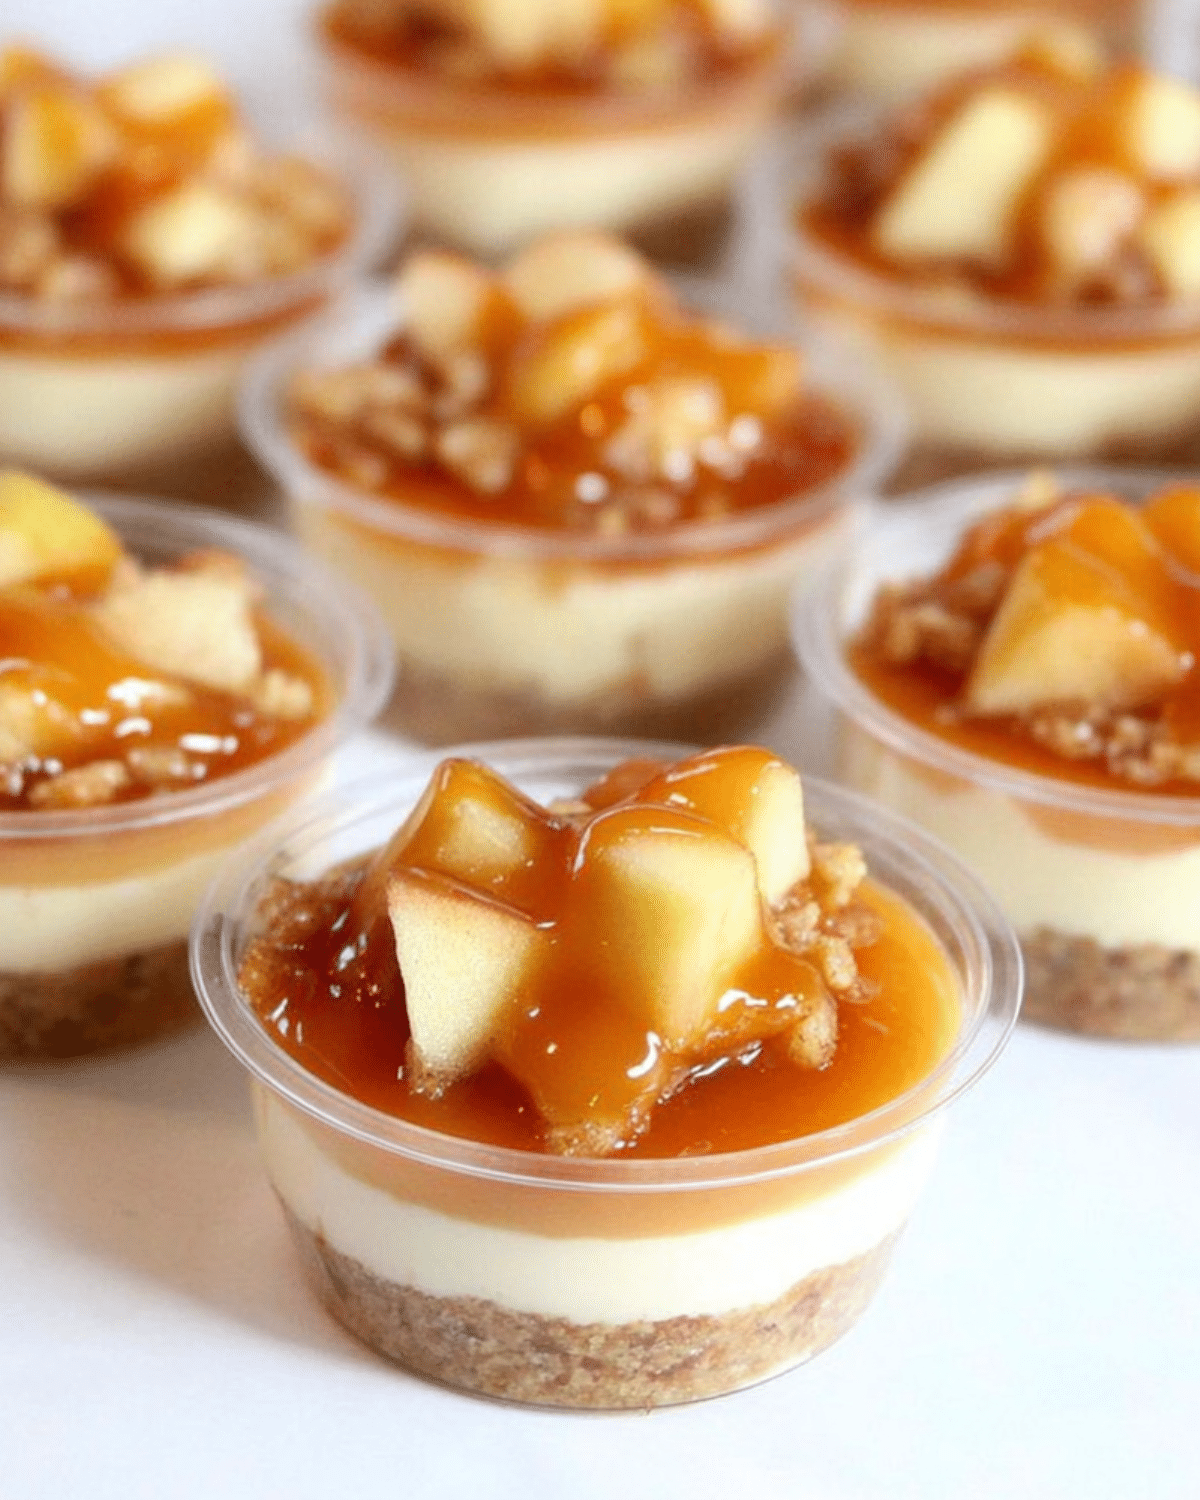
There’s something magical about the sweet and tart blend of apples and caramel, especially when fall rolls in and cravings for cozy, nostalgic flavors take over. Caramel Apple Dessert Cups capture everything we love about this seasonal pairing—only in a bite-sized, no-bake format that’s perfect for any occasion. Whether you’re prepping a fall-themed gathering, a Thanksgiving dinner, or a simple weekday indulgence, these dessert cups are a crowd-pleaser that won’t keep you tied to the kitchen.
Plus, the individual serving size makes them elegant, easy to share, and fun to eat. Looking for inspiration? Try our Salted Caramel Apple Bars Recipe for another delicious fall-themed treat.
Let’s dive into why Caramel Apple Dessert Cups are the ultimate fall dessert and how to make them like a pro.
JUMP TO
Table of Contents
Why Caramel Apple Dessert Cups Are a Must-Have Fall Treat
The Irresistible Flavor Combo of Apples and Caramel
Sweet Meets Tart: Why This Combo Never Fails
Apples and caramel have been a dessert duo for generations. The natural tartness of fresh apples complements the silky sweetness of caramel sauce, creating a balanced taste profile that’s both rich and refreshing. It’s no wonder this combo remains a seasonal favorite in American kitchens. The texture contrast—soft apple bits and smooth caramel—adds a layer of indulgence that feels both familiar and exciting.
How Fall Flavors Influence Dessert Choices
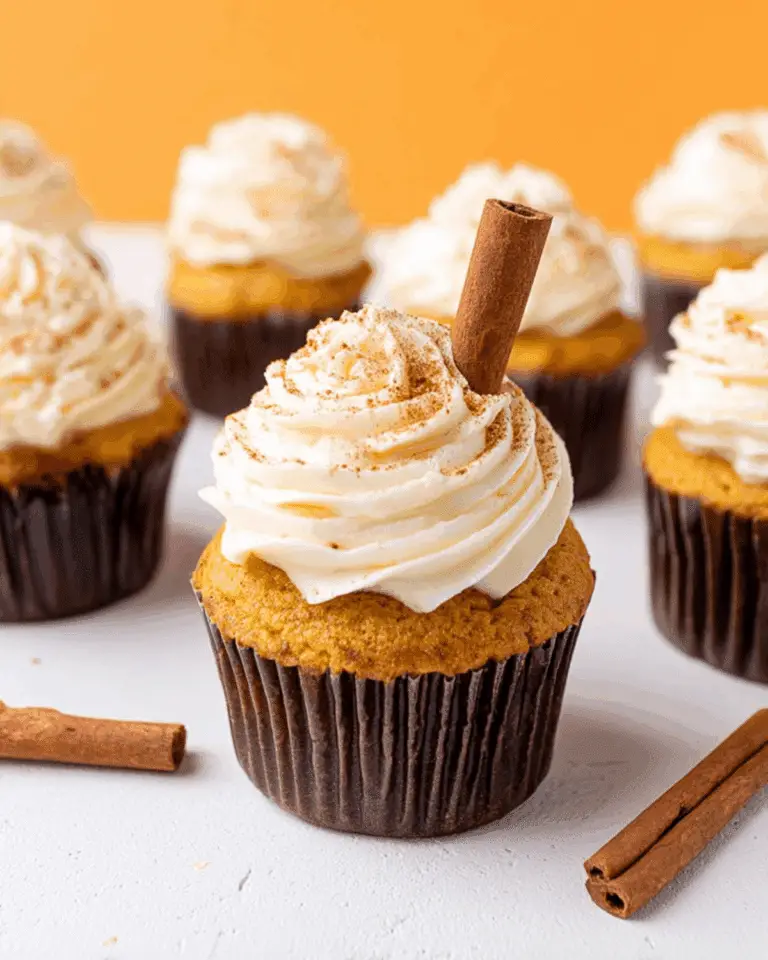
As cooler weather sets in, people instinctively gravitate toward warming spices and rich flavors. Ingredients like cinnamon, nutmeg, and cloves often accompany fall apples and create deeper flavor experiences. Caramel apple cups tap into this seasonal craving perfectly. They’re not just sweet; they’re comforting. Don’t miss our Apple Cinnamon Sheet Cake Recipe for another spiced fall dessert idea.
No-Bake Dessert Ideas That Save Time
Benefits of No-Bake Desserts for Busy Families
During the hustle of back-to-school season, holiday prep, or everyday chaos, no-bake desserts come to the rescue. Caramel apple cups require no oven time, reducing your energy use and kitchen heat. You can whip them up in advance and let them chill while you focus on your main meal or party setup.
Why Dessert Cups Are Perfect for Events and Potlucks
Their portioned presentation makes them ideal for sharing. You won’t need to worry about cutting slices or grabbing utensils—just hand them out and enjoy. Plus, their mess-free nature and easy stacking in the fridge make transport a breeze. Check out our No-Bake Caramel Apple Pie Cheesecake Parfaits for another potluck-perfect dessert idea.
What Makes Dessert Cups So Popular
Portability and Portion Control Perks
Each cup is a single serving—meaning no guessing about portion size, and no over-indulging unless you choose to go for seconds. They’re great for kids, adults, and anyone trying to enjoy treats without guilt. Hosting a party? These cups make clean-up quick and easy.
Creative Serving Presentation Options
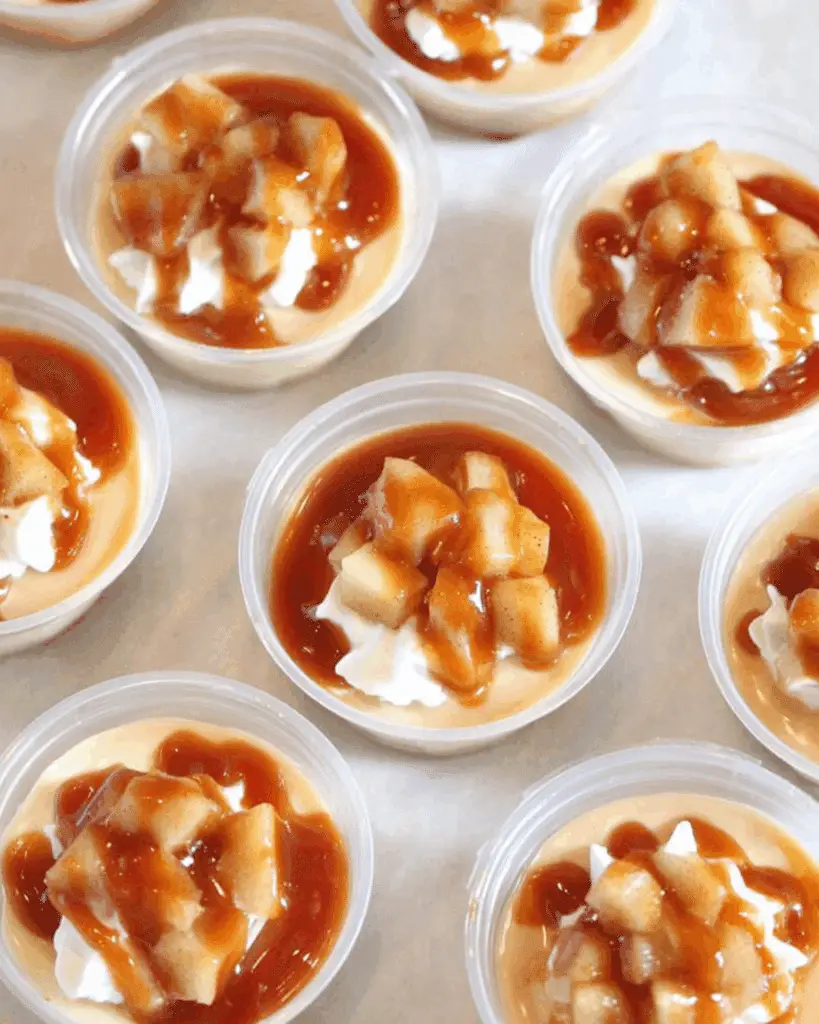
From rustic mason jars to sleek clear plastic cups, the presentation possibilities are endless. Top each cup with a drizzle of caramel, a dollop of whipped cream, or even a cinnamon stick for flair. You can customize the visual experience based on the event theme or guest preferences. Discover great ideas like our Mini Caramel Apple Cups with Cinnamon Apples that are both festive and easy to make.
Seasonal Variations for Every Occasion
Thanksgiving Twist: Spices and Toppings
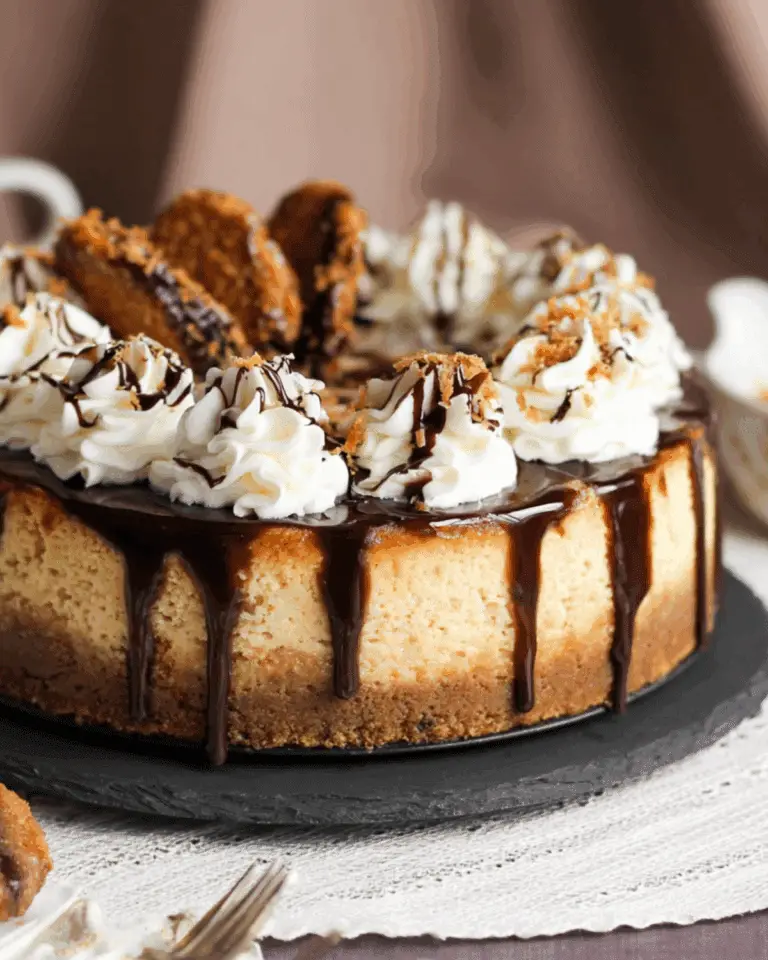
Add a pinch of pumpkin spice or top each cup with crushed gingersnap cookies to give your dessert a Thanksgiving twist. These cups pair beautifully with traditional holiday flavors and make a charming finish to a hearty meal.
Summer-Friendly Chilled Versions
Need something cool and refreshing for a summer BBQ? Skip the heavy mousse and swap in vanilla yogurt for a lighter twist. Serve with fresh diced apples and a thinner caramel drizzle for a fruit-forward take on this classic.
How to Make Caramel Apple Dessert Cups Step by Step
Creating Caramel Apple Dessert Cups is surprisingly simple. This no-bake dessert brings together layers of sweet, crunchy, and creamy textures with minimal effort and maximum flavor. Below, you’ll find everything you need to make these fall-ready dessert cups from scratch.
Ingredients You’ll Need
For the Crust (Vanilla Wafer or Graham Cracker Base)
The crust is the foundation of flavor and texture.
- 1 cup vanilla wafer crumbs or graham cracker crumbs
- 3 tablespoons melted unsalted butter
- 1 tablespoon granulated sugar (optional for extra crunch)
Mix the ingredients together in a bowl until it resembles wet sand. This mixture will be pressed into the base of each dessert cup for a buttery, crumbly start.
Salted Caramel Mousse Layer
This rich and creamy middle layer elevates the dessert.
- 1 cup heavy whipping cream
- ½ cup salted caramel sauce (store-bought or homemade)
- ¼ cup powdered sugar
- 4 oz cream cheese, softened
- ½ teaspoon vanilla extract
Whip the heavy cream until stiff peaks form. In another bowl, beat cream cheese, caramel, powdered sugar, and vanilla until smooth. Fold in the whipped cream to create a light, fluffy mousse.
Cinnamon Apple Topping
The apple topping brings a warm, spiced finish to the dessert.
- 2 large apples (Honeycrisp or Granny Smith), peeled and diced
- 1 tablespoon butter
- 1 tablespoon brown sugar
- ½ teaspoon ground cinnamon
- A pinch of salt
- 1 tablespoon lemon juice
Sauté the diced apples with butter, sugar, and cinnamon over medium heat for about 5 minutes or until just soft. Add lemon juice to keep the apples bright and balanced.
Equipment and Preparation Tips
Best Cups or Jars to Use
You can use mini mason jars, 4 oz clear plastic dessert cups, or even shot glasses for tiny treats. For parties or potlucks, 2-ounce lidded cups work best for easy transport. Make sure your serving vessel is food-safe and ideally transparent to show off those gorgeous layers.
How to Prep Apples Without Browning
To prevent your apples from browning before you cook them, toss the diced apples in a bit of lemon juice as you cut them. This keeps them fresh-looking and adds a pop of acidity to the dessert.
Step-by-Step Instructions
Creating the Crust Base
- In a bowl, mix crushed cookies and melted butter until evenly combined.
- Spoon about 1 tablespoon of crust mixture into the bottom of each cup.
- Gently press it down using the back of a spoon to form a solid base. Refrigerate while preparing the next layer.
Preparing Mousse and Layering
- In a clean bowl, whip heavy cream to stiff peaks.
- In another bowl, beat cream cheese, caramel, powdered sugar, and vanilla until smooth.
- Gently fold the whipped cream into the caramel mixture.
- Spoon or pipe the mousse into each cup on top of the crust layer.
Making the Cinnamon-Apple Topping
- In a skillet, melt butter over medium heat.
- Add diced apples, brown sugar, cinnamon, and a pinch of salt.
- Sauté for 4–5 minutes until soft but not mushy.
- Stir in lemon juice, remove from heat, and let cool slightly before assembling.
Assembly and Chilling
- Once apples are cool, spoon a generous layer on top of the mousse.
- Optional: drizzle with more caramel or add a small dollop of whipped cream.
- Cover and chill cups for at least 1 hour before serving.
Check out our Cream Cheese Caramel Apple Dip for another easy layered fall dessert idea.
Time-Saving and Make-Ahead Tips
How Far in Advance You Can Prepare
You can make Caramel Apple Dessert Cups up to 24 hours in advance. Keep them covered and chilled in the fridge. They’ll taste even better as the flavors meld overnight.
Storage and Freshness Tips
Store in an airtight container or tightly covered cups in the refrigerator. Best consumed within 2–3 days. Avoid freezing as the texture of the mousse and apples may change. For extra crunch, you can prep the crust and store it separately until you’re ready to assemble.
Expert Tips, Variations, and FAQs
Adding your own twist or avoiding common mistakes can take these Caramel Apple Dessert Cups from good to unforgettable. Here’s how to master them every time, plus answers to some of the most frequently asked questions.
Expert Tips for the Best Dessert Cups Every Time
How to Avoid Soggy Layers
To keep the crust crisp, chill it before layering. You can also line the crust with a thin layer of melted white chocolate before adding the mousse. This acts as a moisture barrier.
Choosing the Right Apple Variety
For a nice contrast of tart and sweet, use Granny Smith or Honeycrisp apples. Softer apples like Red Delicious may turn mushy during sautéing, affecting texture.
Make It Kid-Friendly or Grown-Up
Leave out the salt in the caramel for a sweeter taste kids will love. For adults, add a splash of bourbon or spiced rum to the apples for an elevated flavor profile.
Don’t miss our Apple Hand Pies with Flaky Crust Recipe if you want to explore another single-serving apple dessert idea.
Recipe Variations to Try
Swap Caramel for Butterscotch or Maple
Not a fan of caramel? Use butterscotch or maple syrup instead. These alternatives keep the rich flavor while offering a new twist.
Add Nuts, Granola, or Chocolate Drizzle
Top each cup with chopped pecans, walnuts, or a sprinkle of granola for added crunch. You can also drizzle melted dark chocolate over the top for an elegant finish.
Use Greek Yogurt Instead of Cream Cheese
For a healthier take, substitute the mousse with vanilla Greek yogurt mixed with a little caramel. It lowers the fat content and adds a tangy punch.
FAQs About Caramel Apple Dessert Cups
Can I use store-bought caramel?
Yes! High-quality store-bought caramel saves time and works great. Just make sure it’s pourable. If too thick, warm it slightly before mixing into the mousse.
What apples work best for this dessert?
Granny Smith and Honeycrisp are ideal due to their firm texture and balanced flavor. Avoid soft or overly juicy apples that might break down too much.
Are these cups freezer-friendly?
Not really. Freezing affects the texture of the mousse and cooked apples. For best results, store in the fridge and consume within 2–3 days.
Can I make these in large trays instead of cups?
Absolutely. Use a trifle dish or baking dish to create layered servings. Just keep in mind the layers may blend more when scooped.
Nutrition Information and Allergen Notes
Approximate Calories per Serving
Each dessert cup (based on 2 oz size) contains approximately:
| Component | Estimated Calories |
|---|---|
| Crust | 80–100 kcal |
| Mousse | 120–140 kcal |
| Apples & Topping | 60–80 kcal |
| Total per cup | ~250–300 kcal |
Dairy-Free or Gluten-Free Modifications
- Use gluten-free cookies for the crust.
- Substitute whipped coconut cream and dairy-free cream cheese for a vegan version.
- Check your caramel sauce for hidden dairy or gluten ingredients.
Looking for a gluten-free option? Try our Flourless Pumpkin Muffin Recipe — it’s easy and packed with fall flavor.
Conclusion
Caramel Apple Dessert Cups are the ultimate no-bake treat for fall. With layers of buttery crust, creamy salted caramel mousse, and spiced apple topping, they’re indulgent, easy to make, and perfect for any seasonal occasion. Whether you’re planning a Thanksgiving potluck, a cozy fall dinner, or just want a fun weekend dessert, these cups check all the boxes.
Check out our Thanksgiving Piecaken Recipe for another festive, crowd-pleasing holiday dessert idea.
Try them once, and you’ll be hooked. Let the caramel-apple season begin!
PrintCaramel Apple Dessert Cups
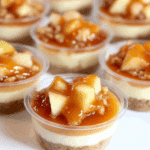
Caramel Apple Dessert Cups are a no-bake fall treat layered with a vanilla wafer crust, salted caramel mousse, and cinnamon-spiced apple topping. Perfect for potlucks, parties, or cozy nights in.
- Prep Time: 25 minutes
- Cook Time: 5 minutes
- Total Time: 30 minutes (plus 1 hour chill time)
- Yield: 6–8 dessert cups
- Category: Dessert
- Method: No-Bake
- Cuisine: American
- Diet: Vegetarian
Ingredients
- 1 cup vanilla wafer crumbs or graham cracker crumbs
- 3 tablespoons melted unsalted butter
- 1 tablespoon granulated sugar (optional)
- 1 cup heavy whipping cream
- 1/2 cup salted caramel sauce
- 1/4 cup powdered sugar
- 4 oz cream cheese, softened
- 1/2 teaspoon vanilla extract
- 2 large apples (Honeycrisp or Granny Smith), peeled and diced
- 1 tablespoon butter
- 1 tablespoon brown sugar
- 1/2 teaspoon ground cinnamon
- A pinch of salt
- 1 tablespoon lemon juice
Instructions
- Mix crushed cookies, melted butter, and optional sugar until it resembles wet sand.
- Press 1 tablespoon of the mixture into the base of each dessert cup. Chill.
- Whip the heavy cream to stiff peaks and set aside.
- In another bowl, beat cream cheese, caramel sauce, powdered sugar, and vanilla extract until smooth.
- Fold the whipped cream into the caramel mixture to form a mousse.
- Spoon or pipe the mousse into the cups over the crust layer.
- In a skillet, melt butter and sauté diced apples with brown sugar, cinnamon, and salt for 5 minutes.
- Stir in lemon juice and let apples cool slightly.
- Top each mousse layer with the apple topping.
- Optional: Drizzle with extra caramel or a dollop of whipped cream.
- Cover and chill cups for at least 1 hour before serving.
Notes
- Use Granny Smith or Honeycrisp apples for best texture.
- Chill crust before layering to avoid sogginess.
- Prepare up to 24 hours in advance and refrigerate.
- Not freezer-friendly due to mousse and apple texture changes.
- For a lighter version, use vanilla Greek yogurt in place of mousse.
Nutrition
- Serving Size: 1 dessert cup (2 oz)
- Calories: 250-300
- Sugar: 18g
- Sodium: 90mg
- Fat: 15g
- Saturated Fat: 9g
- Unsaturated Fat: 5g
- Trans Fat: 0g
- Carbohydrates: 30g
- Fiber: 1g
- Protein: 2g
- Cholesterol: 35mg