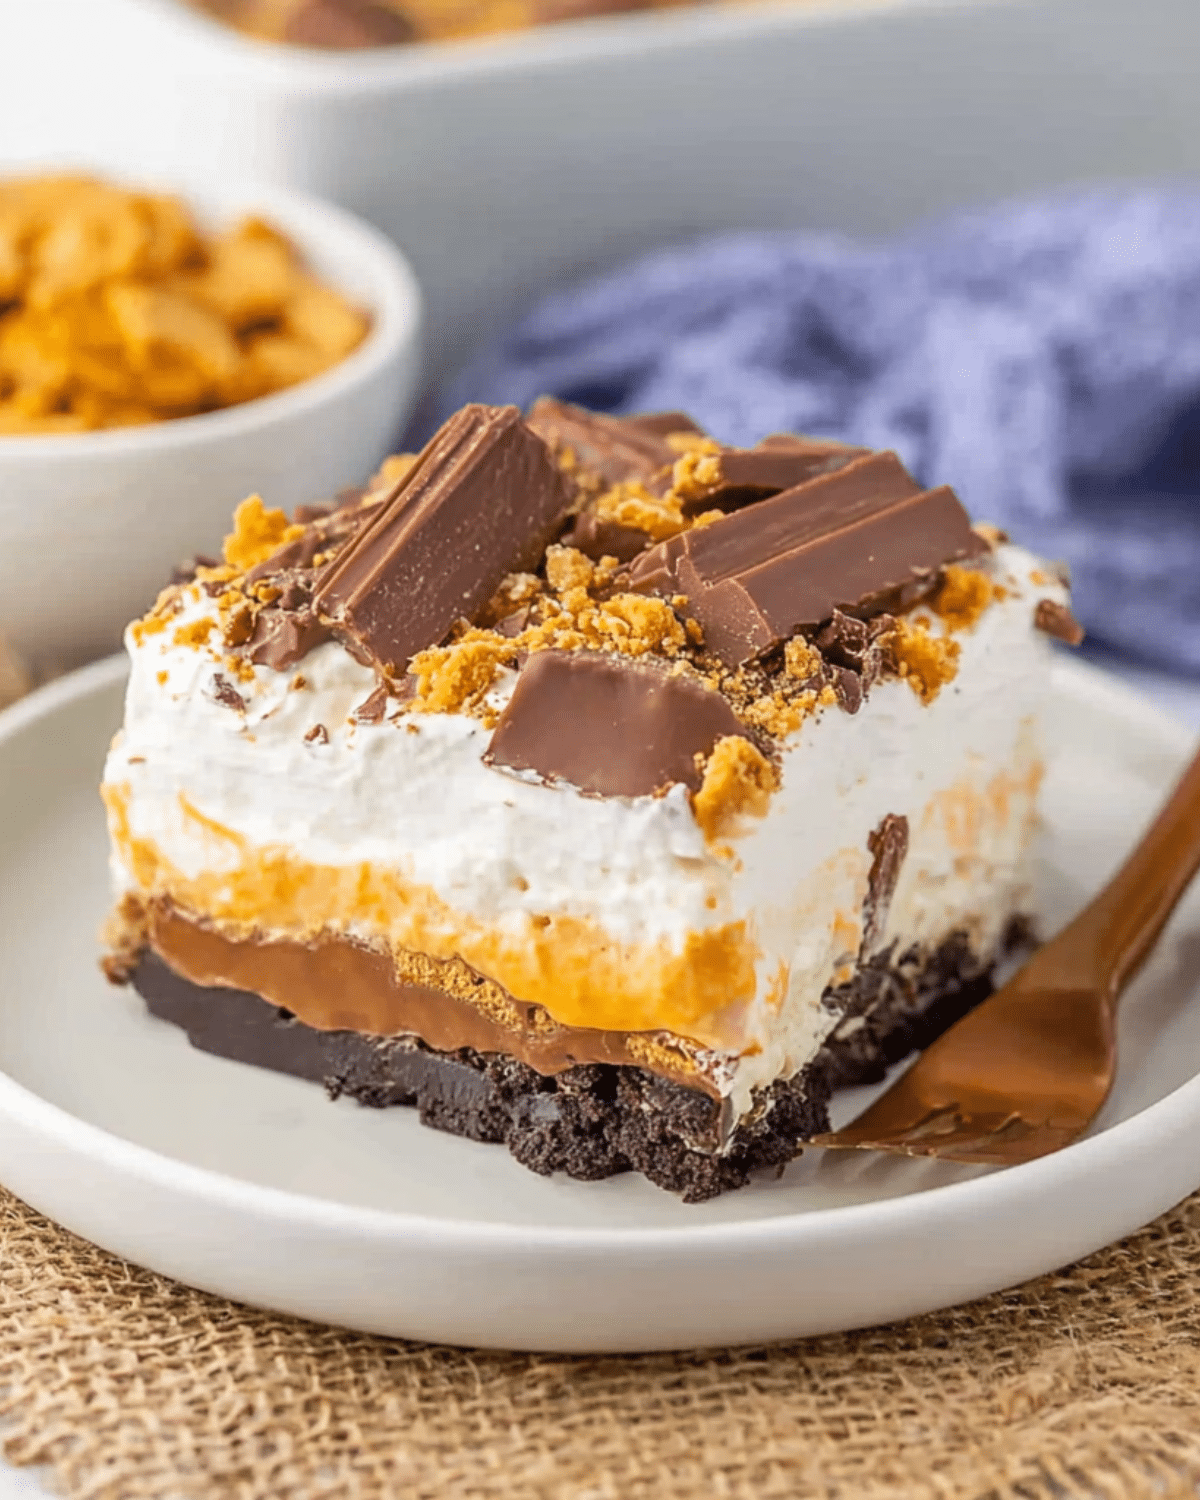
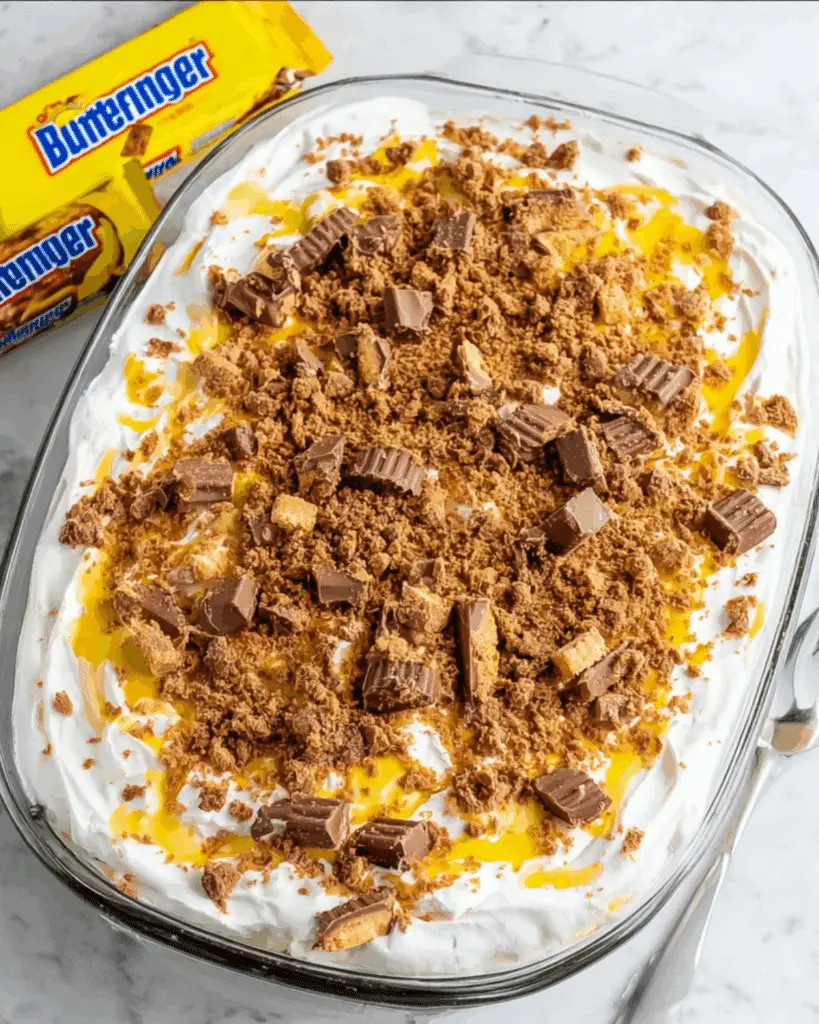
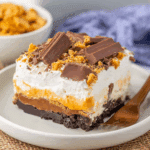
When it comes to indulgent no-bake desserts, Butterfinger Lush stands in a league of its own. This layered masterpiece combines a crushed Oreo crust, creamy peanut butter cheesecake filling, chocolate pudding, whipped topping, and chopped Butterfinger candy bars. Whether you’re prepping a sweet surprise for a summer barbecue or just craving an easy dessert fix, this treat delivers bold flavor with minimal effort. Even better, you won’t need to touch your oven! It’s a recipe so easy, even beginner bakers can wow their guests with it. Looking for inspiration? Try this no-bake chocolate orange cheesecake for a citrus twist on dessert classics.
JUMP TO
Table of Contents
Why Butterfinger Lush Is the Perfect No-Bake Dessert
What Makes This Dessert So Irresistible
Butterfinger Lush has that perfect sweet-meets-salty balance, with layers of smooth, crunchy, creamy, and fluffy all in one bite. It’s rich enough to satisfy any dessert craving, yet light enough that you’ll find yourself going back for seconds. The crushed Oreo crust forms the ideal base, while the peanut butter and chocolate layers offer that nostalgic flavor combo everyone loves.
The best part? You don’t have to bake a single thing. This makes it ideal when you want something fast, delicious, and oven-free.
Occasions Where It Shines
This easy dessert is a crowd-pleaser, perfect for family dinners, birthday parties, potlucks, and holiday spreads. Its layered presentation makes it visually stunning, while the recognizable Butterfinger crunch adds that fun, familiar twist. Don’t miss our Christmas cranberry roll-ups if you’re planning holiday treats—it’s another festive crowd favorite!
A Treat for Peanut Butter Lovers
If you live for peanut butter desserts, this one’s going to become a staple. The filling combines peanut butter, cream cheese, and whipped topping into a mousse-like layer that’s irresistibly smooth and tangy. It’s rich without being heavy and provides the perfect contrast to the chocolate pudding. Discover great ideas like our easy pumpkin delight recipe for more creamy no-bake dessert options.
Ingredients Breakdown for Butterfinger Lush
Simple Ingredients You’ll Need
To make this lush dessert, gather the following:
| Ingredient | Amount |
|---|---|
| Chocolate sandwich cookies | 30 (about 1 standard pack) |
| Butter | ½ cup, melted |
| Cream cheese | 8 oz, softened |
| Peanut butter | ½ cup |
| Powdered sugar | 1 cup |
| Whipped topping | 4 cups, divided |
| Instant chocolate pudding | 5.1 oz box |
| Milk | 2 cups |
| Mini Butterfingers | 6, chopped |
These ingredients are easy to find in any grocery store and are affordable to boot. Check out our guide to Halloween snack mix if you’re looking for fun treats using pantry staples.
Substitutions and Add-In Ideas
Want to switch things up? Here are some ideas:
- Swap out the Oreo crust with graham crackers or vanilla wafers
- Add chocolate chips or chopped nuts to the cream cheese layer
- Try using peanut butter or banana pudding instead of chocolate for variation
Butterfinger Lush is super forgiving, so feel free to get creative based on what you have.
Ingredient Quality Tips for Best Flavor
- Use full-fat cream cheese: It whips better and gives a richer flavor.
- Don’t skimp on the Butterfingers: They add that crucial crunch and peanut buttery punch.
- Choose high-quality pudding: A good brand makes a noticeable difference in the final taste.
Need more fresh flavor ideas? Don’t miss our Greek yogurt lemon loaf for a citrus-packed alternative.
Step-by-Step Instructions for Making Butterfinger Lush
Making the Oreo Crust
Start by crushing the chocolate sandwich cookies in a food processor until they’re fine crumbs. Mix with melted butter and press evenly into the bottom of a 9×9-inch baking dish. This forms the base of your lush and needs to be firm enough to support the other layers.
Preparing the Creamy Peanut Butter Layer
In a large bowl, use an electric mixer to whip softened cream cheese, peanut butter, and powdered sugar until smooth. Gently fold in 2 cups of whipped topping, then spread this mixture over the crust. It should be smooth and even—don’t press too hard or you’ll disturb the base.
Mixing the Chocolate Pudding Layer
Whisk the instant pudding mix and milk until completely blended. Let it sit for 1–2 minutes to thicken slightly, then carefully spread it over the peanut butter layer. Smooth it out with a spatula, but again, be gentle so the layers don’t mix.
Topping with Butterfingers and Whipped Cream
Spread the remaining 2 cups of whipped topping across the pudding layer. Finish by sprinkling the chopped mini Butterfingers generously over the top. The more, the better!
Chilling and Serving Tips
Cover the dish and refrigerate for at least 2 hours (longer is fine). This helps the layers set and makes slicing easier. Use a sharp knife and clean it between cuts to get those perfect layers. For more easy serve-and-slice ideas, these no-bake pumpkin pie bites are another must-try.
Customizing Your Butterfinger Lush
Crust Variations to Try
Although Oreo cookies are the classic base for this no-bake dessert, you can easily mix it up depending on your taste or what you have on hand. Here are some delicious alternatives:
- Graham crackers: Great for a more neutral, buttery flavor.
- Vanilla wafers: Add sweetness without the chocolate.
- Chocolate chip cookies: For an extra indulgent base.
- Gluten-free cookies: Perfect for those with dietary restrictions.
Crush them the same way you would Oreos, mix with butter, and press into your dish as usual.
Fun Topping Ideas for Holidays and Parties
This dessert is super versatile and can be easily themed for any occasion. Try these topping variations:
- Halloween: Add candy eyeballs, orange sprinkles, or chopped Reese’s.
- Christmas: Sprinkle crushed peppermint or red and green M&Ms.
- Birthday: Use rainbow sprinkles and drizzle with chocolate syrup.
- Easter: Add mini chocolate eggs or pastel candies on top.
Discover great ideas like this festive eyeball brownie recipe for Halloween-themed fun.
Making It Gluten-Free or Keto-Friendly
Want to serve guests with special diets? It’s easier than you think:
| Diet | How to Adapt |
|---|---|
| Gluten-Free | Use gluten-free sandwich cookies or almond flour crust alternatives. |
| Keto | Swap crust for almond flour + butter, use sugar-free pudding, and keto candy. |
| Low-Sugar | Use sugar-free whipped topping and powdered sweeteners. |
You can still enjoy the creamy texture and rich flavor with just a few simple swaps. For more seasonal inspiration, check out this pumpkin s’mores cookie recipe that can also be made gluten-free.
Expert Tips for Perfect Results Every Time
Texture Secrets from Dessert Pros
- Let ingredients soften before mixing: Room temperature cream cheese blends more smoothly.
- Use cold milk for pudding: It helps the pudding set faster and stay firm.
- Chop Butterfingers just before adding: This preserves their signature crunch.
Working quickly but gently keeps the layers distinct and firm, while giving you that picture-perfect slice.
Storage and Make-Ahead Guidance
Butterfinger Lush stores beautifully—making it perfect for parties and meal prep.
| Storage Method | How Long | Tips |
|---|---|---|
| Refrigerator | Up to 5 days | Cover tightly to keep flavors fresh. |
| Freezer | Not recommended | The layers will separate when thawed. |
Want other easy-to-store no-bake treats? You’ll love this layered caramel apple pie cheesecake parfait.
Mistakes to Avoid When Layering
- Rushing the chilling time: Layers won’t set properly. Always chill for at least 2 hours.
- Overmixing the filling: It can get runny. Fold gently to keep it fluffy.
- Skipping the crust press-down: Use the bottom of a glass to get an even, firm base.
These small tweaks make all the difference in presentation and taste.
FAQs About Butterfinger Lush
Can I Freeze Butterfinger Lush?
Unfortunately, freezing this dessert isn’t recommended. The creamy layers tend to separate and become watery when thawed. It’s best to refrigerate and consume within 5 days for the best texture and taste.
What Does Butterfinger Taste Like?
Butterfinger candy bars have a crispy, flaky peanut butter center coated in chocolate. The candy brings a sweet and slightly salty crunch to desserts like this lush, making each bite unforgettable.
How Long Does This Dessert Last in the Fridge?
When stored in an airtight container or tightly covered baking dish, Butterfinger Lush will last up to 5 days in the fridge. Just be sure to avoid stacking anything on top to preserve the toppings.
Who Invented Butterfinger?
Butterfinger was invented in 1923 by Otto Schnering of the Curtiss Candy Company. It became a national favorite and is still one of the most iconic candy bars in the U.S. Want more creative desserts using iconic flavors? Try our chocolate orange cheesecake or this candy cane cookie recipe during the holidays.
Conclusion: The No-Bake Wonder You’ll Crave Again and Again
Butterfinger Lush isn’t just a dessert—it’s a full experience of textures, flavors, and simplicity. From the buttery Oreo crust to the silky peanut butter filling and crunchy candy topping, this no-bake dessert proves you don’t need an oven to impress. Whether you’re bringing it to a potluck or keeping it in the fridge for family night, it’s bound to become a go-to treat.
Don’t miss our easy pumpkin delight for another no-bake masterpiece or explore more layered creations like our pumpkin pie cookie sandwiches—because life’s just better with dessert.
PrintButterfinger Lush
Butterfinger Lush is a rich, no-bake layered dessert made with an Oreo crust, creamy peanut butter filling, chocolate pudding, whipped topping, and chopped Butterfinger candy bars. It’s easy to make and perfect for parties or potlucks.
- Prep Time: 20 minutes
- Cook Time: 0 minutes
- Total Time: 2 hours 20 minutes (includes chilling)
- Yield: 9 servings
- Category: Dessert
- Method: No-Bake
- Cuisine: American
- Diet: Vegetarian
Ingredients
- 30 chocolate sandwich cookies (like Oreos)
- 1/2 cup butter, melted
- 8 oz cream cheese, softened
- 1/2 cup peanut butter
- 1 cup powdered sugar
- 4 cups whipped topping, divided
- 5.1 oz instant chocolate pudding mix
- 2 cups milk
- 6 mini Butterfingers, chopped
Instructions
- Crush the chocolate sandwich cookies in a food processor until fine.
- Mix cookie crumbs with melted butter and press evenly into a 9×9 inch baking dish to form the crust.
- In a large bowl, whip together softened cream cheese, peanut butter, and powdered sugar until smooth.
- Fold in 2 cups of whipped topping and spread this mixture over the crust evenly.
- Whisk together the pudding mix and milk until smooth, then spread over the peanut butter layer.
- Top with the remaining 2 cups of whipped topping.
- Sprinkle chopped Butterfingers over the top layer.
- Chill for at least 2 hours before serving.
Notes
- Use softened cream cheese for a smoother filling.
- Chill for at least 2 hours to let layers set properly.
- Use cold milk to help the pudding thicken faster.
- Gently spread each layer to avoid mixing.
Nutrition
- Serving Size: 1 slice
- Calories: 587 kcal
- Sugar: 54 g
- Sodium: 584 mg
- Fat: 30 g
- Saturated Fat: 14 g
- Unsaturated Fat: 14 g
- Trans Fat: 0.02 g
- Carbohydrates: 71 g
- Fiber: 2 g
- Protein: 10 g
- Cholesterol: 34 mg