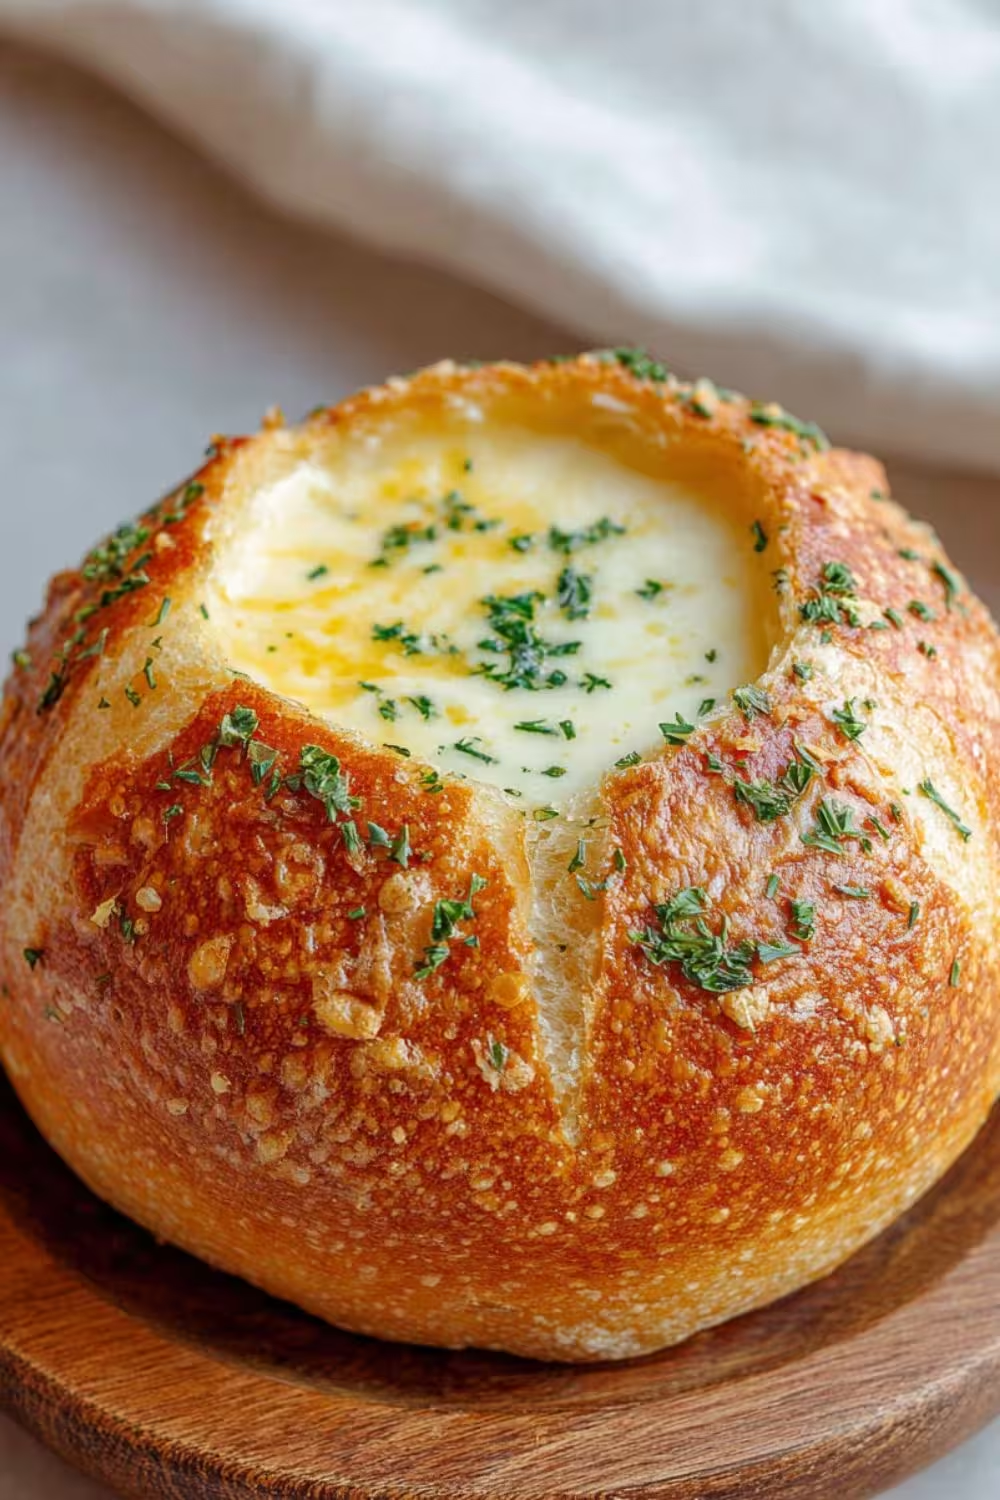
Bread Bowl Recipe is one of those simple yet magical kitchen projects that elevates any meal from ordinary to unforgettable. Few things can rival the joy of serving a velvety soup, a thick stew, or a warm, cheesy dip inside a golden, crusty bread bowl you’ve crafted yourself. The aroma of baking bread, the satisfying crunch of the crust, and the delight of tearing off pieces as you eat — it’s an experience that feeds both the body and the soul. Whether you’re preparing for a cozy family dinner or an impressive party presentation, mastering this recipe will become one of your favorite kitchen skills.
JUMP TO
Table of Contents
Why You’ll Love This
If you’re wondering whether making your own Bread Bowl Recipe is worth the effort, here are five compelling reasons to dive in:
- Fresh, homemade flavor: Nothing beats the taste of bread baked in your own oven.
- A versatile serving option: Perfect for soups, stews, chili, creamy dips, and more.
- An impressive centerpiece: Wows family and guests alike.
- Budget-friendly: Made with simple, pantry-staple ingredients.
- Fun to make: A rewarding project for both experienced and beginner bakers.
Once you’ve made your own bread bowls, you’ll never want to rely on store-bought versions again.
Ingredients You’ll Need
Best Ingredients for Bread Bowl Recipe
| Ingredient | Purpose/Why It’s Used |
|---|---|
| Bread flour | Provides strength and chewy texture to hold wet fillings. |
| Active dry yeast | Creates rise and lightness in the bread. |
| Warm water | Activates the yeast and hydrates the dough. |
| Sugar | Feeds the yeast and enhances browning. |
| Salt | Adds flavor and balances sweetness. |
| Olive oil | Adds tenderness and depth of flavor. |
| Optional herbs or seeds | Add flavor or decorative appeal. |
Each ingredient plays an important role in achieving that perfect balance of crisp crust and tender interior that makes bread bowls so satisfying.
Step-by-Step Guide
How to Make
If you’ve never made a bread bowl before, don’t worry — this process is straightforward and fun. Follow these easy steps to create beautiful, sturdy bowls ready to hold your favorite fillings.
Prep Your Ingredients
- Measure all ingredients carefully for best results.
- Warm your water to about 110°F, ideal for activating yeast.
Make the Dough
- In a large mixing bowl, combine warm water, sugar, and yeast. Stir gently and allow to sit for 5–10 minutes, until frothy.
- Add bread flour, salt, and olive oil. Mix until a dough begins to form.
- Knead the dough by hand or in a stand mixer until smooth and elastic, about 8–10 minutes.
First Rise
- Place dough in a lightly oiled bowl and cover with plastic wrap or a clean towel.
- Let the dough rise in a warm area until doubled in size, about 1–2 hours.
Shape the Bread
- Once risen, punch down the dough to release air.
- Divide the dough into equal portions, shaping each into a tight, smooth ball.
- Place each ball on a parchment-lined baking sheet.
Second Rise
- Cover the shaped dough balls lightly and let them rise again for 30–45 minutes, until puffy but not overly soft.
Bake the Bread
- Preheat your oven to 400°F.
- Score the tops of the dough lightly with a sharp knife to allow for expansion.
- Bake the bread bowls for 20–25 minutes, or until golden brown and hollow-sounding when tapped.
- Cool the bread bowls on a wire rack.
Pro Tip
Chill for 10 minutes to set after baking. This rest allows the crust to crisp and the interior to finish setting, making it easier to hollow out and fill later.
How to Hollow Out and Fill It
Hollowing and Filling Bread Bowls
Once your bread bowls are completely cooled:
- Use a serrated knife to cut a circular opening in the top of each bowl.
- Gently scoop out the inner bread, leaving about a 1-inch thick wall and bottom to hold the filling.
- Save the scooped-out bread pieces for dipping.
- Fill the bowls with your desired soup, stew, chili, or dip and serve immediately.
Variations and Substitutions
Creative Variations
While the classic Bread Bowl Recipe is perfect as-is, you can easily adapt it to suit different tastes and presentations:
- Whole wheat version: Substitute part of the bread flour with whole wheat flour for a heartier texture.
- Herb-infused: Mix in dried herbs or garlic powder for aromatic flavor.
- Seed-topped: Sprinkle sesame, poppy, or flax seeds on top before baking.
- Mini bread bowls: Make smaller versions for individual appetizers or party portions.
- Cheese bread bowls: Fold shredded cheese into the dough for extra flavor.
These variations keep the recipe exciting and allow you to match it to the filling or occasion.
Serving Suggestions
What to Serve in Bread Bowls
Bread bowls pair beautifully with a wide range of savory fillings. Here are some top ideas:
- Creamy potato soup
- Broccoli cheddar soup
- Clam chowder
- Hearty beef stew
- Spinach artichoke dip
- Loaded chili
- Cheese fondue
Don’t be afraid to get creative — anything thick and rich enough to stay contained in the bowl will work wonderfully.

Storage and Reheating Tips
How to Store
Here’s how to store and reheat them if needed:
- Storage: Uncut bread bowls can be kept in an airtight container at room temperature for up to 2 days.
- Freezing: Wrap tightly and freeze for up to 2 months.
- Reheating: To refresh the crust, warm bread bowls in a 350°F oven for 5–10 minutes before filling.
Avoid storing filled bread bowls, as the filling will make the bread soggy.
Health Benefits
Nutritional Benefits
Making your own Bread Bowl Recipe has several nutritional and culinary benefits:
- Simple ingredients: No preservatives or unnecessary additives.
- Higher fiber: Option to add whole grains or seeds.
- Fresh taste: Homemade bread offers a depth of flavor you won’t find in store-bought versions.
- Energy source: Provides complex carbohydrates for sustained energy.
Pair your bread bowl with a nutritious, veggie-rich soup or stew for a balanced meal.
Frequently Asked Questions (FAQ)
Can I use all-purpose flour instead of bread flour?
Yes, but bread flour gives the bowl a chewier texture that holds up better to wet fillings.
How do I keep the bread bowl from getting soggy?
Be sure not to hollow the walls too thin and avoid using overly watery soups. Filling the bowl just before serving helps preserve the crust.
Can I make the dough ahead of time?
Yes — you can refrigerate the dough after the first rise. Bring it to room temperature before shaping and baking.
How long do homemade bread bowls last?
They’re best enjoyed the same day but will keep for up to 2 days at room temperature. Reheat before serving for best results.
What size should I make bread bowls?
For individual portions, aim for dough portions weighing about 6–8 ounces each.
Bread Bowl Recipe is a delightful way to elevate your favorite soups, stews, and dips. With just a few simple ingredients and a little hands-on effort, you can create rustic, golden bread bowls that bring warmth and style to your table. Whether you’re serving a comforting family meal or impressing guests at your next gathering, homemade bread bowls add that extra special touch. So why not try it today? Your kitchen will smell amazing, and your family will thank you!
PrintThe Best Bread Bowl Recipe
Bread Bowl Recipe is an easy way to make rustic, homemade bread bowls perfect for serving soups, stews, dips, or chili. Simple ingredients create stunning results.
- Prep Time: 20 minutes
- Cook Time: 25 minutes
- Total Time: 2 hours 30 minutes (including rising time)
- Yield: 4 large bread bowls
- Category: Bread
- Method: Baking
- Cuisine: American
- Diet: Vegetarian
Ingredients
- Bread flour – provides strength and chewy texture to hold wet fillings.
- Active dry yeast – creates rise and lightness in the bread.
- Warm water – activates the yeast and hydrates the dough.
- Sugar – feeds the yeast and enhances browning.
- Salt – adds flavor and balances sweetness.
- Olive oil – adds tenderness and depth of flavor.
- Optional herbs or seeds – add flavor or decorative appeal.
Instructions
- Measure ingredients carefully and warm water to about 110°F.
- In a mixing bowl, combine warm water, sugar, and yeast. Let sit until frothy.
- Add bread flour, salt, and olive oil. Mix and knead until dough is smooth and elastic.
- Place dough in an oiled bowl, cover, and let rise in a warm area until doubled in size (1–2 hours).
- Punch down dough and divide into equal portions. Shape each into a tight ball and place on parchment-lined baking sheet.
- Cover lightly and let rise again for 30–45 minutes until puffy.
- Preheat oven to 400°F. Score tops of dough and bake for 20–25 minutes until golden brown.
- Cool on wire rack. Chill for 10 minutes to set before hollowing out.
- Cut a circular opening in each cooled bowl, scoop out inner bread, and fill with soup, stew, or dip.
Notes
- Use whole wheat flour for a heartier version.
- Mix in dried herbs or garlic powder for extra flavor.
- Top with seeds before baking for a decorative touch.
- Make mini bread bowls for appetizers or party servings.
- Add shredded cheese to the dough for a cheesy twist.
Nutrition
- Serving Size: 1 bread bowl
- Calories: 320
- Sugar: 2g
- Sodium: 480mg
- Fat: 6g
- Saturated Fat: 1g
- Unsaturated Fat: 4g
- Trans Fat: 0g
- Carbohydrates: 58g
- Fiber: 3g
- Protein: 9g
- Cholesterol: 0mg